Sunday, November 24, 2013

009 - Ramen Burger!!

Burger with bun made out of Ramen sounded like a crazy ass idea from stoned-and-totally-tight-on-budget college student ain’t it? Nope.

Ramen Burger is the brainchild of Keizo Shimamoto, an avid foodie. 

This food took over the world by storm, much like Cronuts.

The idea is very simple: it’s a hamburger, but with a ramen for a bun instead of bread. And it is dead easy to make!

You will need:


-1 pack Instant Ramen. Pick any brand you want. I stick to the leader of the pack: INDOMIE.
- 200 gr Ground Beef
- 1 Egg
- Cheese of your choice. Cheddar is my pick
- Green Onion
- Soy Sauce. Go with Kikkoman
- Coarse Sea Salt
- Freshly ground Pepper
- Various garnish. I’m going with Tomato and Iceberg Lettuce

Keizo uses Miso based sauce for its burger. Me? I like to keep it simple with Mayo-Sriracha  OR Peanut Butter-Vinegar-Sriracha (YES, PEANUT BUTTER WORKED WONDER!)


Ready? Here We Go!

Step 1 – Boil your ramen according to manufacturer’s guidance. Dont forget to put the seasoning in the water too!

Step 2 – Strain your ramen when it has reach your desired doneness, put it on a bowl and set aside. Right after that, crack your egg, and mix it with the noodle. When you’re mixing it, try to remember things that made your heart ache. Got that? NOW MIX THAT MOTHERFUCKER LIKE THERE’S NO TOMORROW.


Step 3 – Grab a small bowl, or anything that has concentric circles on it. I’m using my ceramic baking cup. Line it with plastic wrap, and divide the ramen-egg mixture into 2. Cover it up, and let it sit in the fridge for at least 30 minutes to harden up. Yea, HARD. Heehehehehe *perverted face*


Step 4 – Prep your beef. Chop the green part of your green onion finely and mix it with the beef. Add a splash of soy sauce. Now it’s time to get down and dirty with your hands and mix it all up. Don’t mix it too much, or the meat will be drier than the Sahara when it’s finished. Let it sit in the fridge, covered, for 10 minutes to firm up.


Step 5 – Prepare your sauce. This time I’m making a 2 sauce combo. The Mayo-Sriracha will go on the top bun, and the Peanut Butter-Vinegar-Sriracha will go on the bottom bun. The sauce combo will explode in your mouth like Freddie Mercury singing ‘Bohemian Rhapsody’ while sitting on Darth Vader’s shoulder.

Step 6 – Oil your pan, and cook your Bun. Use medium heat. This will took around 3-4 minutes on each side. Once the bun is golden and crispy, transfer it to a plate.


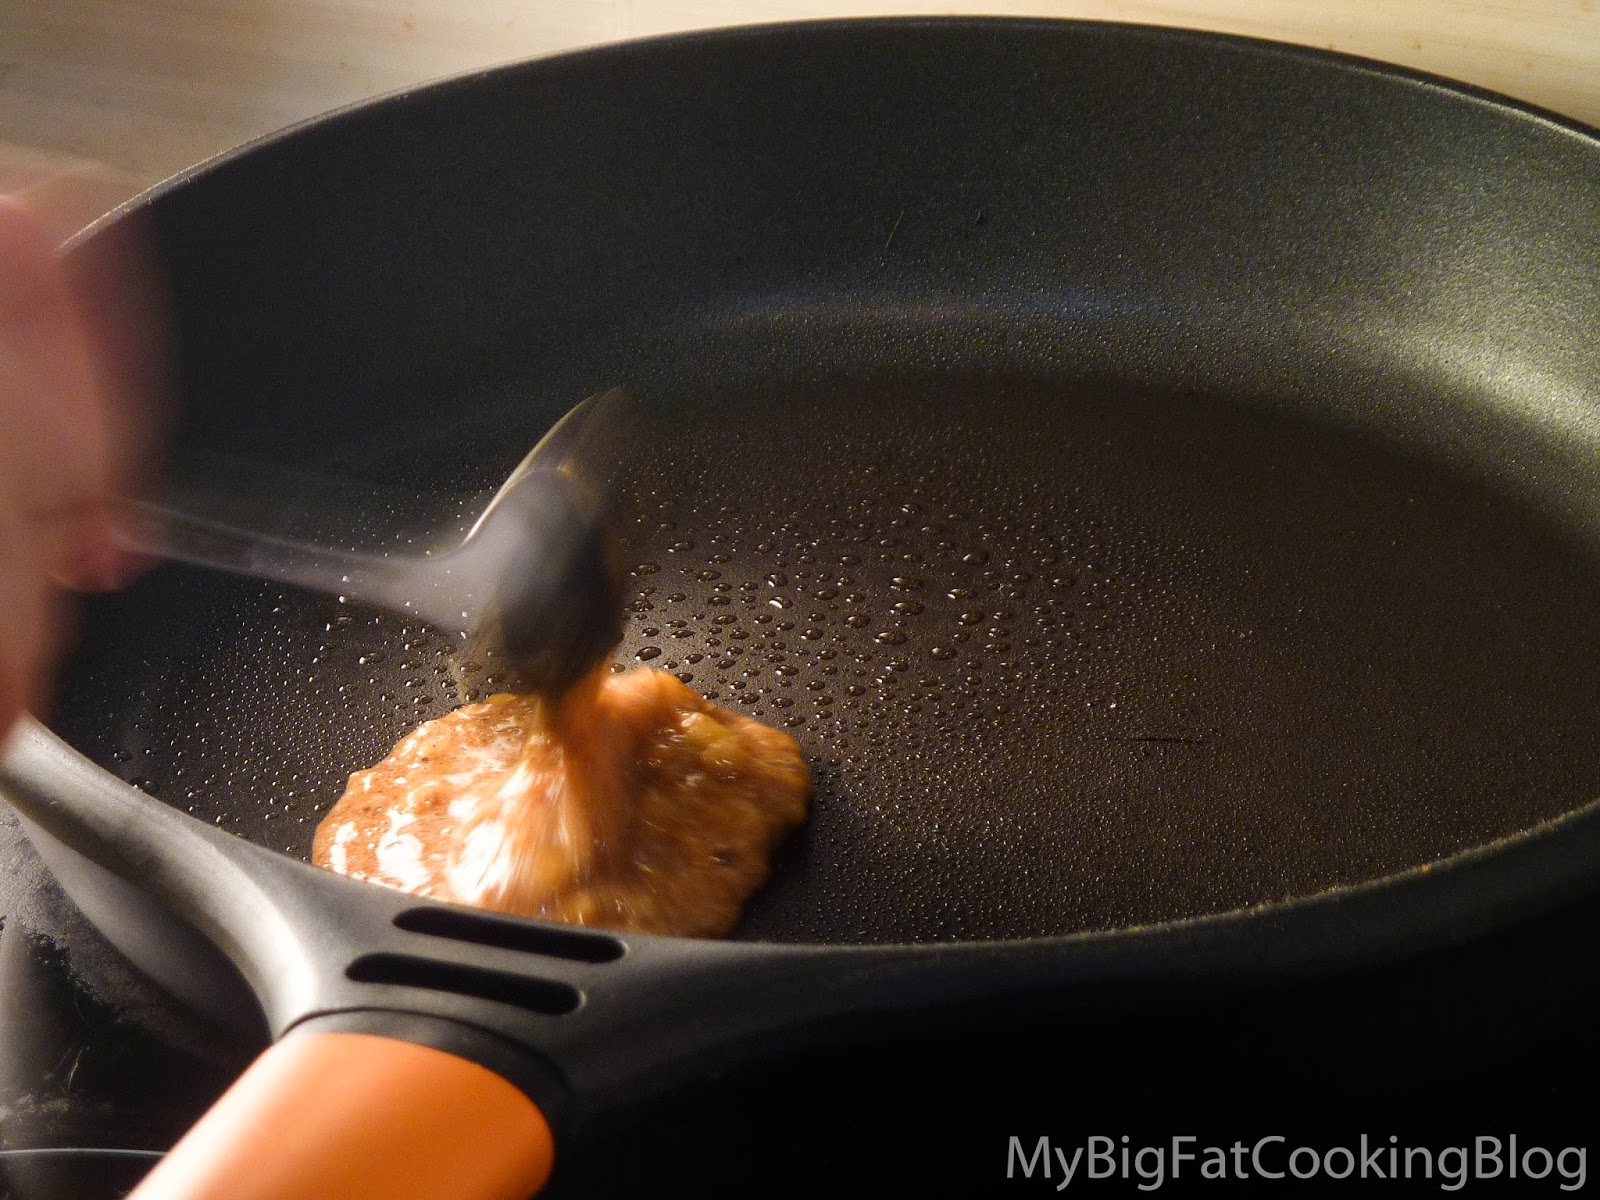
Step 7 – Cook your patty. Use medium-high heat on your non-stick pan, and cook for around 2-3 minutes on each side. Once you flip it, put your cheese and let it melt into ooey gooey ooziness. And don't forget to season both side with salt and pepper!


Step 8 – ASSEMBLE. Bun-Mayo Sauce-Tomato-Lettuce-Meat-PB sauce-Bun.


WOULD SPEND A MINUTE AND APPRECIATE THAT BEAUTY.


Okay, I’m out. I’m gonna get my hands dirty.

Till next time.

Peace

xx


Saturday, November 16, 2013

008 - Aglio E Olio Spaghetti!

This pasta dish is the easiest pasta you can make at home. No, really, when I first made this, I was shocked by how easy and quick this dish is made. And you know, chicks dig fancy Italian cooking.  Oh, and yes, IT IS DAIRY FREE! Great news for you lactose intolerant people!


You will need:


- Pasta. Any kind will do!, there is no limitation, but, to keep it authentic, try to stick to either regular spaghetti or angel hair pasta

- Garlic. 3 clove for 1 serving. Sliced.

- Olive oil. ALWAYS use olive oil for this dish. Italian cooking is nothing without it! Choose regular olive oil, save your Extra Virgin for Salad dressings and garnish. You’ll need approximately 6 tbsp per 1 serving. Like it more oily? Put more. Like it dry? Put less. Just don’t complicate the recipe like your love life (HAHA LOL JK)

- Fresh or Dried parsley. Getting fresh parsley is a pain in the ass for a white collar worker like me. Parsley don't keep well in the fridge, and will only keep for around a day or two outside. I chose the easy way;  I used the dried ones.

- Fresh or Dried chili pepper/pepper flakes. Either way, both worked magic! Here’s the drawback: the fresh will took a little bit longer to cook to improve its aroma, while the dried chili will cut off almost half the time needed to bring out the flavor.

- Salt. Worked wonder to give the dish a well rounded taste

- Freshly Ground Black Pepper. Same like the salt.


Ready? Here We Go!


Step 1 - Boil your pasta according to instructions on the packaging. Don't forget to salt the water!

Step 2 - Slice your Garlic and Chili finely. As thin as you possibly can!


Step 3 - Pour your olive oil and mix it with the garlic and chili on the pan. NOTE: DON'T turn on the heat just yet!


Step 4 - Now, turn on the heat on LOW. This way, the oil will heat up slowly, allowing the flavor of garlic and chili to fully infused, which is the whole point of this dish anyway! This should take around 5-6 minutes. Please pay attention to this process. If you burn the garlic, you'll ruin the whole dish!

Step 5 - Once you see bubble around the garlic and chili, and the smell permeates into the air, pour your pasta in! 


Step 6 - Season! Pour your salt and pepper to taste, and don't forget the parsley!


Step 7 - Plate!


If you’re a dude, this dish will definitely impress your Crush. No, really, no joke.

Try making this. Now.

Thanks for reading!
Please share if you like this, and be on a lookout for more recipes!

Peace


xx

Sunday, November 10, 2013

007 - Fastest Pancake Fix

PANCAKES! PANCAKES! PANCAKES! PANCAKES!

Who here ever had a munchies for a steaming hot Pancake in the morning but have less than 10 minutes to fix it? I DO. Pancake is one of the best Pan cooked Cake (hence the name, PANCAKE) ever. But the perfect pancake batter takes patience and time. Well yea, you could prepare it beforehand, but how many of you had the time (and willingness) to do so after you got home from work? I bet 9 out of 10 of you said ‘No’.

This, my friend, will change your game. It will be a lifesaver for your morning munchies attack.

You will need:


1 Whole Banana (get the ripest one you can land your hands on)
1 Whole Eggs, room temperature

THAT’S IT.

If that’s not easy, then Imma bash your head with a banana.

The trick to give it an edge is to mix your favorite ingredient in. I’ll cover that in the steps.

Ready? Here We Go!

Step 1 – Peel and mash your banana in the bowl with a fork. Mash it until very fine.


Step 2 – Crack your egg, and mix it with the banana.

Step 3 – Put your desired additional ingredient and flavoring. I like to put my homemade vanilla extract, a pinch of salt, and a dash of cinnamon into the batter. No sugar! Why? Ripe banana is already sweet. Oh, and a bit of baking powder to fluff things up a bit!


Step 4 – Heat your non-stick pan, medium heat (Gas mark 6-7 on electric stove top). Don't forget to grease it off!


Step 5 – Pour your batter, shape it any way you like. I like my pancake huge, so I put everything in a round, concentric circles.


Step 6 – Cover it with a lid. Let it cook for 1,5 – 2 minutes, until bubble starts to form around the edges


Step 7 – Flip! And let it cook for another 1- 1,5 minutes.


Step 8 – Plate!


See? That wasn’t so hard isn’t it?

I like to serve this with a dollop of peanut butter and strawberry jam. If you got whipped cream and maple syrup, that will work even better. But you know me, I’m trying to be more calorie conscious (LOL, JK).

Please give this recipe a try, and link me your effort. I will put out a compilation of your effort on my blog later!

Peace

xx


Sunday, November 3, 2013

006 - This is not a mis-STEAK!

Who doesn’t love steak? Ever since our ancestor lived inside a cave (and totally naked btw LOL), mankind have developed a taste for meat. This time around, I’m going to show you how to make a steak so good, it’s comparable to eating at a steak joint!

To break down the process in a very simple way, here’s how it goes:

Thawing -> Season -> Sizzle -> Rest.

Don’t tell me you don’t understand that? Well okay, I’m going to explain the steps with pictures. Here’s all the ingredients you will ever need;


1. A Steak cut of your choice. Everyone has their own favorite cut of meat. In particular, I loved either Sirloin or Ribeye. Unless I wanna go lean, I always go for either. Fat = Flavor. Simple reason. Ask your butcher for a cut that is at least 200 grams. Go any thinner than that, you’ll be eating a piece of meat that is so rubbery, Bridgestone will file a lawsuit.

2. 1 Tsp Salt. Use ONLY Coarse sea salt. 

3.  1 Tsp Fresh pepper corns. I currently have this multi colored pepper corn grinder, so I’m going to use that. But if you only have black peppercorns, that’s fine too! 

4. 2 clove of Garlic. What for? Read on!

5. Fresh / Dried Herbs. You can choose either. Since fresh herbs suitable for steak tend to be rare and bit more expensive, you can go with dried herbs. I like to use either dried Thyme or Rosemary

6. Olive Oil. Just don’t use Extra Virgin, it WON’T stand the heat.

7. 10 grams of Butter


Ready? Here we Go!


Step 1 – Thaw your steak at room temperature. This will take around 15-25 minutes depending on how thick the steak is.
We have to. Wait, scratch that. We NEED TO thaw the steak to room temperature is to ensure an even cooking. There is nothing worse than having a steak badly burnt outside, but cold and raw in the inside. NO. NO. NO.

Step 2 – Prepare your pan. I like to use Griddle Pan to get that charred markings you often see in restaurants. Don’t have it? Okay fine, regular pan would do too, sheez. Hit your pan with Medium-High heat (gas mark 7-9 on electric stove top)


Step 3 – Season. Sprinkle the salt and pepper generously on both sides. After that, lightly drizzle with olive oil.


Step 4 – Cook. Once the pan is hot (you can tell by the smoke coming out from the surface), place your Steak in it. Let it sit for 2 minutes, turning it 90° halfway through to create that distinctive cross marking on the surface.


Step 5 – Flip. Turn it with your tongs, and please never turn your Steak by poking it with a fork. This will let the delicious juice ran away from its meat prison, making it dry and tasteless. Let it cook for another 2 minutes, doing the same 90° turn halfway through like on the other side.


Step 6 – Butter and Baste. At around 1:30 mark on the second side, put your butter , garlic, and herbs into the pan. Once the butter melted, swirl it around and baste the steak with the butter/herb mixture.


Step 7 – Rest. Once the steak is finish (I like mine Medium, if you want more doneness, add 30 seconds for Medium Well, 60 seconds for Well Done), pull it out and let it rest on top of a flat surface. This step is vital in nailing that perfect tasting steak. NEVER EVER SKIP IT. This will ensure the moisture inside the steak to go back where it belong. If you skip this step and cut it right away, your steak will taste bland. NO JOKE. This should take around 3-4 minutes.


Step 8 – Plate. Oh yes, the moment you've been waiting for. It doesn't matter if you want to serve it whole or cut up, but your steak is now ready to be eaten.

If you screw up making this the first time, I can’t blame you, because I did too. Cooking steak is an art that goes better try after try. Just don’t give up easily!


Peace

xx