Saturday, June 28, 2014

037 - Silky Scrambled Eggs (Fast, Easy, CHEAP!)

Hello and happy weekend people!

How was your week? Mine was pretty awesome (snagged 21 Jump Street Blu Ray for 30% off? SCORE).

Anyway, since Ramadhan (fasting month) is right around the corner, I’m going to try to come up with more easy to whip up recipe to accommodate this holy month!

Recipe for today is very, VERY, straight forward. It is also very light tasting, perfect to match with any carbs you like. Rice, Bread, Pasta, all of it will work fine!

This is the SILKY SCRAMBLED EGGS!

I love eggs. Who doesn’t?? It is filled with protein, it is fulfilling, it is very flexible, and….IT IS CHEAP.

The recipe calls out for 3 ingredients only. How’s that for cost saving solution?

==============================

For 1 servings, you will need:


3 fresh eggs. Get organic if you can, the yolk tends to be bolder in flavor!
1 Tbsp of Butter. GREAT NEWS! Margarine can work in place of Butter too!!
Salt to taste

===============================

Ready? Here We Go!

Step 1 – Get a bowl and crack all your eggs in. Get a fork and start whisking. Just mix for about 20 seconds, and set it aside.

Cracking eggs? Don't be afraid. Thump it with confidence against a hard surface, and BOOM. Off they go.
Don't overwhip! 

Step 2 – Get a non-stick pan, and pour 1 tablespoon of cooking oil. DON’T START THE STOVE YET.

GOT YA! I didn't pour the eggs just yet :p

Step 3 – Pour your eggs and butter in THEN you can start the stove. Use Medium-Low heat. I personally always start at Low, before gradually increasing to medium throughout the whole process. This way, the egg will become silky smooth. I actually first see this technique used by Gordon Ramsay. But his version is a bit different than mine. See the video and read on!

Eggy shower...
..with Butter for company

Step 4 – Rubber spatula is the only tool you will need for this. It won’t break the non-stick coating, and it doesn’t burn your hand! Constantly stir the egg non-stop to cook it. You can see the progress on the picture I took. After the first 30 seconds of stirring, add the Salt.  It took me around 4 minutes of constant wristwork to get this dish finished!

First stage
Salt goes in
See how it starts to curdle?
Keep going, nearly there
Bloody beautiful!
That is what you're aiming for!
Set it aside to avoid overcooking!

Step 5 – Serve!


Talk about quick and easy eh? I like to cook this for breakfast. I put it on top of my toast, and crack some black pepper over it, and yum yum yum. Love on my tummy people!

Here's some tips to remember by:
  1. Fresh eggs, fresh eggs, fresh eggs. Stale eggs? Get the f**k outta here!
  2. Improv? You can! mix some herbs and spices in the egg mix. Dried Parsley and Dill worked brilliantly well!


Give this recipe a go!


Peace

xx


Sunday, June 22, 2014

036 - Chicken Skin Roll (!!!!)

Readers, let me ask you a question. What’s your favorite place and time to get an idea?

Was it the moment just before bedtime? While taking a shower? Or was it during a communal trip?

For me, it’s on the toilet during Number 2.

*insert shocked emoji here*

Yes, when I do my ‘business’, I sometimes get crazy idea inside my head. And this time, it’s a no brainer. It’s utterly insane, and I’m sure this will make youth screaming in excitement and parents crying in agony.

CHICKEN SKIN ROLL.

Inspired by the famous Lobster Roll from Maine, and Pork Crackling, this thing is absolute game changer. The secret to create a rather lovely looking and lovely tasting chicken skin lays in the first part: Boiling. This will help release all the nasty scum that it’s left in the chicken skin, leaving it prime, pristine, and most of all, more able to withstand heat without curling too much.

==============================

For 1 servings, you will need:


200 grams of chicken skin. Chicken skin is very cheap. I bought 250 grams of it for only IDR 6,000.- (that’s 50 cents US Dollar!!!)
1 Hot Dog bun
½ tsp of Salt
1 tsp of Black Pepper
1 tsp of Paprika Powder
2 tbsp of Corn Starch. If you want more awesome crunch, substitute with Potato Starch (It’s available at a large supermarket, such as G**L** at SCBD area)
2 cups of Water
3 tbsp of Cooking Oil

For the coleslaw


100 grams of Cabbage, shredded finely.
50 grams of Carrot, cut into matchsticks.
2 tbsp of Mayonnaise
Pinch of Salt
Pinch of Black Pepper
½ Lemon. We’re using the juice only.

For the sauce

1 tbsp of Mayonnaise
1 tbsp of Spicy sauce/concoction. Wasabi, Tabasco, Sri Racha, Dua Belibis, use whichever fits your taste. I’m using Gochujang (Korean Spicy Chili Paste)

================================

Ready? Here We Go!

Step 1 – Cut your cabbage nice and finely if you haven’t done so. Peel the carrots and continue the process to yield the lovely ribbons.

Be careful with your hands, people
Easier to make ribbons, right?

Step 2 – Mix in the cabbage with the carrots, add the mayonnaise, salt, pepper, and lemon juice. Mix it thoroughly. You can serve this directly, but for best tasting, leave it covered inside a fridge overnight.

You can't see it, but there's a Cabbage under there. Oh, i'm squeezing Lemons here.
Kewpie saving the day!
Salt
Pepper

Step 3 – Now let’s cook the chicken skin. Get a small pot, and boil the 2 cups of water. Give it a pinch of salt.

Skip the bullcrap, the water has been boiling for 2 minutes and there i am, putting salt into the water

Step 4 - Once boiling, put each and every piece of chicken skin in. Chicken skin is not actually pretty. Sometimes you see bits with blackened spots, or even feather roots still attached! The black spots can be removed easily by simply tearing it. Don’t worry about the feather either. The boiling will help make the removal process hell of a lot easier.

This is not exactly a pretty sight, eh?

Step 5 – Around 30 seconds – 1 minute after you put the chicken skin in, you will see that there is a white scum forming around the surface. Use a wired spoon (or in my case, measuring cup) and remove this. This is excess fat, and posed no use for the taste. Keep boiling it for another 2 minutes.

Scum appearing
Scum disappearing

Step 6 – After 2 minutes, strain the chicken skin, and proceed to wash it under clean, running, cold water. This will shock the chicken skin to stop the cooking process. And what are the odds? This process also helps you remove any leftover feather roots easily! After you finished cleaning everything, set it on paper towel to dry.

Step 7 – Season the chicken skin with salt, pepper, and paprika, and give it a good massage. Mehehehehehehe, Massage. Don’t worry; it won’t break the skin unless you’re going into R territory. Me? I’m keeping it PG-13 J

Salt
Pepper
Paprika
Mixed seasoning
Apply liberally
Well seasoned!

Step 8 – Heat a nonstick pan and pour the cooking oil. Let it heat up on medium heat.


Step 9 – Pour the corn starch over the chicken. Ensure every part is covered. Shake off any excess.

Corn starch worked well with chicken skin!
Excess already shaken off on this picture
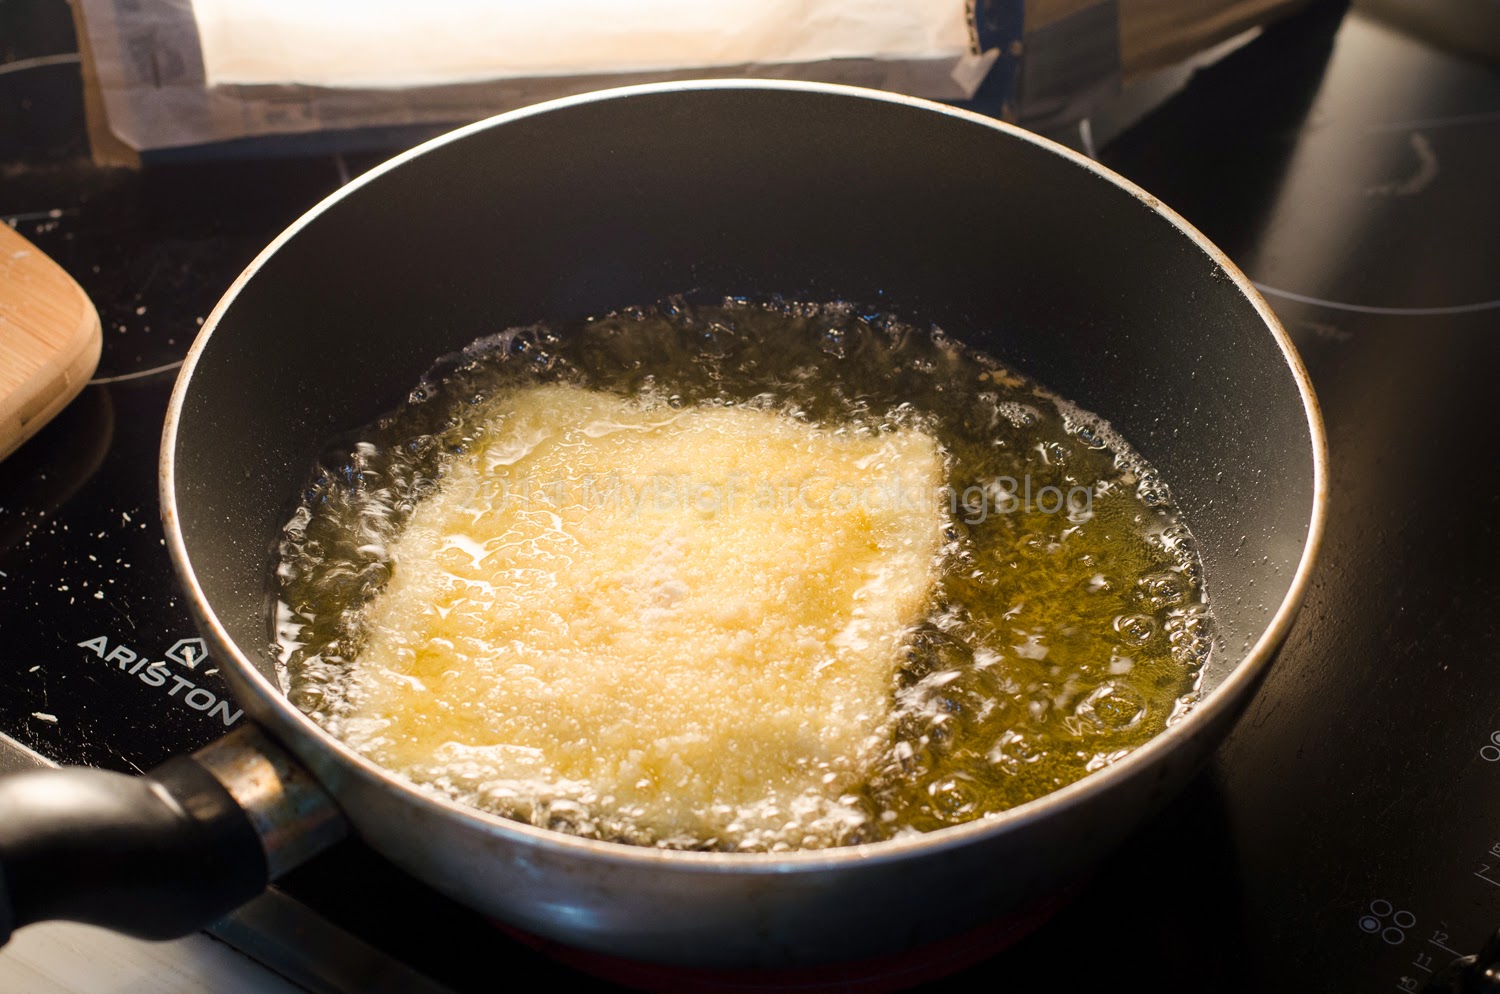
Step 10 – Once you see smoke coming out from the pan, place your chicken, GENTLY. Chicken skin is made of Fat. And when fat hits oil, it’ll most likely splatter. So always be safe when doing so! I always use the tray of my cooking pan as a shield, a la the movie 300. Cook this for around 2 minutes, checking often to see if it’s golden brown already. Once it’s golden brown, give it a flip, and do the same with the other side.

Watch the edges, careful not to burn it!
After the flip. I ended up doing multiple flip over a course of 40 seconds interval several times.

Step 11 – Once the skin is cooked golden brown, transfer it into paper towel to drain any excess oil. Meanwhile, toast your hot dog bun. Uhmm mmm, nothing feels better than a warm bun on a cold day!

If that's not beautiful, i don't know what is

Step 12 – Assemble. Bun – Coleslaw – Skin – Lime wedge (optional) - Sauce.

Bun
Coleslaw
The golden crunch
Lime for contrast!
Sauce!!!

Step 13 – Serve!


This roll tastes exactly how you imagine it to be; savory and crunchy. Adding lime wedges helped to counteract the savory and spicy taste, creating an even better sensation while eating.

It feels great to tell you how I come up with this original recipe and able to share it with you guys!

In interest of good health, please eat this sparingly. Also, it is best to serve this roll as soon as possible

Give it a go, and looking forward to see anyone of you try and cook this!

Peace

xx


Saturday, June 14, 2014

035 - Lazy Kaassoufflé (Dutch Deep Fried Breaded Cheese!)

Netherlands. The one country we, Indonesians, have a lot of history with. Any of you been there before? The Dutch has a lot of tasty food. During my recent visit there, I was finally reunited again with my favorite Dutch snack food, the infamous Kaassouffle.

Little is known who actually invented Kaassouffle. But legend has it, it is inspired by Dutch people who have been to Indonesia and tried Indonesian Gorengan (Literal meaning: Fried Things). But making authentic Indonesian Gorengan is rather hard in Dutch. They don’t have rice noodle to make the Risol, or Tofu to make Tahu Isi. 

So they improvise. 

What with? Cheese of course! Dutch got tons of it, so why not wrap it in thin dough, bread it, and deep fry?

My version is a rather easy approach to the dish. This is what I call Lazy Kaassouffle.


For 2 Servings, you will need:
4 Slices of white bread.
4 Slices of Strong Cheese. Dutch goes with Gouda. But again, as always, cheap Cheddar will work fine too. Keep in mind, flavor will be rather mild.
2 Eggs for coating
1 Eggs for sealing the stuffing
300 Grams of Breadcrumbs. Dutch uses Panko-like breadcrumbs but with smaller size.
Enough oil for frying.

Ready? Here We Go!

Step 1 – Cut off all the crust from the bread. If your bread isn't square already, cut it into squares. Get a rolling pin, or if you don’t have one, get a round drinking glass and use it as a makeshift rolling pin. Do this on all of the bread.

Off with the first
Off with the second
Off with the crusts!
Now this people, is a 'Rolling Pin'
"Keep rollin' rollin' rollin" - Fred Durst
Ooow, it's flat and tiny
Let's flatten it even more!
Flat and limp, gotta love it!

Step 2 – Get a piece of the bread, then unwrap your cheese, and place it on the center of the bread. Crack an egg, whisk it, and brush it to the edges of the bread to create a glue before sealing it with another slice of bread. Use a fork, and seal the edges by pressing it. See the picture if you got no idea how to do it.

Empty pockets
First drop
Second drop
Give the edge an egg wash
Seal
Press with a fork!
Sign, sealed, ready for fryer!

Step 3 – Crack your eggs, lightly whip it. Get a separate plate and pour your breadcrumbs. Dredge the bread with the eggs and then the breadcrumbs.

Egg - Breadcrumbs
Dredge with eggs
Coat with breadcrumbs
All wrapped up and ready to go

Step 4 – Heat your oil on high heat. We’re going to flash fry the bastard in just under 2 minutes on each side. Just keep on a lookout on the color. When it’s golden and lovely, it’s ready.

Hot oil, get ready to meet your buddy
First side. 2 minutes or less
Second side after the flip, another 2 minutes
Crunchy and ready


Step 5 – Serve!


Here's a few tips to create a memorable KaassoufflĂ©;
  1. Use white bread as they tend to be softer than whole wheat.
  2. Ensure the cheese is in room temperature before putting it inside the bread. This will ensure the cheese melt perfectly despite the short period of frying
  3. Watch it, watch it, watch it. Panko burns easily on high heat, so ALWAYS keep an eye on it.
  4. Feeling fancy? mix the breadcrumbs with herbs such as parsley or dill, add a touch of Paprika. Hmmm mmm!
  5. Strong cheese like Gouda or Edam will give you more authentic taste. But it doesn't come cheap. That's why i substitute with Cheddar

Kaassouffle is every bit of love you will need for the day! Trust me, make one, and get hooked for life!


Peace


xx