Ever had one of those dreadful
‘Chicken Nightmare’?
It’s not cool is it? So you’re in
this super nice new hot joint in town with your girlfriend/boyfriend, you
ordered some fine wine, a soothing Jazz music playing in the background, and,
oh, here comes your order. A pan fried Chicken Breast fillet. You grab your
knife, make a slice, and in goes.
Boom.
As dry as Sa-f*cking-Hara desert.
Night’s ruined. You complaint. The booze can’t even help you forget
the dreadful chicken experience.
No, you didn’t do anything wrong.
It’s the Cook who forgot that Chicken….
Well they uh.., let’s just say
they dry out easily.
Fear no more! I’m here to save
you and your pride from embarrassment! I’m gonna show you how to make those
lovely, killer, juicy chicken breast at home! It’s easy, it is so cheap, and it
definitely, taste good!
PAN FRIED CHICKEN BREAST, it is.
=================================
For 2 Servings, you will need


2 Large chicken breast
Salt to taste
Pepper to taste
For the Brine
600 ml of Water
1 ¼ Tbsp of Salt
1 Tsp of Whole Peppercorns
2 Cloves of Garlic
=================================
Ready? Here We Go!
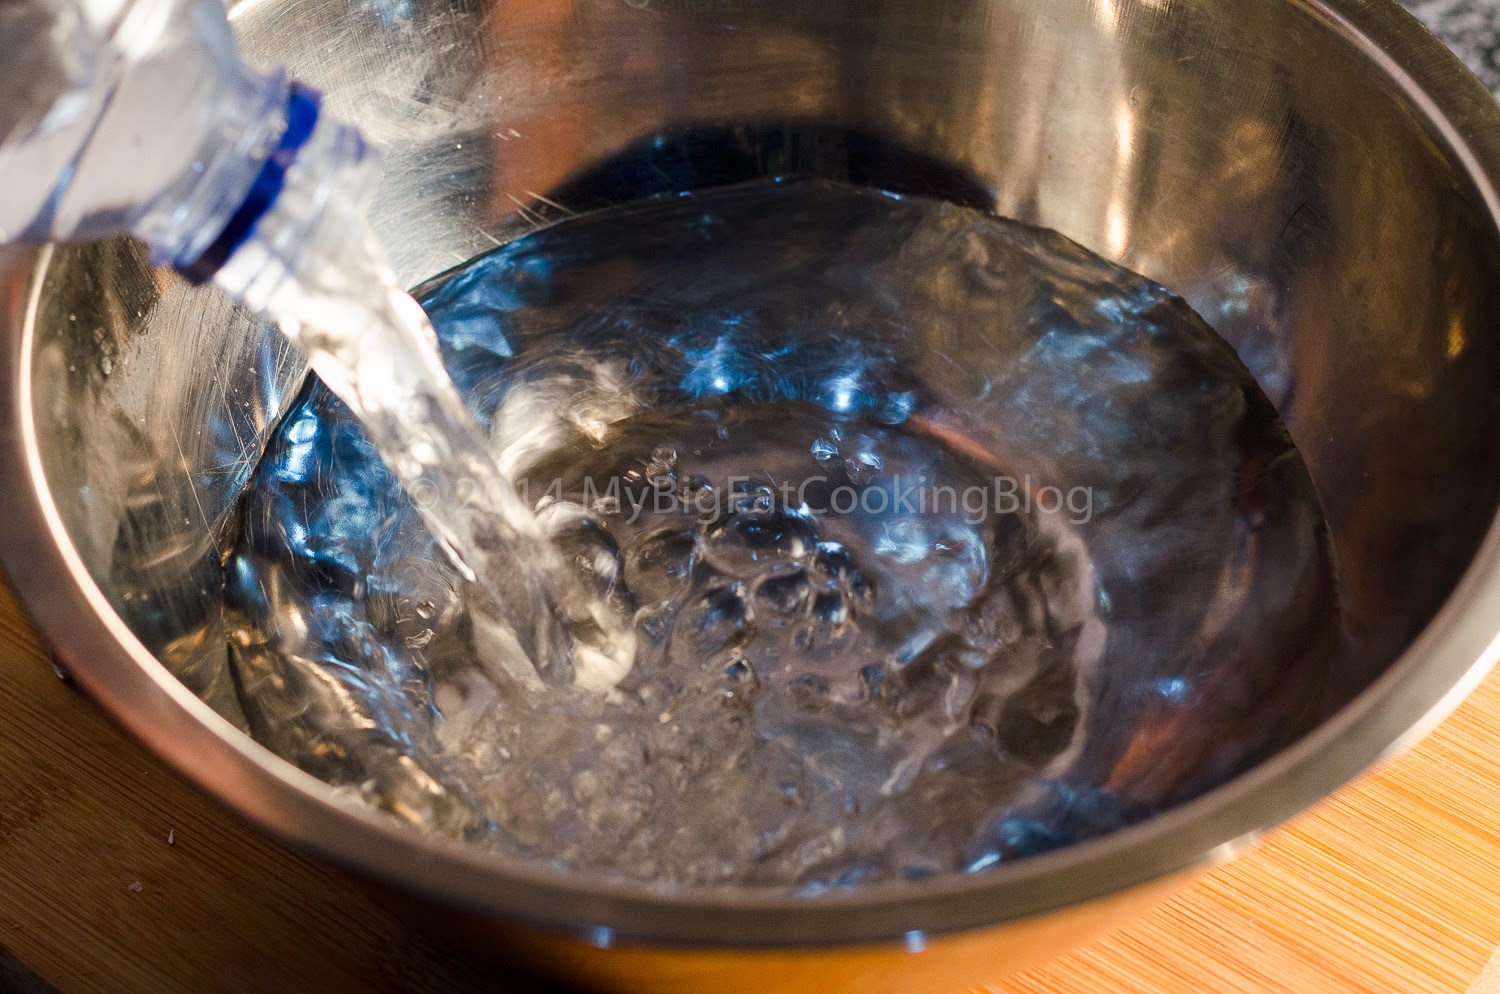
Step 1 – First things first, let’s make the Brine. Mix the Water, Salt, Peppercorns, and Garlic
together. Stir until all of the salt has dissolved.
For those who don’t know, Brine
is a salt-based solution that can make the driest chicken juicy. In short, it
can make the muscle tissue hydrated with moisture. It’s totally customizable to
your own taste bud. Like chili? Add ‘em. Cinnamon? Add ‘em. Star Anise? ADD
‘EM. There’s no limit.
 |
| Start with Water |
 |
| Peppercorns |
 |
| Salt and Garlic! |
 |
| Stir until all salt has dissolve. |
Step 2 – Put the Chicken
into the brine and let sit for at least 4 hours. Preferably, overnight.

Here's some proof how brining changed the Chicken meat;

The left one is raw, the right
one is brined. You can tell that the right one is hella juicy ain’t it?
Step 3 – Heat a non-stick pan on high. Pour some cooking oil, and
let it smoke. Meanwhile, take your chicken out of the brine and dry it out with
paper towels. As always, ensure it’s
in room temperature!!

Before seasoning, give a nice
bash with a meat tenderizer (or anything hard and blunt) to ensure even
cooking. And season them with Salt and
Pepper on both sides.
 |
| Bashing without worry; cover the chicken with plastic wrap before smashing it |
 |
| Seasoning. Salt and Pepper. |
Step 4 – Once the pan is hot, put the chicken in and DON’T, F*CKING, MOVE IT. Let it sear
for a good 4-5 minutes. After that, give it a flip and cover. This will help
cook the insides while still giving it a nice char marks. After another 5
minutes, it’s done!
 |
| Don't let this move. Seriously, don't give in to temptation! |
 |
| Isn't she lovely? |
 |
| Cover will help cook the insides! |
Step 5 – Serve!

One can’t deny that Chicken
Breast is the go-to meat for main course. With this trick I just taught you,
people will be in awe. If there’s any other easy way to cook up juicy chicken
breast in a relatively short time period, please let me know. Because at this
moment, I don’t think there aren’t!
Please give this recipe a go.
Tell your mum, your dad, your girlfriend/boyfriend, anyone you knew who might
be interested in this daring recipe. Your support helps me keeping this blog up
and running!
Cheers
xx


