Saturday, February 22, 2014

022 - Milk Instant Ramen (a cure for munchies)

Lately, there has been a buzz in the internet about this crazy dish that swapped the regular water used in instant ramen with milk. You read that right. MILK. Dairy and instant ramen, that’s not something you hear every day doesn’t it?

I googled the thing and it turns out the origin of this dish in Indonesia is a bit vague (I’m still assuming a desperate student with heavy munchies on month end came up with this), but it apparently gained popularity early-mid 2013-ish with this warung (think a small, dark stall with cheap and tasty food) at Yogyakarta brought it into the spotlight.

Most of people who’ve tried the recipe recommend the use of ingredient I always hated in instant ramen: Cheese and Butter. Dude, seriously, Instant Ramen is no Italian dish. STAHP.

Anyway, the recipe is fairly cheap. It’ll probably cost you IDR 6.000-7.000 (US$ 0.60-0.70!) if you’re sticking with the basics. But my version will cost you a bit more, but trust me, it tasted like one hell of a fusion dish!

Without further ado, I present to you….MILK INSTANT RAMEN. (The name sucks, I know).

You will need:


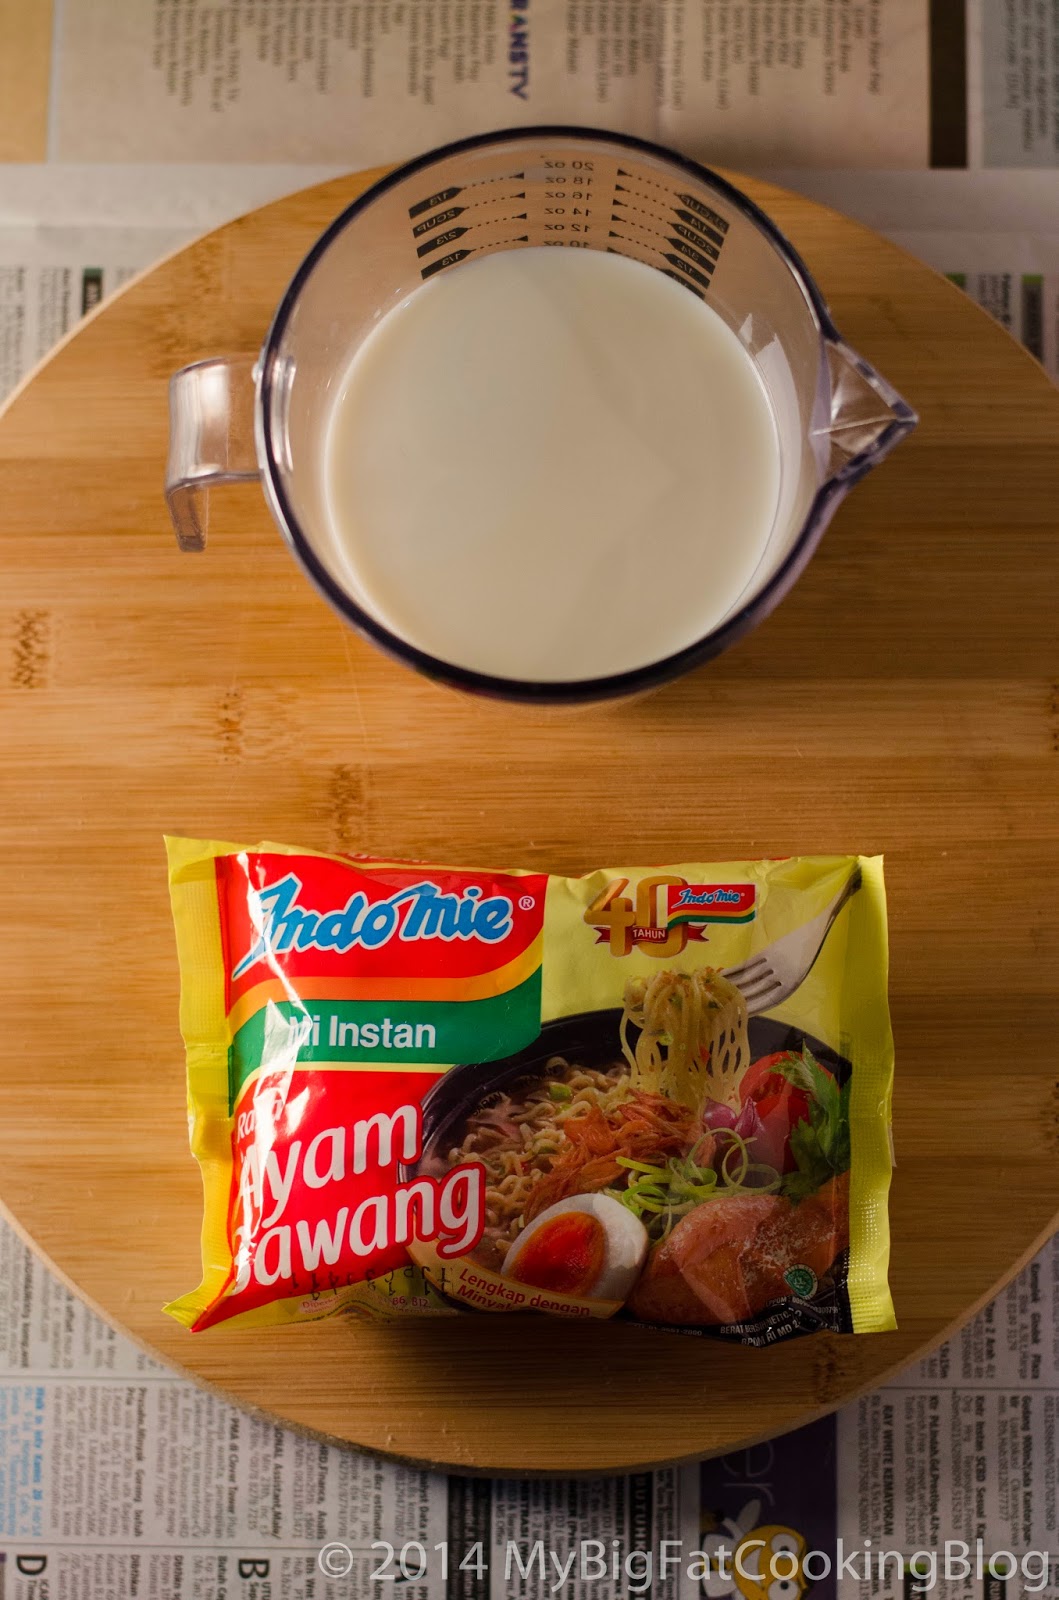
1 packet of soupy instant ramen of your choice. Indomie is the one for me, NOTHING ELSE COMES CLOSE

300 ml of plain milk. Feel free to substitute with your favorite milk!

THAT’S IT!!

BUT…..since this is my twist on the recipe, I’m adding:


1 tsp of smoked paprika powder
½ tsp of garlic powder
2 tsp of sesame oil (this shit is magic, trust me)

For the topping, you are free to choose. I’m going with:


1 soft boiled egg
Heaps of sautéed shitake mushrooms. Stir fry the mushroom with a bit of olive oil, season with salt, finish with a splash of mirin.
Garnish with enough spring onion.

Ready? Here We Go!

Step 1 – Cook your instant ramen as instructed. After it’s done, strain and rinse under running cold water. Set it aside for a while, just like your bittersweet memories from the past. LOL JK. That thing should be forgotten!

Step 2 – Heat a small saucepan over medium high heat, and pour in your milk. Let the milk come up to a boil, BUT DON’T LET IT BOIL. Boiling the milk will make this weird membrane-y thing pop up, and it looked ugly. Wanna prevent this from happening? Stir the milk constantly. This process should take around 4-5 minutes, depending on the temperature when the milk hits the pan.


Pour all your feelings, whoops, milk out.

Stir, stir, stir

Step 3 – Remember the spice pack that came with the ramen? Put it in! But skip the oil! Once boiling, if you’re taking my step on the recipe, add in your paprika powder, garlic powder, and sesame oil, and stir constantly, again, preventing it from boiling. By this time, the broth will smell like heaven (thanks to the sesame oil). After a minute or two, the broth is done!

Warning: More MSG than you can handle


Step 4 – Serve!


Remember the toppings? Yes, this is what I use. The egg was boiled for around 6 minutes, and was cut with dental floss to ensure a clean cut. Knife won’t do in this kind of job!

I would describe the taste of this dish to be a fusion of Italian-Asian. The milk help to create this creamy-almost Italian-esque flavor, while the sesame oil made it whole lot more Asian. Interesting combination I must say!

Anyway, give this a go, you’ll be hooked in no time.


Peace

xx


Saturday, February 15, 2014

021 - Portobello Mushroom Burger! (Vegetarian Friendly!)

Hey vegetarians, boy, do I have a surprise for you! I managed to recreate one of the best veggie burger recipes around with my twist on it. All hail the PORTOBELLO BURGER

Portobello mushroom is your neighborhood regular ol’ button mushroom all grown up and ready to go hara-kiri for your indulgence.

This burger tasted good. Seriously! If I were to describe the consistency, it tasted exactly like meat, only juicier.

Here’s everything you’ll need:


1 Large Portobello Mushroom cap
1 Burger Bun
1 Slice of Ripe Tomato
1 leaf from a Romaine Lettuce
1 slice of cheese (cheddar worked wonder)
4 tbsp of Olive Oil
1 tsp of Salt
1 tsp of Pepper

(Optional – Carrot+Cucumber Pickle)

20 grams of Carrot – Shaved
20 grams of Cucumber – Shaved
2 tbsp of Apple Cider Vinegar
½ tsp of Salt
1 tsp of Sugar

(Optional – Spread)
1 tbsp of Mayonnaise
1 tsp of Wasabi.

Ready? Here We Go!

Step 1 – The pickle we’re going to make is dead easy. Put all your shaved carrot and cucumber into a bowl and mix it with the vinegar, sugar, and salt. Stir to combine, and let sit while we cook the burger. Instant and easy ain’t it?

Carrots goes in

So does the cucumber

Vinegar Bath

Sugar shower

Salt Rain

Calm after the storm


Step 2 – Create a slice across the mushroom cap, and cut off the bottom stem. Sprinkle generously with salt.


There goes the stem

na na na na na SALT RAIN


Step 3 – Heat your pan and drizzle it with olive oil. Use high heat setting. Once the pan is smoking hot, put your mushroom in. Be VERY careful, I burned my hand doing so. Leave the mushroom be for around 3 minutes before the first flip.


Step 4 – Flip your mushroom to cook the otherside. By now, the side you just flip would be golden brown. SQUISH IT. This will help remove the excess moisture inside the mushroom. And after that, this is purely optional, I give it a drizzle of Worcestershire sauce. Leave it to cook for another 2 minutes before the final flip.

After the initial flip

SQUISH

That's better!

WORCESTER, I'M CALLING YOUR NAME


Step 5 – After the final flip, lay down the cheese, and cover the pan to steam and melt the cheese. After about a minute or so, it’s DONE!


Step 6 – Assemble! And remember, don't forget to toast the bun! Here’s how I do the assembly:


Bread

Wasabi Mayo

Romaine Lettuce

Tomato

Mushroom

Pickle

Ready to swallow some saliva?


Okay, here’s a fun fact: I ate the whole burger after the last picture. LOL
As always, give this a try, it’s a much much healthier alternative to fast food burger, and it tasted so much better too!

Peace

xx

Saturday, February 8, 2014

020 - Fast and Easy Pan Seared Salmon!

Growing up, I was never a fan of Fish. Every time a fish is served on the table, I would often skip it. But right now, it is one of my favorite dishes to whip up. Fish (especially the one that came from the sea), offers a great amount of Protein and other necessary nutrients for the body. In short, it's a great food loaded with healthy stuff, and (get this), it's cheap. Well, most of it ;)

Today’s fish dish will feature the one fish that has got the hypest of hype among Indonesian food goer: Salmon. Loaded with Omega 3 (that’s healthy oil I heard), and tasted super succulent, this will steal the hearts of the people who eat it! Don’t like fish? YOUR LOSS.

You will need:


1 piece of Salmon fillet. Approximately 150 grams per person. Get the freshest Salmon you can get, avoid frozen ones. 
1 tsp of freshly ground black pepper. I just happen to have multi colored peppercorns, so I used those.
1 tsp of coarse sea salt. DON’T substitute this with table salt. Seriously, DON’T
2 tsp of ground paprika.
2 tbsp of olive oil. Or just enough to cover the whole surface.

Ready? Here We Go!

Step 1 – Get a kitchen towel, and dry the fish thoroughly. Remember, wet fish equals soggy fish. No no.


Step 2 – Sprinkle salt, pepper, and paprika generously. Give that bad boy a rub, a SPANK if you insist (mehehehehehhe). Afterwards, give it a nice oily massage with the olive oil (again, mehehehehhehe)

Salt

Pepper

Paprika

Olive Oil

Ain't that a beaut?

Step 3 – Heat your nonstick pan on a medium high heat. On my cooktop, it’s flame mark 8 out of 12.

Step 4 – Once the pan is searing hot, put your salmon in and leave it still for around 2-2,5 minutes to develop that lovely brown crust. Dude, seriously, don’t move it. That ain’t cool


Step 5 – The fish will tell you when they wanted a flip. How do you know you might ask? See the edges, it should be pale by now. When you see it, flip it! Leave it be for another 2 minutes, but this time around, turn the heat down to medium to cook the insides.


Step 6 – Plate


Well, ain’t that a thing of beauty? This Salmon is best served with a hearty green salad with simple vinaigrette and baby potatoes on the sides. But, since i have neither of those at home right now, i laid it over a bed of sauteed green onions ;)

Give this a go, and as usual, if you made one, let me know!

Peace


xx