Saturday, August 30, 2014

047 - LEFTOVER FRIED RICE!

Leftover rice is a curse. It is dry, grainy, and cold. Not exactly a conversation piece. Most people would just throw them out and forget about it. But dude, that is still food. Don’t waste it. 

REVIVE IT!

I’m gonna show you how to take all those leftovers lying around in your kitchen and turn it into an awesome dish by, why of course, turning it into 
LEFTOVER FRIED RICE!

=======================

For 1 serving, you will need


200 grams of Leftover Rice.  Preferably medium/long grain rice. Cooked a day before.
70 grams of Frozen Mixed Vegetables. Let it thaw in room temperature, or leave it in boiling water for 1 minute to thaw.
1 Garlic
2 Shallots (Bawang Merah)
Any kind of leftover meat/protein
1 tsp Butter/Margarine
1 tsp Dried Chili Flakes
1 Eggs
Salt to taste
Pepper to taste

=======================

Ready? Here We Go!

Step 1 – Mince both Garlic and Shallots finely. Chop your leftover protein into bite size pieces. I just happen to have leftover burger patty, so i'm chopping that into small pieces. Set aside for now

Tip: Bash the garlic to make the skin come off easily
Mince with a rocking motion.
Shallots are cut the same way too
Shame i had to cut this up, but remember, no sacrifice, no glory.


Step 2 – Crack an egg, add a bit of salt, give it a quick whisk. Heat a non-stick pan on medium heat and give it a bit of oil. Cook the egg quickly for about 1 minute. Set aside

Add caption
Gently swirl, until all the liquid turns solid
Slice the eggs with the spatula.

Step 3 – Turn the heat on the stove to high; add some oil on the pan. Once smoking hot, add Shallots and Dried Chili Flakes, stir until fragrant.

This is Canola Oil i'm using
Shallots and Chili Flakes!

Step 4 – Add the Vegetables in (make sure they’re dried prior to cooking!) and the Garlic too! Stir for about 45 seconds, and then add the Rice.

Lovely drop!
Garlic goes in
..so does the Rice!

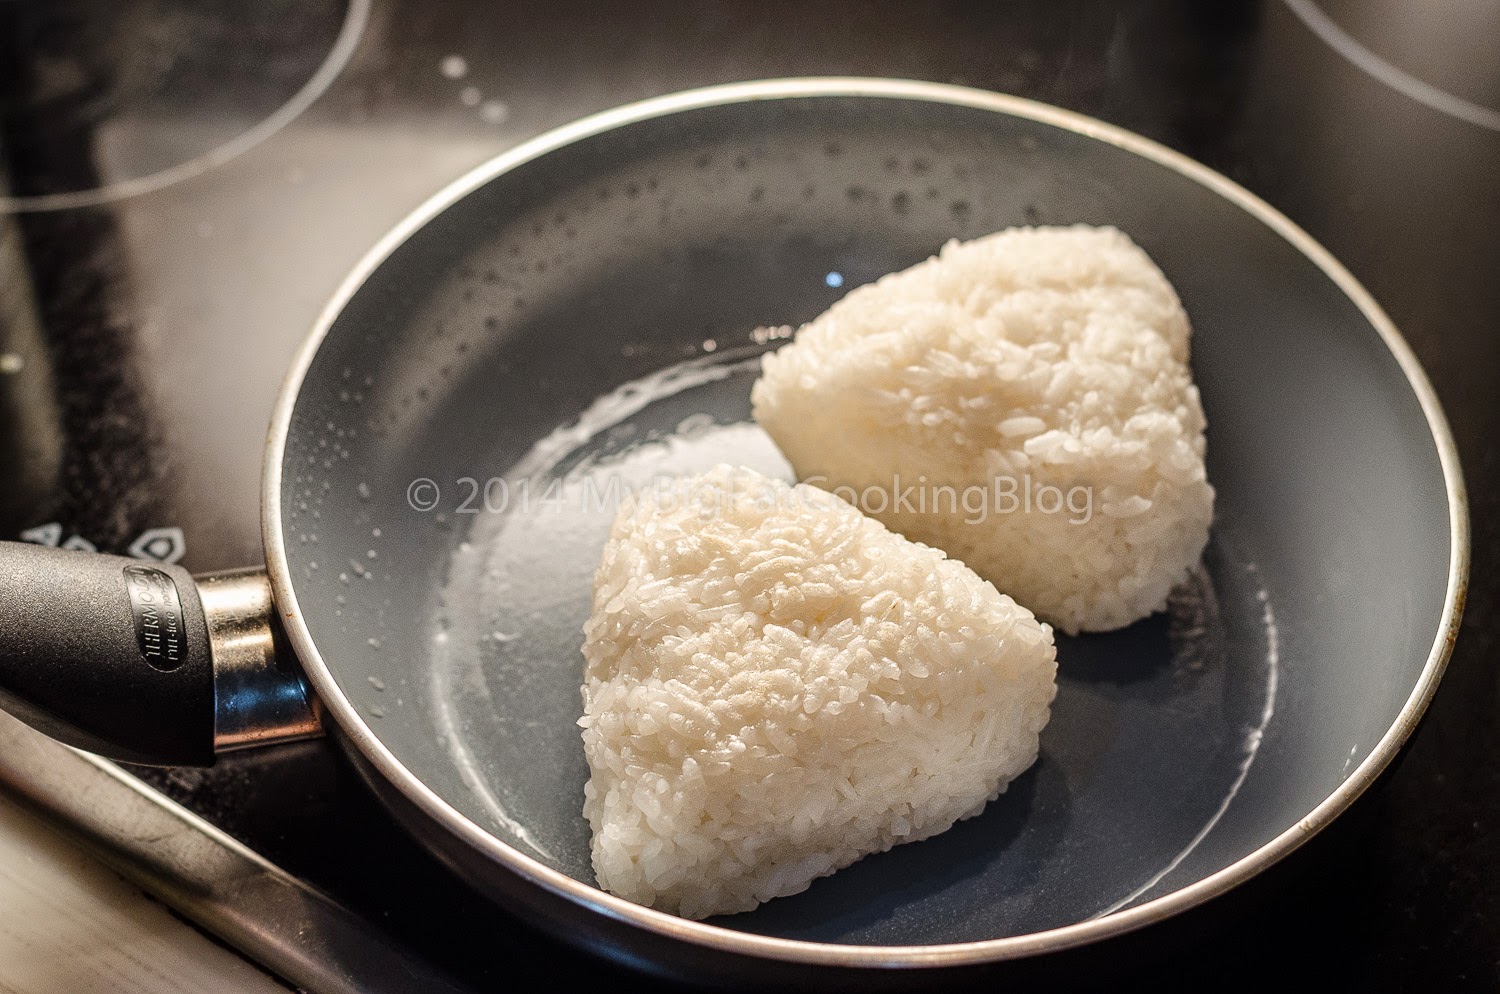
Step 5 – While you keep the movement in the pan going, here’s a neat trick; ADD A SPLASH OF WATER TO THE PAN! This will help make the rice fluffy again, almost like Phoenix Down reviving Cloud Strife while he’s up against Jenova!. After that, add the Butter (or Margarine), and season with Salt and Pepper to taste. Stir!

Water was already in prior to this Margarine action.
Salt, Pepper.
Mix!

Step 6 – Add the Eggs and Protein in, stir gently. And guess what?


Step 7 – Serve!


The taste of this dish is awesome! It blows my mind what simple Garlic and Shallots can do to leftover Rice! Not to mention the steam action from the splash of water!

With prep work and cooking, it took me less than 10 minutes to cook this. Time saving? Yes. Money saving? DEFINITELY!

Serve this with a side of Shrimp Cracker and Chili Balado if you like!

Give this a go!

Cheers
xx


Sunday, August 24, 2014

046 - Yaki Onigiri #EasyCooking

Hello again to my loyal reader out there!

Seriously, couldn’t’ve done it without your support. I’m sending virtual brohug to you all *brohug*

This week recipe is still from Japan. It’s fast, it’s so quick, and it is delish. 

It’s YAKI ONIGIRI.

=====================
For 2 large Onigiri, you will need;


1 Cup of measured Rice. Skip the stove, use rice cooker. Add 1,3 cups of water, and 15 minutes later, VOILA! Cooked Rice! This will yield about 2 large handfuls of rice.
3 tbsp of Japanese Soy Sauce.

As for fillings, there are no limitations. I usually stick to the basics, like Katsuobushi or Salmon. Just use your imagination!

======================
Ready? Here We Go!

Step 1 – Get a non-stick pan, heat it on medium-high.

Step 2 – Get your cooked rice ready. It doesn’t have to be piping hot, because, Hello, y’all wouldn’t wanna have a burnt hand do ya?. Warm to touch is more than enough. Wet your hands and grab a big handfuls and shape 'em. Oh right, don’t forget your fillings if you feel like it!

Contrary to popular beliefs, Onigiri is not Triangle all the times. There are Onigiri in round shape, oval shape, even rectangular shape! I myself like it classic, Triangle.

Please use clean water for your hands. No, seriously.
Yeah, Rice love it wet. mehehehehhehe
A big handfuls
Shape 'em!
Triangle!
I ended up with 2 large and 1 small sized onigiri with the amount of Rice listed above.

Step 3 – Lightly oil the pan and put the Onigiri in. Let it sear, and utilize a careful eye, don’t let it burn. Once a crust has developed, flip it over and baste lightly with Soy Sauce. Give it a flip every 2 minutes. Do this as many times as you like to create a lovely golden crust! I spent a good 10 minutes on this batch.

Canola Oil was used this time around. Simply for higher heat resistance
Wipe excess oil clean
Start grilling!
After the first flip
Glaze!

Step 4 – Serve!


This Yaki Onigiri is warm, crusty, salty, and sweet all at the same time!

You can eat it as is, or with a side of Miso Soup and Grilled Sanma. Talk about homey feeling.


Cheers

xx


Sunday, August 17, 2014

045 - Korokke #EasyCooking

Korokke 

(Japanese: ã‚³ãƒ­ãƒƒã‚±) is the Japanese name for a deep-fried dish originally related to a French dish, the croquette. It was introduced in the early 1900s (Wikipedia).

I Love Korokke. It is one of those Japanese comfort food that complements a meal perfectly. Heck, it can even stand on it's own! Serve with a side of Cabbage and Tonkatsu sauce, and you got yourself a kickass meal.

==========================

For 8 patties, you will need:


500 grams of Potato. Skin peeled off
250 grams of Ground Beef
150 grams of Onion. Cut into small cubes a.k.a finely minced.
Salt to taste
Pepper to taste
1 tsp of Sugar
1 Cup of All Purpose Flour
3 Cups of Panko (Japanese Breadcrumbs)
2 Eggs
Oil for frying
Water for boiling

============================

Ready? Here We Go!

Step 1 – Heat up a small amount of oil in a non-stick pan on medium-high heat. Once the pan is hot, put the onions in and let it cook through until half-translucent, about 2 minutes. After that, put the beef in and mix well. Season with salt, sugar, and pepper, and give it a taste. If the taste is not to your liking, adjust to your palate! Once the beef has cook through, set it aside to cool while we prepare the potatoes.

Oil
Onion
Vigorous stir!
Meat goes in!
Salt
Pepper
..i added the sugar right before this shot lol

Step 2 – Get a saucepan and fill it up with water. Set the heat to high, and put the potatoes in. Cook the potatoes until tender, about 15-20 minutes. How to know whether it’s done or not? Pierce a knife to the thickest part of the potato. Strain the potato and return it to the sauce pan. Grab a fork (or potato masher if you have), and smash the potato.

Potatoes gotta be nicely submerged!
Hack: Cover the pan to quickly raise the temperature!
This is what it looks like after straining; limp, ready to be mashed
Mash away!

Step 3 – Add the beef/onion mixture and mix well. Transfer it into a wide shallow dish. Divide into 8 pieces, and let cool for 10 minutes.


Step 4 – Shape the Korokke into barrels. Assemble a breading station; Flour, Eggs, Panko. The breading flow goes like this; flour-eggs-flour-eggs-panko. The double dredging of the flour helps maintain the shape of the Korokke so it doesn’t explode while frying.

Before
*mush mush mush*
TA DA!!!

Flour
Eggs
Flour, AGAIN
Eggs, also, AGAIN
PANKO!


Step 5 – Heat plenty of oil enough to submerge the Korokke on medium high heat. The frying will only took 1 minute, no more. We just want the breading to turn golden brown. Fry in batches of 2, and strain in paper towel once done. Don't forget to strain burnt Panko between each batch to prevent them ruining the next Korokke in line!

This is how Japanese people know their oil is ready; the chopsticks


Strain the stray Panko!

Step 6 – Serve!


Korokke is commonly served with Tonkatsu sauce. Because, well, that’s the norm in Japan. But, if you’re cheap and don’t want to splurge more on the sauce, just eat it with chili/tomato sauce, it worked too!


Cheers


xx