Showing posts with label Easy Cooking. Show all posts

Sunday, July 12, 2015

074 - SMORES DIP

Smores. Dipped. Effing. Awesome

SMORES DIP

For 1 serving, you will need;


-          Marshmallow – LOTS OF IT
-          Chocolate Chip – LOTS OF IT
-          Crackers – LOTS OF IT

Why ‘LOTS OF IT’? Because only YOU can know whether it’s enough or not!

Ready? Here We Go!

Step 1 – Get an ovenproof dish, unwrap the chocolate chips and fill the bottom with it.


Step 2 – Arrange the marshmallow so it’s looking as fine as the lovely lady next door


Step 3 – Heat the oven to 200° Celsius. Once hot, put the dish in, and let it brown for approximately 10 minute or until it reaches this beautiful golden brown color. Once it reaches that stage, you’re finished!

Step 4 – SERVE! 


Cheers

xx

Sunday, May 17, 2015

071 - Nutella Marshmallow Sandwich!

Comfort food is my kryptonite. I can never say no to them. Fried Chicken, Mac and Cheese, Grilled Cheese Sandwiches. Ugh. Give me any of those at any time during the day, and I’ll love you forever.

Now, you’ve all heard Nutella before right? Uh huh, the nectar of Gods, different from anything else, and your only key to reach cloud no. 9.

How about Marshmallow? These chewy little buddies is sweet and pack full of surprises. What kind of surprises? We’ll see!

Let’s make NUTELLA MARSHMALLOW SANDWICH!

For 1 sandwich, you will need;


- Bread - 2 Slices - Get those square cut white bread, they’re born for this shit.
- Nutella - 1.5 Tbsp
- Marshmallow - 6 Large ones - Get the plain flavored one
- Butter / Margarine - 1 Tbsp
-     
Ready? Here We Go!

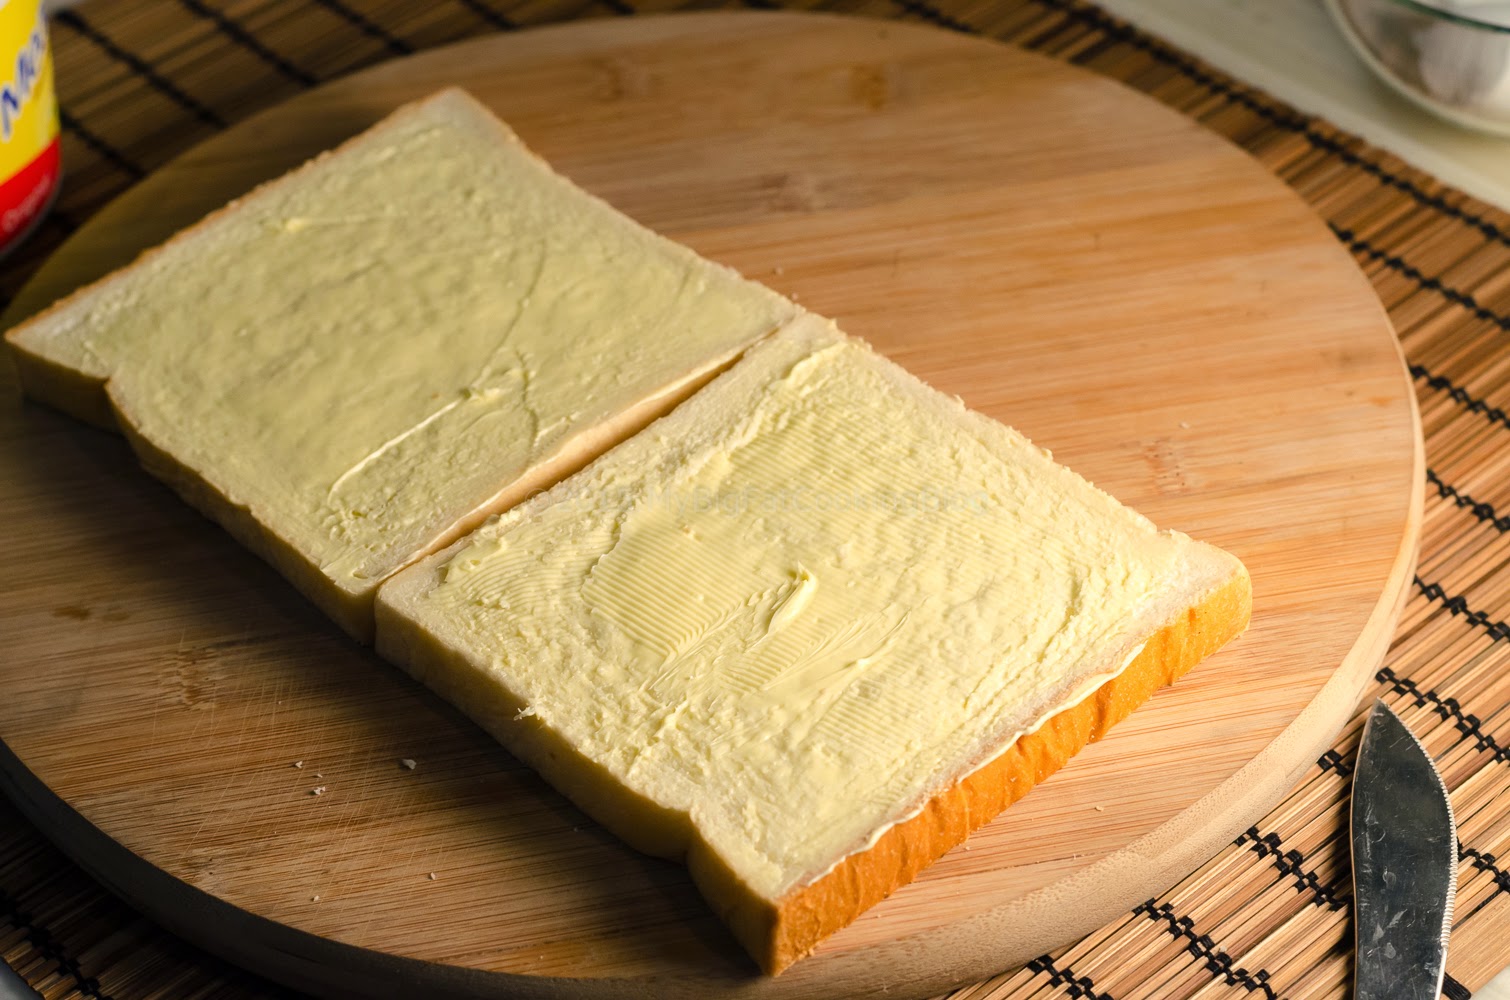
Step 1 – Spread Butter/Margarine evenly on the outside part of the bread.


Step 2 – Give the bread a flip and spread Nutella on the inside part of the bread. Arrange the Marshmallows neatly in the center part of the bread. Remember, they will melt, so let’s not overstuff them aight? Once neat, place the top part of the bread over the bottom part.


Step 3 – Heat a nonstick pan (with cover) on medium heat for approximately 2-3 minutes. Once it’s hot, add the bread in, and cook without moving for 2 minutes, covered. Give the sandwich a press with a spatula every now and then. Keep on a lookout so they don't burn. Don't tell anyone i didn't warn you about this!


Step 4 – Give the bread a flip, and cook the other side for 2 minutes. You will notice the marshmallow starting to melt and infused with the Nutella. Give it another flip and cook for another 1 minute. By now, the marshmallows are still in shape, but already gooey inside, so give those boy a press down so they spread on the inside!


Step 5 – Serve!


 Cheers

xx

Saturday, August 30, 2014

047 - LEFTOVER FRIED RICE!

Leftover rice is a curse. It is dry, grainy, and cold. Not exactly a conversation piece. Most people would just throw them out and forget about it. But dude, that is still food. Don’t waste it. 

REVIVE IT!

I’m gonna show you how to take all those leftovers lying around in your kitchen and turn it into an awesome dish by, why of course, turning it into 
LEFTOVER FRIED RICE!

=======================

For 1 serving, you will need


200 grams of Leftover Rice.  Preferably medium/long grain rice. Cooked a day before.
70 grams of Frozen Mixed Vegetables. Let it thaw in room temperature, or leave it in boiling water for 1 minute to thaw.
1 Garlic
2 Shallots (Bawang Merah)
Any kind of leftover meat/protein
1 tsp Butter/Margarine
1 tsp Dried Chili Flakes
1 Eggs
Salt to taste
Pepper to taste

=======================

Ready? Here We Go!

Step 1 – Mince both Garlic and Shallots finely. Chop your leftover protein into bite size pieces. I just happen to have leftover burger patty, so i'm chopping that into small pieces. Set aside for now

Tip: Bash the garlic to make the skin come off easily
Mince with a rocking motion.
Shallots are cut the same way too
Shame i had to cut this up, but remember, no sacrifice, no glory.


Step 2 – Crack an egg, add a bit of salt, give it a quick whisk. Heat a non-stick pan on medium heat and give it a bit of oil. Cook the egg quickly for about 1 minute. Set aside

Add caption
Gently swirl, until all the liquid turns solid
Slice the eggs with the spatula.

Step 3 – Turn the heat on the stove to high; add some oil on the pan. Once smoking hot, add Shallots and Dried Chili Flakes, stir until fragrant.

This is Canola Oil i'm using
Shallots and Chili Flakes!

Step 4 – Add the Vegetables in (make sure they’re dried prior to cooking!) and the Garlic too! Stir for about 45 seconds, and then add the Rice.

Lovely drop!
Garlic goes in
..so does the Rice!

Step 5 – While you keep the movement in the pan going, here’s a neat trick; ADD A SPLASH OF WATER TO THE PAN! This will help make the rice fluffy again, almost like Phoenix Down reviving Cloud Strife while he’s up against Jenova!. After that, add the Butter (or Margarine), and season with Salt and Pepper to taste. Stir!

Water was already in prior to this Margarine action.
Salt, Pepper.
Mix!

Step 6 – Add the Eggs and Protein in, stir gently. And guess what?


Step 7 – Serve!


The taste of this dish is awesome! It blows my mind what simple Garlic and Shallots can do to leftover Rice! Not to mention the steam action from the splash of water!

With prep work and cooking, it took me less than 10 minutes to cook this. Time saving? Yes. Money saving? DEFINITELY!

Serve this with a side of Shrimp Cracker and Chili Balado if you like!

Give this a go!

Cheers
xx


Saturday, August 2, 2014

043 - Garlic Bread #EasyCooking

I’m pretty sure most of you have been to Pizza Hut before. And I bet 90% of you do the same thing that I do whenever I’m there; ordering starters before the pizza. And I’m 100% sure the starters are GARLIC BREAD. Did I guess it right? Man! David Blaine gotta run for his money!

Yes Sir and Madam, today we’ll be making GARLIC BREAD. 

No no, don’t worry; this one is made on a fry pan instead of an oven. You know, cause, it’s easier for most of you (I know not everyone has an oven in their household!)

The great thing about this dish is, we’ll be turning the Butter into Clarified Butter, which tasted better, and also cooks better! Making this dish a top notch!

=====================

For 1 servings of 6, you will need:


1 medium sized Baguette. Baguette is a traditional French bread. It has a thick crust with a soft interior. What’s not to like?
2 tbsp of Butter. Preferrably Salted kind. If you’re using Unsalted, you will need to add a bit of Salt to compensate.
6 Cloves of Garlic
2 tsp of Dried Parsley

=====================

Ready? Here We Go!

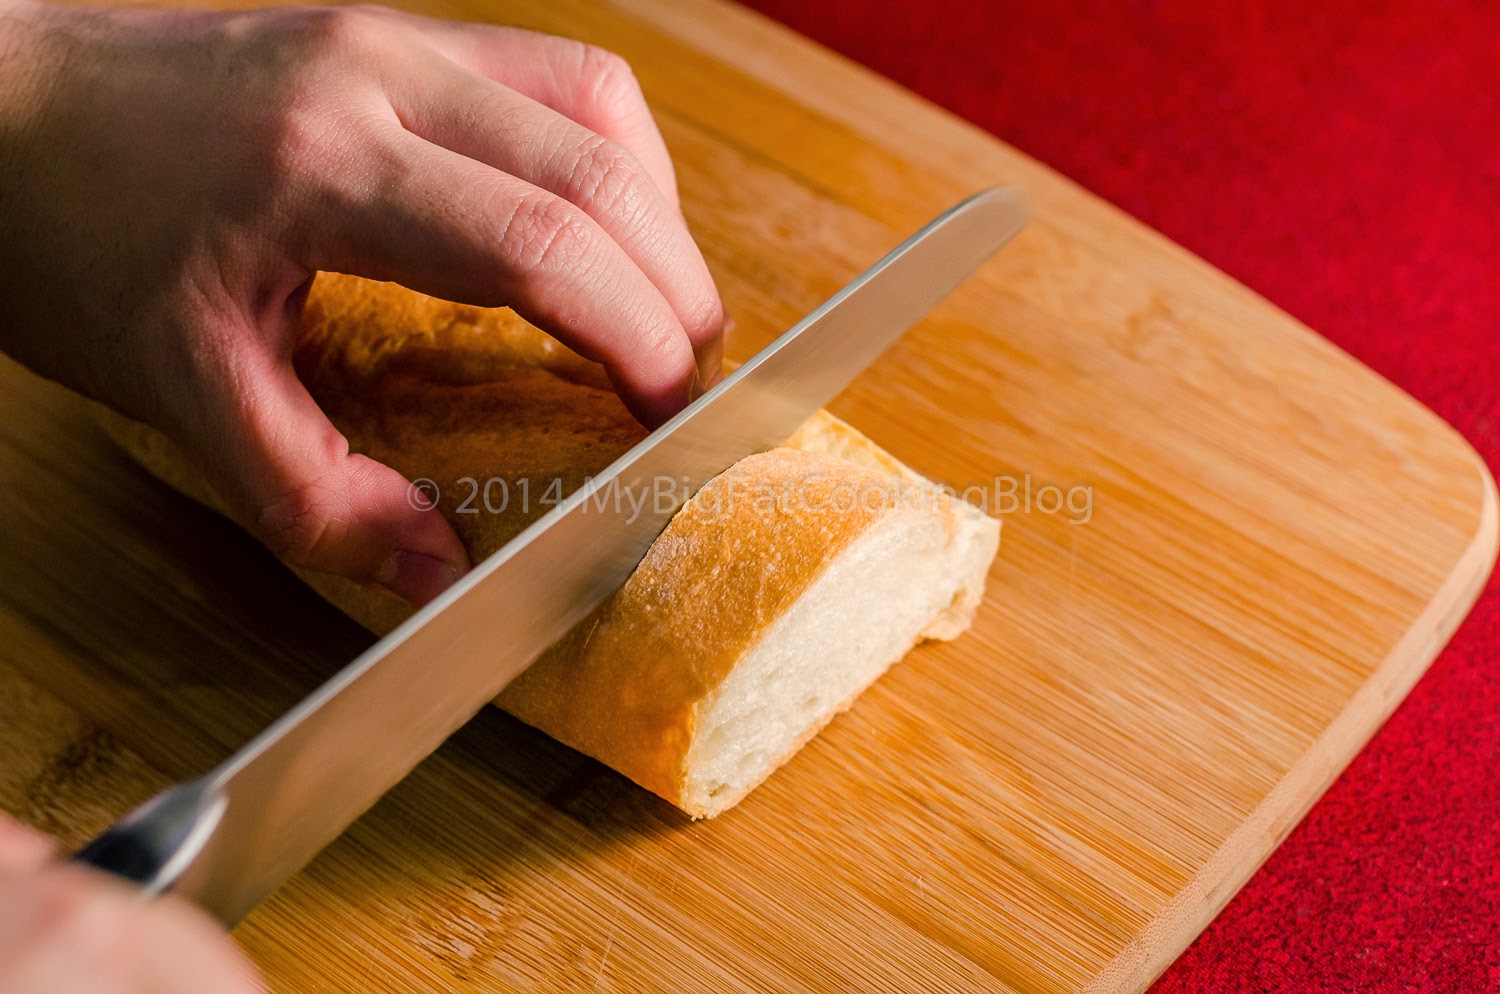
Step 1 – Get a pan, turn up the heat to medium. Meanwhile, peel and smash the Garlic, as if you would smash the head of your enemy (HAHA!). Don't forget to cut the Baguette too!


Never liked the tip. Ugh.

GARLIC. SMASH


If you got a bread knife, please use it. It'll give you the best cut. EVER.

Step 2 – Measure the butter and put it into the pan. Add the Garlic and let it cook away. Sorry, I meant melt away!


Gotta love the splashes!
Step 3 – The melting process should take around 30 seconds (room temperature butter), to 1-2 minutes (cold butter). It just so happens that i'm using unsalted butter at this point, so that's why i'm adding a touch of Salt to the pan. Careful, not too much. Nobody likes overly salty Garlic Bread!

Salty benefit
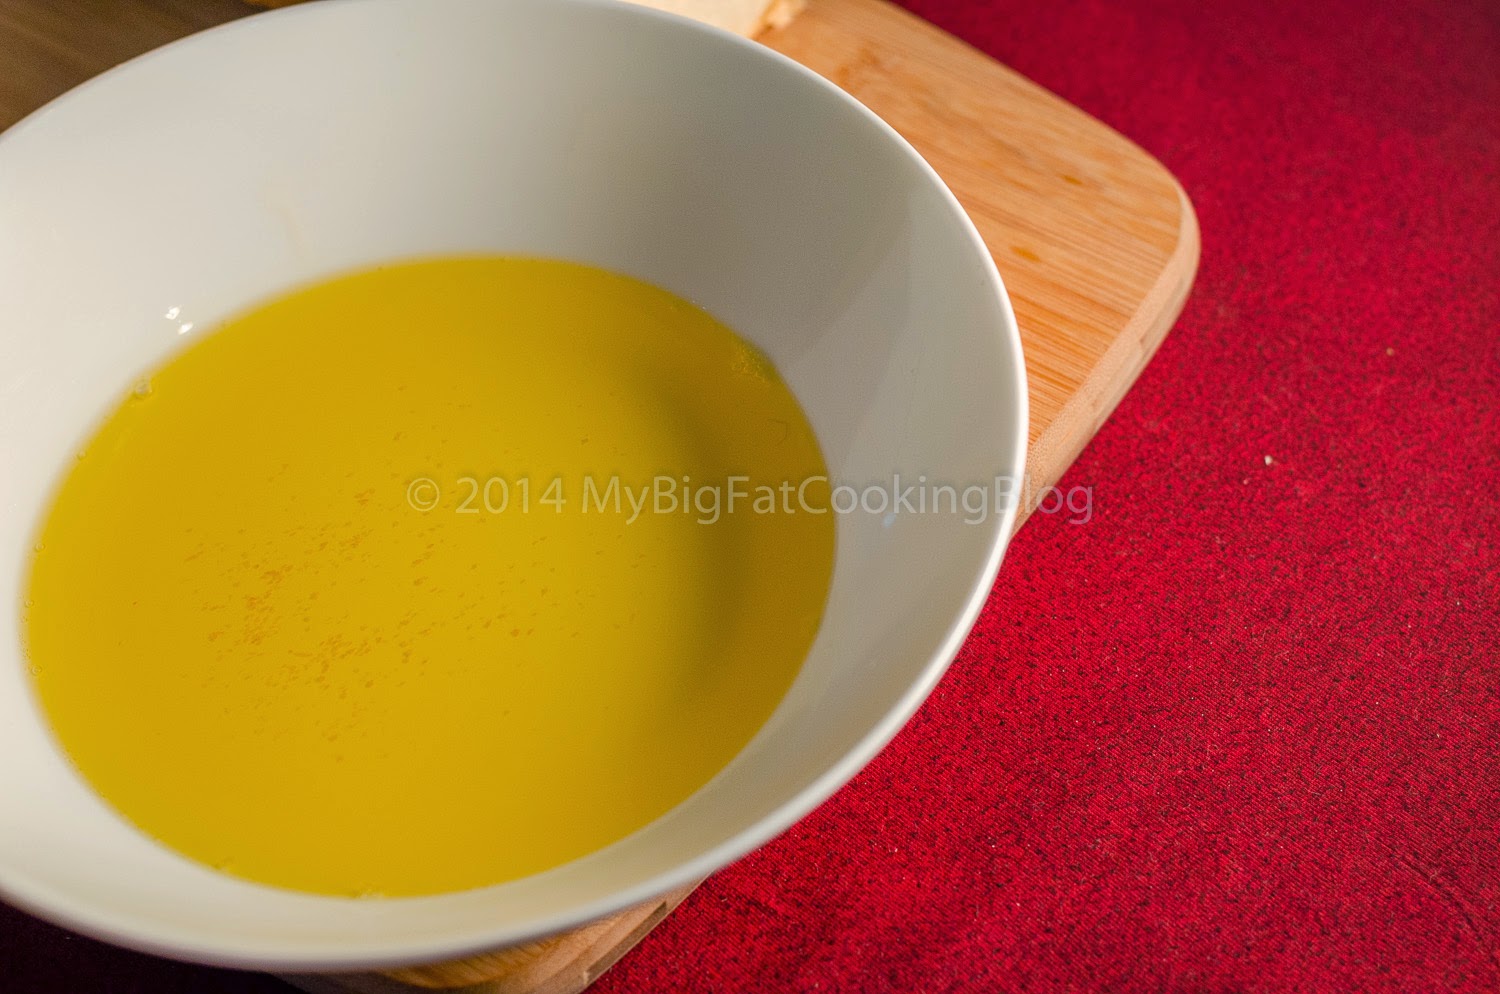
Step 4 - If you notice, there will be white scum forming on top. Grab a spoon, carefully pick it up, and throw it away. It poses no use. Pay attention to the heat, and stir it often to avoid burning the Garlic. You should smell lovely Garlic Butter by now! After it has reached to the point where the garlic has cook off its aroma completely, transfer it into a shallow dish to cool.

White scum? BE GONE
YUM!

Step 5 - Add the Dried Parsley into the Butter, mix lightly.


Step 6 – Heat your non-stick pan on medium low heat. Once hot, carefully dip both sides of the bread to the butter, and cook it. We will leave it be for about 5-6 minutes on each sides! Once golden brown, it’s done!


The Flip!

Golden brown and ready!
Step 6 – SERVE!


Say bye-bye to Pizza Hut. This thing is so-so-so awesome!

Give this a go!

Cheers

xx