Showing posts with label Food Hack. Show all posts

Saturday, August 2, 2014

043 - Garlic Bread #EasyCooking

I’m pretty sure most of you have been to Pizza Hut before. And I bet 90% of you do the same thing that I do whenever I’m there; ordering starters before the pizza. And I’m 100% sure the starters are GARLIC BREAD. Did I guess it right? Man! David Blaine gotta run for his money!

Yes Sir and Madam, today we’ll be making GARLIC BREAD. 

No no, don’t worry; this one is made on a fry pan instead of an oven. You know, cause, it’s easier for most of you (I know not everyone has an oven in their household!)

The great thing about this dish is, we’ll be turning the Butter into Clarified Butter, which tasted better, and also cooks better! Making this dish a top notch!

=====================

For 1 servings of 6, you will need:


1 medium sized Baguette. Baguette is a traditional French bread. It has a thick crust with a soft interior. What’s not to like?
2 tbsp of Butter. Preferrably Salted kind. If you’re using Unsalted, you will need to add a bit of Salt to compensate.
6 Cloves of Garlic
2 tsp of Dried Parsley

=====================

Ready? Here We Go!

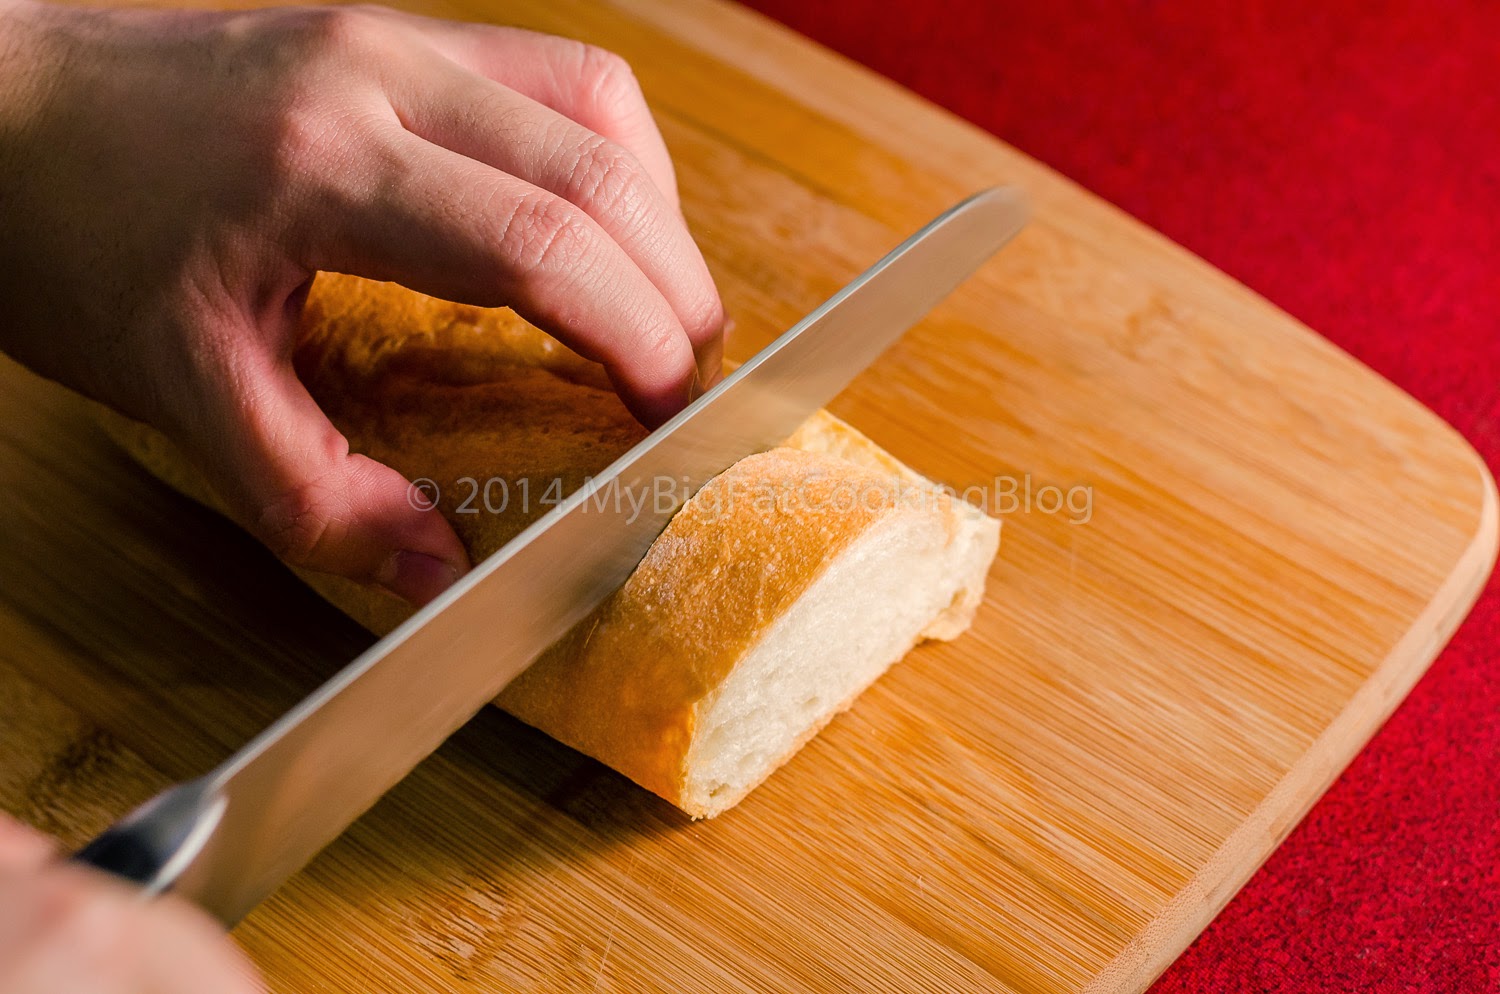
Step 1 – Get a pan, turn up the heat to medium. Meanwhile, peel and smash the Garlic, as if you would smash the head of your enemy (HAHA!). Don't forget to cut the Baguette too!


Never liked the tip. Ugh.

GARLIC. SMASH


If you got a bread knife, please use it. It'll give you the best cut. EVER.

Step 2 – Measure the butter and put it into the pan. Add the Garlic and let it cook away. Sorry, I meant melt away!


Gotta love the splashes!
Step 3 – The melting process should take around 30 seconds (room temperature butter), to 1-2 minutes (cold butter). It just so happens that i'm using unsalted butter at this point, so that's why i'm adding a touch of Salt to the pan. Careful, not too much. Nobody likes overly salty Garlic Bread!

Salty benefit
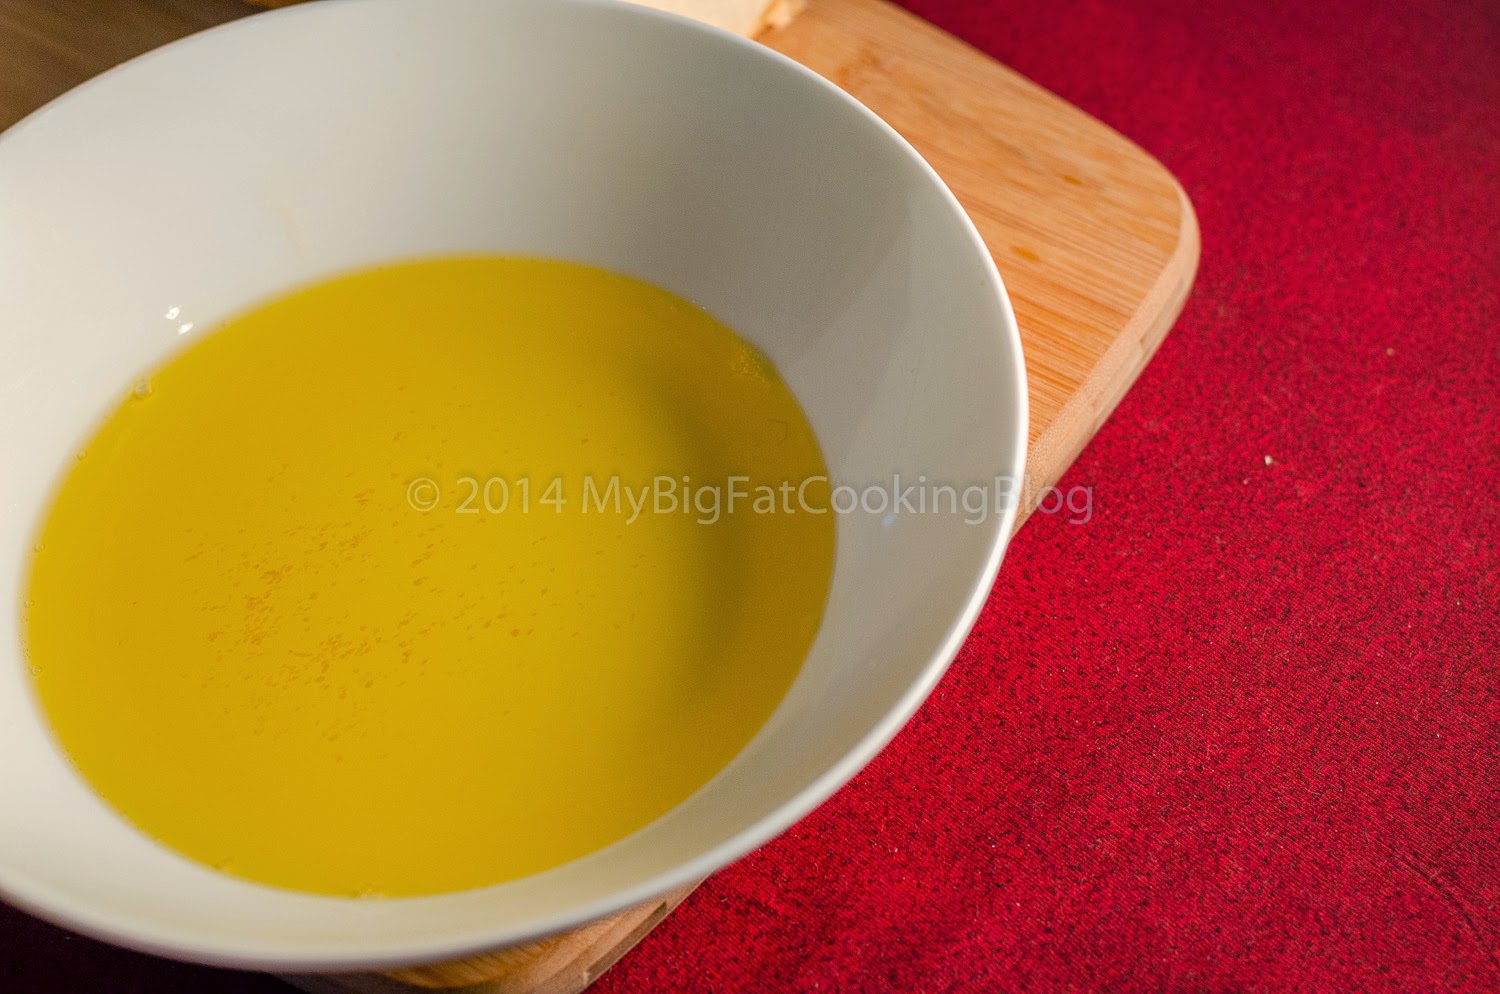
Step 4 - If you notice, there will be white scum forming on top. Grab a spoon, carefully pick it up, and throw it away. It poses no use. Pay attention to the heat, and stir it often to avoid burning the Garlic. You should smell lovely Garlic Butter by now! After it has reached to the point where the garlic has cook off its aroma completely, transfer it into a shallow dish to cool.

White scum? BE GONE
YUM!

Step 5 - Add the Dried Parsley into the Butter, mix lightly.


Step 6 – Heat your non-stick pan on medium low heat. Once hot, carefully dip both sides of the bread to the butter, and cook it. We will leave it be for about 5-6 minutes on each sides! Once golden brown, it’s done!


The Flip!

Golden brown and ready!
Step 6 – SERVE!


Say bye-bye to Pizza Hut. This thing is so-so-so awesome!

Give this a go!

Cheers

xx

Saturday, July 19, 2014

041 - Chocolate Dipped Banana! #EasyCooking

Ied Al Fitr is around the corner my dear readers! You know what that means right? Fatty-cholesterol-laden-yet-oh-my-god-so-good-food around the corner!

As kids, I’m not exactly fond of the main course (but now I do!), I was more of the dessert lover kinda kid. Let it be crackers, sweets, anything! It hits the spot!

But today, let me introduce you to the awesome 2 ingredient dessert you can make with your nephew and kids; CHOCOLATE DIPPED BANANA!

=======================

For 3 bananasicle (yes, that’s a word), you will need:

A TRIFORCE???
3 medium sized Bananas. Make sure it’s Ripe!
110 grams of Dark Chocolate. Always use the ones with a lot of Cocoa Butter in it!
(optional) Rainbow sprinkles
(optional) Crushed peanuts.
3 popsicle sticks

You will also need a tool to coat the Bananas with chocolate. I'm using a silicone baster i usually use for BBQ. But spoon will work fine too!

======================

Ready? Here We Go!

Step 1 – Peel your already-ripened Bananas. Be careful, don’t damage it.

Peely peely peely
2 and a half Banana

Step 2 – Grab the Popsicle sticks; stick it deep inside the Banana, GENTLY. (LOL, this sounded so wrong). Freeze the Banana for at least an hour or two inside the freezer.

Banana: The Stick of (almost) truth
SHOVE IT IN


Step 3 – Grab a microwave proof bowl, and pour the chocolate chip in. Melt the chocolate in 30 seconds burst. It took me 3 bursts of 30 to melt the chocolate completely.


Before
After 30 seconds
After 60 seconds
After 90 seconds. DONE!

Step 4 – Pour the melted chocolate over the freezing Banana. Ensure to coat it completely, after that, you can sprinkle your toppings. I’m going for the rainbow sprinkles!. After this, freeze it for another 4-5 hours to harden completely.


Step 5 – Serve!


A perfect treat for the summer holiday is here! If I were to describe the taste, it actually resembles a banana ice cream with hard chocolate coating on top. Kinda like eating one of those famous ice cream Bar here (*cough* M**n**m), but definitely healthier (Hello, no dairy?)

This will surely be a hit among the youngsters in the family. And those with sweet tooth, too!

Give this a try, and let me know how it turns out!

Peace
xx


Friday, July 4, 2014

038 - Peanut Butter Ramen! #RamenHack

Good evening ladies and gentleman! It is now Friday, 7:19 PM in the evening as I type this. A pretty weird time to be at home and do some blogging some of you might say right? NOPE. 

Any time is a perfect blogging time for me!

Time to check out this new recipe I came up recently.  

I know you love peanut butter. I mean, WHO DOESN’T right? (Too bad for those with peanut allergy though lol). I absolutely love PB. I can eat it out of a jar with a spoon non-stop (I’ll probably stop after I remember it can cause terrible acne to my face, ugh)

Who knew PB also goes well with Instant Ramen? Let me show you how!

This is, PEANUT BUTTER RAMEN

================================

For 1 servings, you will need:


1 Packet of Instant Ramen. I’m using Indomie’s Chicken Onion flavor.
1,5 tbsp of Smooth Peanut Butter
2 Garlic, grated
1 tsp Dried Chili Flakes
1 tsp of Sugar
Pinch of Salt
1 tbsp vinegar. I’m using rice vinegar
(optional) 2 tsp sesame seed oil
(optional) 1 tbsp Gochujang (Korean Pepper Paste, you can read more about it here)

================================

Ready? Here We Go!

Step 1 – Boil your noodles as instructed, bla bla bla, you know the drill. Here’s the catch: Mix the seasonings with the water, and cook the noodle halfway through. We will boil the noodle once again right after the PB paste is done. Set it aside, and Read on!

I can imagine Hell looked a bit like this eh?
Remember how Justin Timberlake used to have this for a hair?
In goes the seasoning
Don't forget the chili too
..and the oil!

Step 2 – Get a non-stick pan, pour about 1 tbsp of cooking oil on medium heat. First, in goes the garlic. Give it a good stir. And then add the chili flakes. Give it yet, another stir. You shall smell that lovely heat by now.

Oil (obviously, duh)
Vampire's eternal enemy (Garlic)
Don't you just love to stir it?
Chili Flakes
Slowly turning into a paste

Step 3 – Add your Peanut Butter! The PB will melt, thanks to the heat. Give it a nice stir, and add the vinegar and sesame seed oil (optional). Continue stirring, and then add the sugar. You will see that the mixture will turn into a paste, and if you fancy, it is now the time to throw in the Gochujang. Give it a nice stir, and by now it shall look like Belacan (Shrimp Paste). Finish with a sprinkle of salt, and set aside.

PEEE BEEE!!!
Stir, then add the vinegar and sesame seed oil (optional)
Sugar, we're going down
Bubbling!
GOCHUJANG!!
Salt to finish!

Step 4 – Reheat the noodle and the broth. Grab a bowl, and put your PB paste in. After the broth gets boiling once again, add it into the paste a little at a time while stirring it. This will prevent lumps, and will make the broth smooth as silk. After you pour every broth, it is time to put the noodles in, and whaddya know? WE’RE DONE!

Step 5 – Serve.


Thank me later folks, this thing is amazing.

Peace

xx