Showing posts with label Milk. Show all posts

Sunday, February 22, 2015

065 - DULCE DE LECHE

Oh my God, I’m back! I’m finally back people!

I know, I know, it’s been too long, I miss you guys, I miss cooking, I miss doing photo shoot, man, I miss everything!

If you’ve been wondering where the hell I went, well, I didn’t go anywhere. But my trusty Laptop (which is an old, beaten-up Alienware M11x R2) did. Long story short, she (my laptop, who else?) went to the ER to get her internals fixed. I did wanted to send her to the ER since a very long time ago, but since my trip is coming up (more on that later this week), I just can’t stand her dying on me every time I render High Definition videos. Seriously, it’s getting old!

With a simple Google search, I stumble upon this store called Pemmz. I looked to their website, and I shit my pants. They’re selling premium gaming laptop, like, almost every brand in the market for a very hefty price tag. So I thought, “hmm, a place like this should have an after sales service right?” and Yes, they do have one!

So I deliver her to the store at the far west (no, seriously, It’s so far from my house) at Tanjung Duren, and asked them to clean her up, change her battery, and add more RAM for more computing ability. After a week and U$ 300 later, she is now working as if she just came out of the box! Couldn’t be happier! So if any of you guys have any problem with your Computer, I highly recommend this place!

Anyway, this week recipe is hardly a recipe; it’s a life hack I must say. We’re making DULCE DE LECHE out of a sweetened condensed milk!

Dulce De Leche is basically a confection made by slowly heating milk and sugar until Maillard reaction occurs, resulting in a smotth, velvety, caramelized flavor. It is widely popular in the South America, and I’m pretty sure you will love it too.

This version is NOT authentic. This is a simple cooking method to imitate; I’d say 60-70% taste of the real thing. But hey, I’m not complaining

Without further ado, let’s begin shall we?
=====================================================================

For 1 Can equivalent of Dulce De Leche, you will need;


1 Can of Sweetened Condensed Milk. Choose any particular brand you like, they should work the same. Remember, as long as it has sugar in it, it’ll work just fine.

Water for boiling

=====================================================================

Ready? Here We Go!

Step 1 – Tear off the label from the can, cause, we don’t want paper in our Dulce De Leche no? Make 2 holes, 1 in each opposite direction of your choice with a can opener. PLEASE DO NOT SKIP THIS unless you want to have a BLOODY GOOD TIME cleaning all those milk because they exploded!

Find the spot where the ends meet

TEAR IT APART! THEY DON'T BELONG TOGETHER!

This, my trusty can opener

Poke a hole on one side

Poke a hole on the opposite side

See? there's the first hole

And the second one!

Step 2 – Get a large pan, put your can in, and fill it up with water until it reaches ¾ of the can. Turn the heat up to high, and let it boil before turning it down to a medium heat to simmer for 2 Hours (Light Dulce De Leche) or 3 Hours (Dark Dulce De Leche). When you’re ‘cooking’ the can, you’ll notice that they’ll start to rattle. 

To avoid this, add a small piece of cloth underneath it prior to boiling, so, you know, the rattling will subside.

Don’t forget to refill the water to the same level it started as you go! Water evaporates, and we need to keep ¾ of the can submerged to reach this desired consistency!

Add the water

Simmer!

Step 3 – Once you’ve reached your destination, err, sorry, your desired doneness, carefully. By ‘carefully’, I mean, REALLY CAREFULLY, take out the can and leave it to cool in either an ice bath or a wire rack for at least 30-40 minutes before you can handle them. Once that period passes, you’re basically done!

Step 4 – Serve!


Man, I love this stuff. I can’t believe a can of regular sweetened condensed milk can turn into this creamy caramel that you can ‘abuse’ in every form of dessert possible! I tried it on top of an ice cream, on top of a whipped cream, and man, I’m gaining pounds already.

Kept in a jar, this should last for at least 2-3 weeks. Just make sure you use a clean utensil every time you took a spoonful of it, or else, bacteria can grow and ruin everything.

Give this a go, hashtag me on Instagram #mybigfatcookingblog, I’ll repost your attempt!

Cheers

xx


Saturday, September 13, 2014

048 - Vanilla Panna Cotta

Hey Sweetie! Let me put some sugar on yer lips!

Yes, this week recipe is, well, you guessed it, DESSERT!

Let me introduce you to the wonder that is... 
VANILLA PANNA COTTA. 

Panna Cotta is an Italian dessert made by basically cooking cream and sugar. The real recipe is said to have the mixture cooked in a bain-marie on a low temperature. But this method is hard. Like, Halo 4 ‘Legendary’ difficulty HARD.

So, in order to make it easier, a lot of restaurant outside of Italy basically made Panna Cotta by cooking Milk, Cream, Sugar and Gelatin and letting it set in the fridge before serving, resulting in a very wobbly looking but fine tasting Dessert.

I tried out this recipe because it just so happens that I found a Halal. Yes, you read that right. HALAL Gelatin Sheets!! This is not a sponsored message, but I got it at Grand Lucky Superstore at SCBD, and I haven’t found it anywhere else. 

But but, if you can’t find one, you can use the widely available Agar. Bear with me though; the result will be a lot firmer and less wobbly.

============================

For 1 Servings, you will need:


50 ml of Whole Milk
150 ml of Cooking Cream
1 ¼ tbsp of Sugar
1 tbsp of Vanilla Extract
1 Sheet of Gelatine (Can be substituted with 1 tsp of Agar Agar)

=============================

Ready? Here We Go!

Step 1 – Get a sauce pan on medium heat. Pour your milk, cream, and sugar. Let it come to a simmer. This should take around 2-3 minutes.

Pour your cream/milk mixture in. Hmm hmm.
Sugar goes in
Stir!

Step 2 – Once the liquid starts to simmer; add the vanilla extract and grab your Gelatin and mix it with the liquid. It should melt right away. You can use a whisk to ensure the mixture blend completely.

Vanilla
Gelatin action


Step 3 – Pour it into a mold, and let it harden in the fridge for at least 3 hours, preferably overnight.


Step 4 – To knock the Panna Cotta out of it's mold, dip it in hot water for around 30 seconds to loosen the edges. After that, grab a sharp knife, slowly stab and run along the edges to loosen it. and...VOILA!


Step 5 - Serve!


Panna Cotta is definitely one of the creamiest desserts ever. Pair this with a Stawberry Coulis and you got yourself a party!

Cheers

xx


Sunday, March 30, 2014

025 - Oreo Milk Pudding!

Ahoy!

Are you ready for dessert? This week recipe is very, very straight forward; even the laziest of person can whip this dessert just fine. I present to you, OREO MILK PUDDING!

You will need:

Wait, where's the sugar?
2 cups of whole milk. Substitute with Almond/Soy milk to make it vegan friendly. Be aware, taste might differ
75 grams of granulated sugar. Feel free to adjust the sweetness to your liking. Word of advice, the Oreo also add sweetness to the dessert
1 pack of Oreo.
2 large vanilla beans
1 pack of plain agar-agar powder.

Ready? Here We Go!

Step 0 -  Why step zero? Because prepping goes without saying you jackass! Measure your milk, making sure it's room temperature (like always, d'oh), measure the sugar while you're at it too! Vanilla beans? later on

2 Cups, no more, no less

Precise measurement is vital to prevent overly sweet pudding!

Step 1 – Get a saucepan, pour your milk, and sugar, and start the stove on a medium high heat. Let the milk heats up, stirring often to ensure all the sugar dissolves.

Milk

Sugar

Stir!
Step 2 – Halfway through the boiling process, scrape the beans off the vanilla, and mix it with the milk. You will notice this thing is starting to smell a little bit like heaven.

First, split the beans in half
Tore open to reveal the black goodness inside
Scrape from one end..
..To another.
Now this is the SHIT!
Bye bye Vay vay!

Step 3 – After the milk boils, turn the heat down to low, and mix in your agar-agar powder. Stir well, boil for a bit more, and then turn the heat off. Transfer the pudding mix to a large bowl to cool


Hot liquid x Wide surface = Faster cooling time

Whisking = Faster cooling process, too!

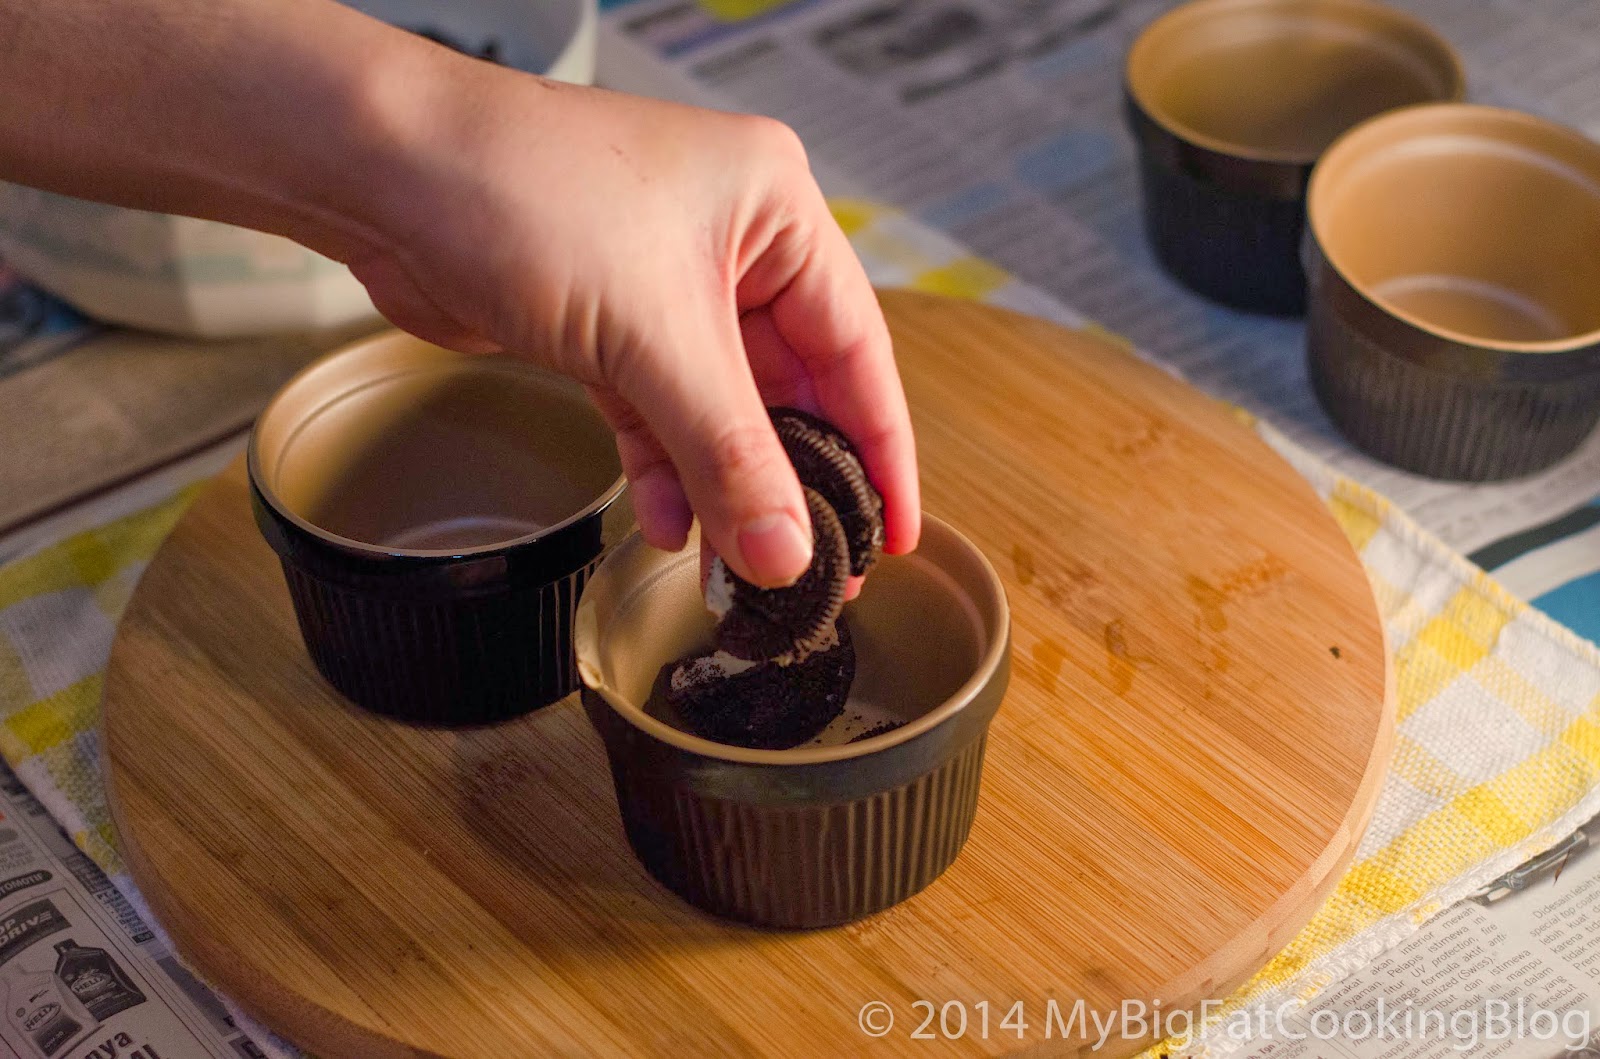
Step 4 – The way you incorporate the Oreos to this dish totally depends to your liking. If you want the Oreos whole, don’t crush ‘em. For me? Lightly crush. I put sizable portions to ramekin (feel free to use mold of your choice!), and fill 'er up!


Step 5 – Pour the mix to a mold of your choice, and once the mix is cooled, refrigerate the pudding for at least 2 hours to set up.


Step 6 – SERVE!!


Oooh la la ~~~, gotta love this sweet babies! Please give this recipe a go, and tell me know how it goes!

Peace


xx

Saturday, February 22, 2014

022 - Milk Instant Ramen (a cure for munchies)

Lately, there has been a buzz in the internet about this crazy dish that swapped the regular water used in instant ramen with milk. You read that right. MILK. Dairy and instant ramen, that’s not something you hear every day doesn’t it?

I googled the thing and it turns out the origin of this dish in Indonesia is a bit vague (I’m still assuming a desperate student with heavy munchies on month end came up with this), but it apparently gained popularity early-mid 2013-ish with this warung (think a small, dark stall with cheap and tasty food) at Yogyakarta brought it into the spotlight.

Most of people who’ve tried the recipe recommend the use of ingredient I always hated in instant ramen: Cheese and Butter. Dude, seriously, Instant Ramen is no Italian dish. STAHP.

Anyway, the recipe is fairly cheap. It’ll probably cost you IDR 6.000-7.000 (US$ 0.60-0.70!) if you’re sticking with the basics. But my version will cost you a bit more, but trust me, it tasted like one hell of a fusion dish!

Without further ado, I present to you….MILK INSTANT RAMEN. (The name sucks, I know).

You will need:


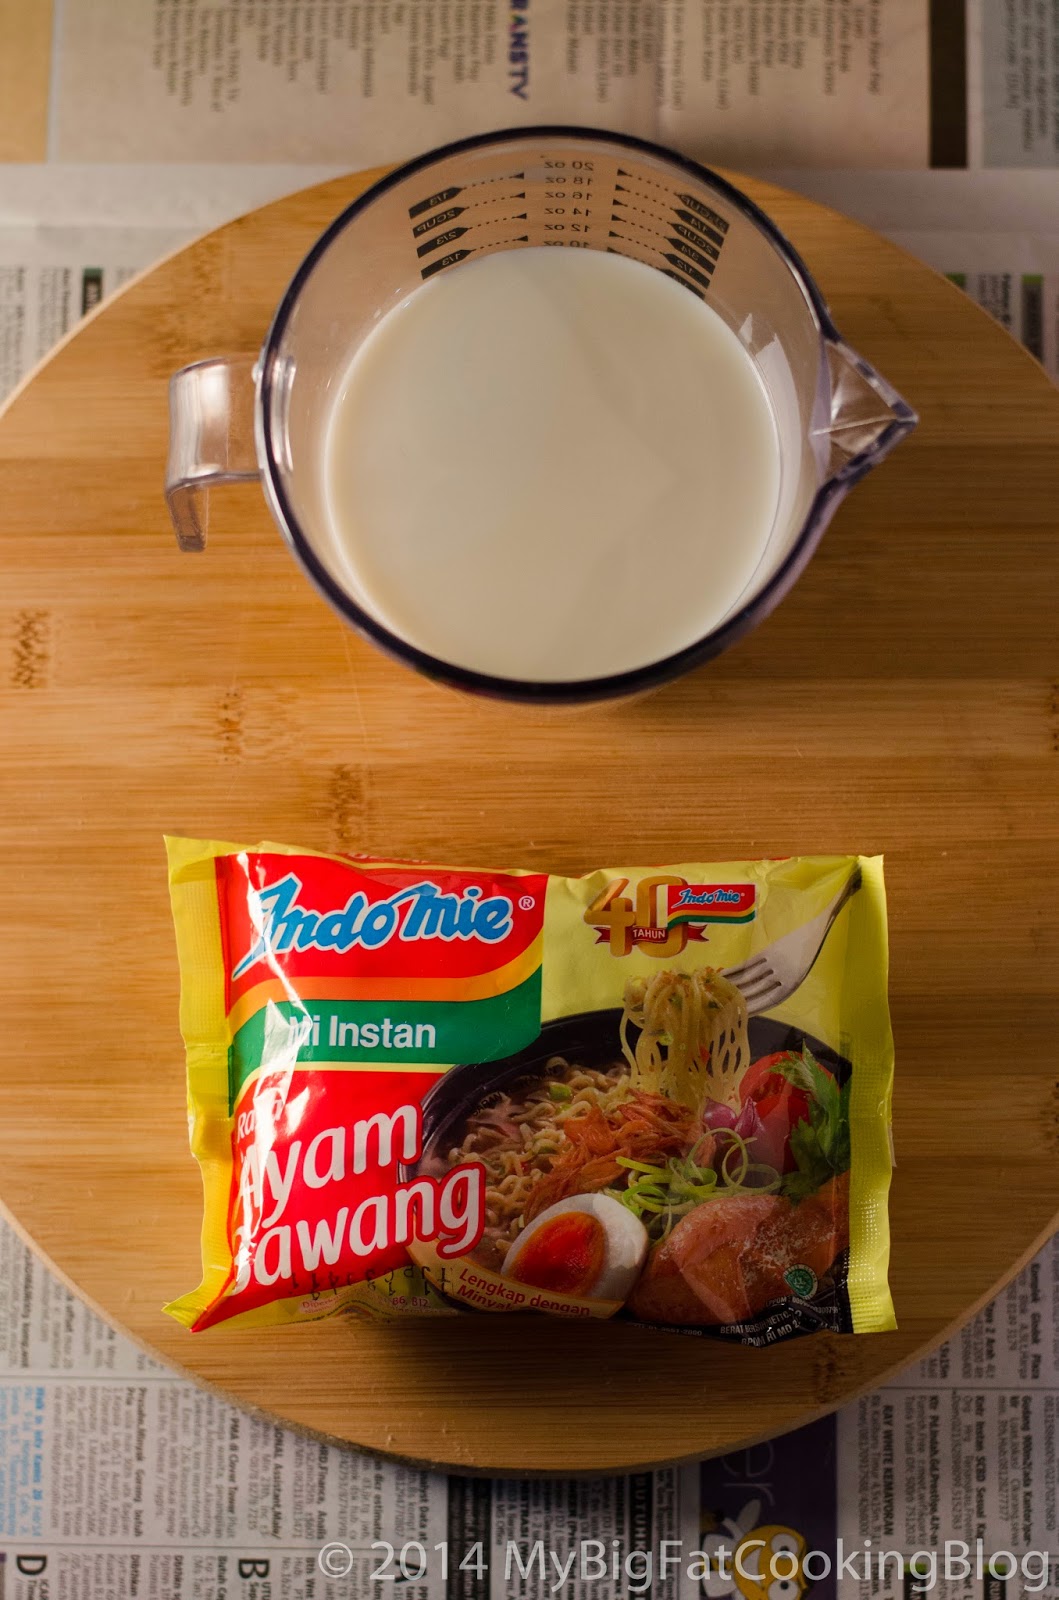
1 packet of soupy instant ramen of your choice. Indomie is the one for me, NOTHING ELSE COMES CLOSE

300 ml of plain milk. Feel free to substitute with your favorite milk!

THAT’S IT!!

BUT…..since this is my twist on the recipe, I’m adding:


1 tsp of smoked paprika powder
½ tsp of garlic powder
2 tsp of sesame oil (this shit is magic, trust me)

For the topping, you are free to choose. I’m going with:


1 soft boiled egg
Heaps of sautéed shitake mushrooms. Stir fry the mushroom with a bit of olive oil, season with salt, finish with a splash of mirin.
Garnish with enough spring onion.

Ready? Here We Go!

Step 1 – Cook your instant ramen as instructed. After it’s done, strain and rinse under running cold water. Set it aside for a while, just like your bittersweet memories from the past. LOL JK. That thing should be forgotten!

Step 2 – Heat a small saucepan over medium high heat, and pour in your milk. Let the milk come up to a boil, BUT DON’T LET IT BOIL. Boiling the milk will make this weird membrane-y thing pop up, and it looked ugly. Wanna prevent this from happening? Stir the milk constantly. This process should take around 4-5 minutes, depending on the temperature when the milk hits the pan.


Pour all your feelings, whoops, milk out.

Stir, stir, stir

Step 3 – Remember the spice pack that came with the ramen? Put it in! But skip the oil! Once boiling, if you’re taking my step on the recipe, add in your paprika powder, garlic powder, and sesame oil, and stir constantly, again, preventing it from boiling. By this time, the broth will smell like heaven (thanks to the sesame oil). After a minute or two, the broth is done!

Warning: More MSG than you can handle


Step 4 – Serve!


Remember the toppings? Yes, this is what I use. The egg was boiled for around 6 minutes, and was cut with dental floss to ensure a clean cut. Knife won’t do in this kind of job!

I would describe the taste of this dish to be a fusion of Italian-Asian. The milk help to create this creamy-almost Italian-esque flavor, while the sesame oil made it whole lot more Asian. Interesting combination I must say!

Anyway, give this a go, you’ll be hooked in no time.


Peace

xx