Showing posts with label Quick. Show all posts

Sunday, February 22, 2015

065 - DULCE DE LECHE

Oh my God, I’m back! I’m finally back people!

I know, I know, it’s been too long, I miss you guys, I miss cooking, I miss doing photo shoot, man, I miss everything!

If you’ve been wondering where the hell I went, well, I didn’t go anywhere. But my trusty Laptop (which is an old, beaten-up Alienware M11x R2) did. Long story short, she (my laptop, who else?) went to the ER to get her internals fixed. I did wanted to send her to the ER since a very long time ago, but since my trip is coming up (more on that later this week), I just can’t stand her dying on me every time I render High Definition videos. Seriously, it’s getting old!

With a simple Google search, I stumble upon this store called Pemmz. I looked to their website, and I shit my pants. They’re selling premium gaming laptop, like, almost every brand in the market for a very hefty price tag. So I thought, “hmm, a place like this should have an after sales service right?” and Yes, they do have one!

So I deliver her to the store at the far west (no, seriously, It’s so far from my house) at Tanjung Duren, and asked them to clean her up, change her battery, and add more RAM for more computing ability. After a week and U$ 300 later, she is now working as if she just came out of the box! Couldn’t be happier! So if any of you guys have any problem with your Computer, I highly recommend this place!

Anyway, this week recipe is hardly a recipe; it’s a life hack I must say. We’re making DULCE DE LECHE out of a sweetened condensed milk!

Dulce De Leche is basically a confection made by slowly heating milk and sugar until Maillard reaction occurs, resulting in a smotth, velvety, caramelized flavor. It is widely popular in the South America, and I’m pretty sure you will love it too.

This version is NOT authentic. This is a simple cooking method to imitate; I’d say 60-70% taste of the real thing. But hey, I’m not complaining

Without further ado, let’s begin shall we?
=====================================================================

For 1 Can equivalent of Dulce De Leche, you will need;


1 Can of Sweetened Condensed Milk. Choose any particular brand you like, they should work the same. Remember, as long as it has sugar in it, it’ll work just fine.

Water for boiling

=====================================================================

Ready? Here We Go!

Step 1 – Tear off the label from the can, cause, we don’t want paper in our Dulce De Leche no? Make 2 holes, 1 in each opposite direction of your choice with a can opener. PLEASE DO NOT SKIP THIS unless you want to have a BLOODY GOOD TIME cleaning all those milk because they exploded!

Find the spot where the ends meet

TEAR IT APART! THEY DON'T BELONG TOGETHER!

This, my trusty can opener

Poke a hole on one side

Poke a hole on the opposite side

See? there's the first hole

And the second one!

Step 2 – Get a large pan, put your can in, and fill it up with water until it reaches ¾ of the can. Turn the heat up to high, and let it boil before turning it down to a medium heat to simmer for 2 Hours (Light Dulce De Leche) or 3 Hours (Dark Dulce De Leche). When you’re ‘cooking’ the can, you’ll notice that they’ll start to rattle. 

To avoid this, add a small piece of cloth underneath it prior to boiling, so, you know, the rattling will subside.

Don’t forget to refill the water to the same level it started as you go! Water evaporates, and we need to keep ¾ of the can submerged to reach this desired consistency!

Add the water

Simmer!

Step 3 – Once you’ve reached your destination, err, sorry, your desired doneness, carefully. By ‘carefully’, I mean, REALLY CAREFULLY, take out the can and leave it to cool in either an ice bath or a wire rack for at least 30-40 minutes before you can handle them. Once that period passes, you’re basically done!

Step 4 – Serve!


Man, I love this stuff. I can’t believe a can of regular sweetened condensed milk can turn into this creamy caramel that you can ‘abuse’ in every form of dessert possible! I tried it on top of an ice cream, on top of a whipped cream, and man, I’m gaining pounds already.

Kept in a jar, this should last for at least 2-3 weeks. Just make sure you use a clean utensil every time you took a spoonful of it, or else, bacteria can grow and ruin everything.

Give this a go, hashtag me on Instagram #mybigfatcookingblog, I’ll repost your attempt!

Cheers

xx


Saturday, January 17, 2015

062 - OYSTER SAUCE SHITAKE MUSHROOM!

Side dishes are often forgotten. They’re like a supporting actor, needed in time, but never get to be in the spotlight. Think Jared Leto in Dallas Buyers Club.

…wait a minute. He did get a spotlight.  (-__-)

Anyway, this dish I’m about to show you is a side dish that deserves a spot light. Eaten right after it’s finished, tasty as f*ck. Eat after refrigeration overnight? EVEN BETTER.

Give a round of applause to the OYSTER SAUCE SHITAKE.

=====================================================================

For 2 servings (as side dish), you will need


100 Grams of Shitake Mushroom. Make sure you clean it with damp towel, NOT water. NEVER.
2 Tbsp of Oyster Sauce.
1 Tbsp of Rice Vinegar. Regular vinegar would do fine as well
1 Tbsp of Sesame Seed Oil.
1 Garlic. Minced finely
Salt to taste
Pepper to taste
Oil as required
Water as required

=====================================================================

Ready? Here We Go!

Step 1 – Cut your mushrooms into strips. Make it rather thick, because, *ahem*, ladies like it….OH NEVERMIND THE SEXUAL INNUENDO. Anyway, set it aside.

Step 2 – Get a non-stick pan, pour the oil and turn the  heat up to medium-high. Once smoking, pour the Garlic in and quickly stir to avoid scorching it. After about 10 seconds, the Shitake goes in and gets stirred. Add the Salt and quickly stir. This will help draw out moisture. Add a splash of Water and cover to steam for 30 seconds
In case you're wondering, this is Olive Oil i'm using

Garlic

Shitake goes ga-ga

Salt will help to bring out the moisture

Splash of h2o

oow, i bet it's hot in there


Step 3 – Turn the heat to medium and add the Oyster Sauce, Vinegar, Sesame Seed Oil and stir to combine. After 30 seconds, add the Pepper and splash of Water. Cover to steam for another 30 seconds.


Step 4 – Finished!

Serve this alongside a piping hot White Rice, hearty Mackerel, and Pickles. Leftovers? Keep it in the fridge, it’ll keep for 2-3 days just fine.

Cheers
xx


Monday, October 6, 2014

051 - Honey Mustard Chicken

I’m a conservative in the kitchen. Not all the time, but most of it. I experiment for sure, just not every day. This recipe I’m about to show you how to make was one of my proudest achievement when I first started cooking seriously. But later on, I was disappointed because as it turns out, I’m not the first one to come up with the idea. (BOOOO)

Oh well, better to find out by myself than from somebody else right?

Anyway, the recipe is HONEY MUSTARD CHICKEN.

If I recall the history of coming up with the recipe correctly, I was dead bored of my cooking at the time. I was cooking Chicken on my stove, and looked beside me to find Honey. So I immediately opened up my fridge and found a yellow container of Mustard on it. So I picked it up, mixed it with the honey, and VOILA. Magic.

This recipe is actually savory and sweet at the same time. But there’s no denying that you can actually stretch the recipe to your liking.

There’s no limit to the type of Protein you’re going to use too! But I prefer Chicken because it is a lot more succulent than Beef, and it meld with Honey and Mustard perfectly.

========================

For 2 Servings you will need


200 grams of Chicken Thigh fillet. For health conscious crowd, you can substitute with Breast meat. Caution though, they tend to dry out (unless you brine it). And when they do, it doesn’t taste good with the H&M sauce.
4 tbsp of Cornstarch
2.5 tbsp of Honey
1 tbsp of Mustard. Experiment with the types of Mustard you have. I like to use Whole Grain mustard. Regular yellow mustard will work as well.
2 Cloves of Garlic. Grated/Minced finely
Salt to taste
Pepper to taste
2 tsp of Paprika Powder
Oil for frying.
(optional) Coriander leaves, chopped finely.
(optional) Sesame Seeds

=======================

Ready? Here We Go!

Step 1 – Clean your chicken and cut it into bite size pieces (if you haven’t done so). About 2 cm x 2 cm. Pat it dry with kitchen towel, set it aside.

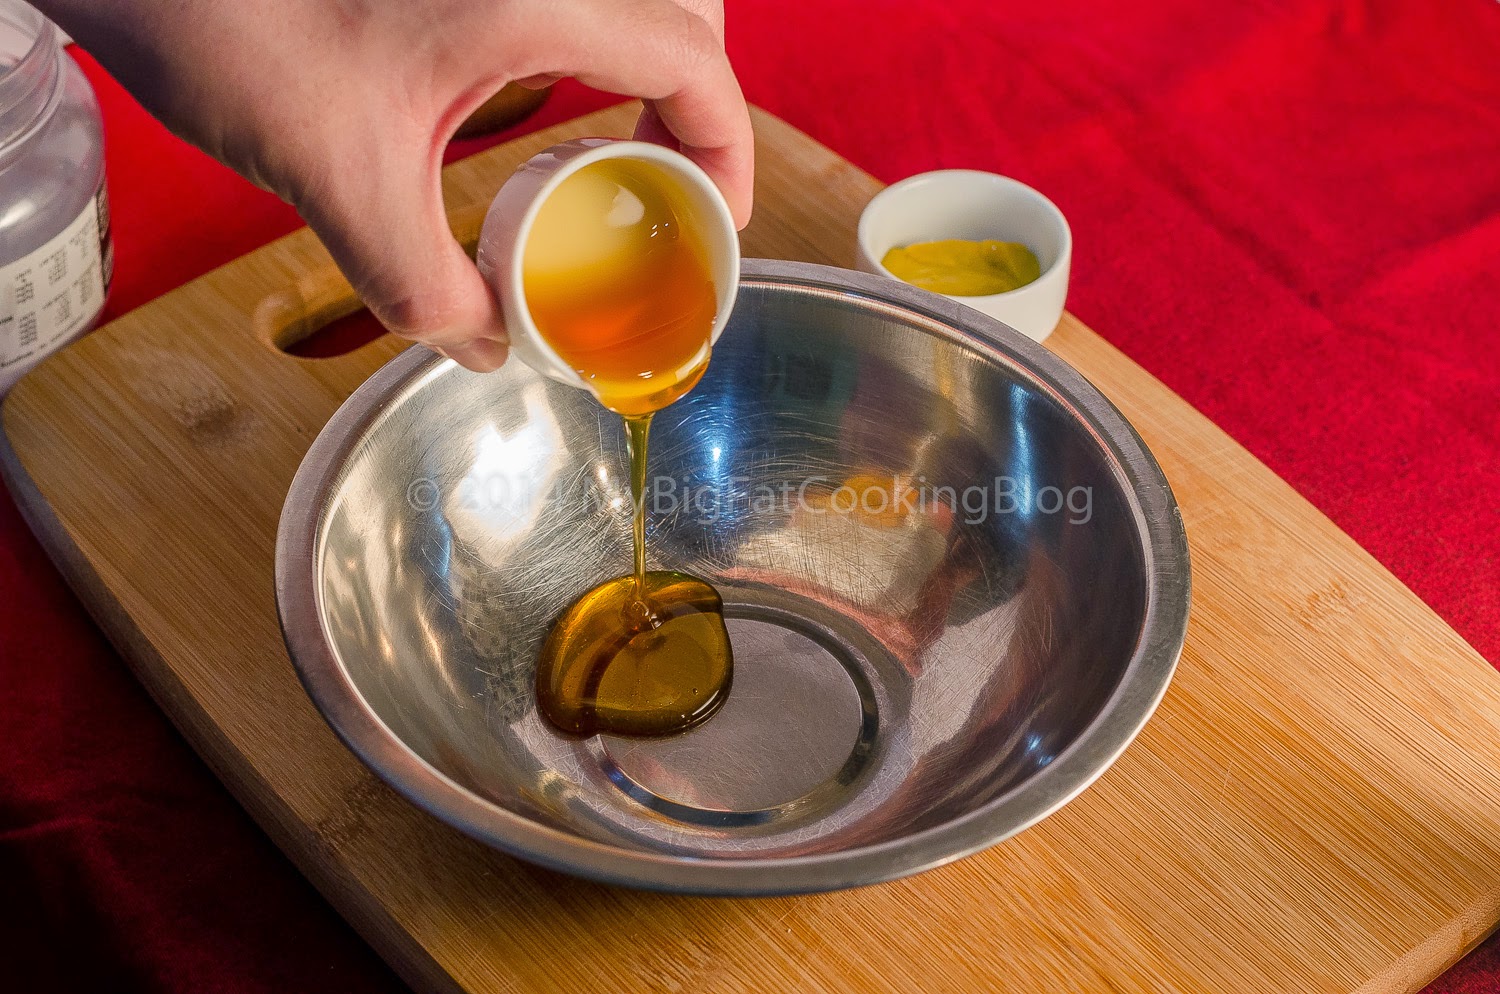
Step 2 – Meanwhile, mix Honey, Mustard, Paprika Powder, Salt and Pepper in a small bowl. Set it aside

Honey
Mustard
Salt
Pepper
Paprika
Mix!

Step 3 – Mix your Cornstarch with Salt, Pepper, and Paprika, and give it a mix. Then dredge the chicken piece in it

A bit of salt
And Pepper
As always, MIX
Mix again
Coated!

Step 4 – Get a non-stick pan, give it a light splash of oil. Let it heat up on Medium high heat. Once the pan is scorching hot, add the chicken. If your pan can’t cook everything at once, do it in batches. Cook them for about 1,5-2 minutes (or until pale white and crispy) on each side. Set it aside.


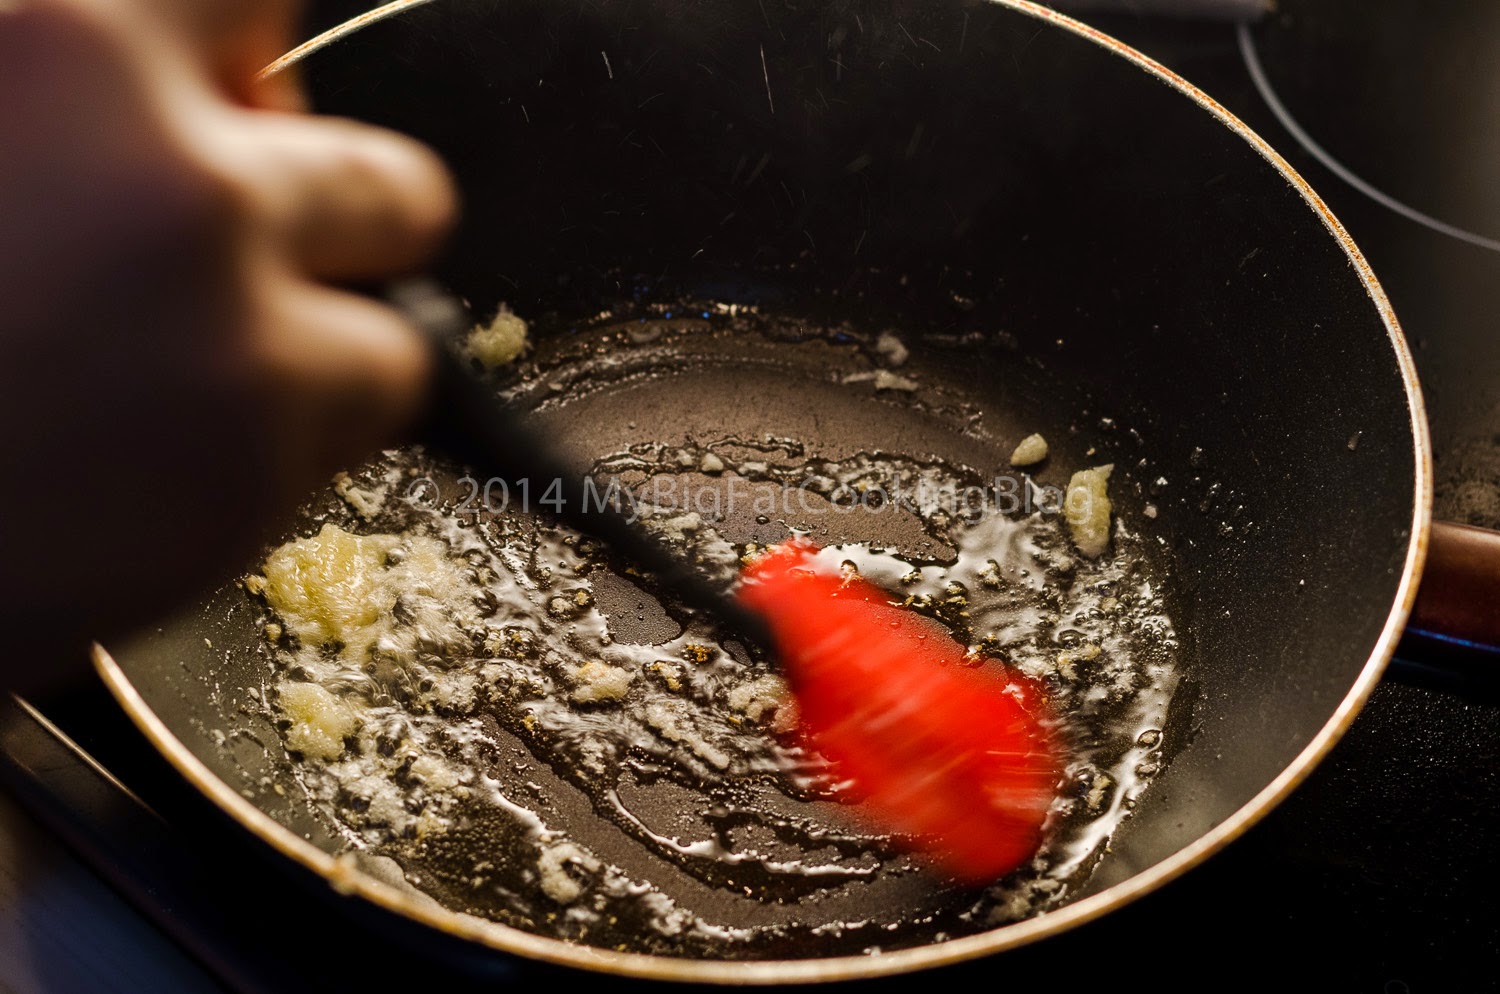
Step 5 – Heat another pan on medium heat. Put the garlic in, and stir quickly to avoid burning it. Once it smells good, put the chicken in first, and then the sauce mix. Turn the heat to low, and let the sauce caramelizes beautifully! Just before serving, turn off the stove, and sprinkle the Coriander leaves (purely optional). Once the sauce is nice and sticky, plate it.

This here is Garlic and Oil
The chicken goes in
Sauce tossed in!
Finishing touch!
Step 6 – Serve!

:)

Sweet, sticky, savory. Perfect combo!

Cheers

xx