Showing posts with label Savory. Show all posts

Monday, October 6, 2014

051 - Honey Mustard Chicken

I’m a conservative in the kitchen. Not all the time, but most of it. I experiment for sure, just not every day. This recipe I’m about to show you how to make was one of my proudest achievement when I first started cooking seriously. But later on, I was disappointed because as it turns out, I’m not the first one to come up with the idea. (BOOOO)

Oh well, better to find out by myself than from somebody else right?

Anyway, the recipe is HONEY MUSTARD CHICKEN.

If I recall the history of coming up with the recipe correctly, I was dead bored of my cooking at the time. I was cooking Chicken on my stove, and looked beside me to find Honey. So I immediately opened up my fridge and found a yellow container of Mustard on it. So I picked it up, mixed it with the honey, and VOILA. Magic.

This recipe is actually savory and sweet at the same time. But there’s no denying that you can actually stretch the recipe to your liking.

There’s no limit to the type of Protein you’re going to use too! But I prefer Chicken because it is a lot more succulent than Beef, and it meld with Honey and Mustard perfectly.

========================

For 2 Servings you will need


200 grams of Chicken Thigh fillet. For health conscious crowd, you can substitute with Breast meat. Caution though, they tend to dry out (unless you brine it). And when they do, it doesn’t taste good with the H&M sauce.
4 tbsp of Cornstarch
2.5 tbsp of Honey
1 tbsp of Mustard. Experiment with the types of Mustard you have. I like to use Whole Grain mustard. Regular yellow mustard will work as well.
2 Cloves of Garlic. Grated/Minced finely
Salt to taste
Pepper to taste
2 tsp of Paprika Powder
Oil for frying.
(optional) Coriander leaves, chopped finely.
(optional) Sesame Seeds

=======================

Ready? Here We Go!

Step 1 – Clean your chicken and cut it into bite size pieces (if you haven’t done so). About 2 cm x 2 cm. Pat it dry with kitchen towel, set it aside.

Step 2 – Meanwhile, mix Honey, Mustard, Paprika Powder, Salt and Pepper in a small bowl. Set it aside
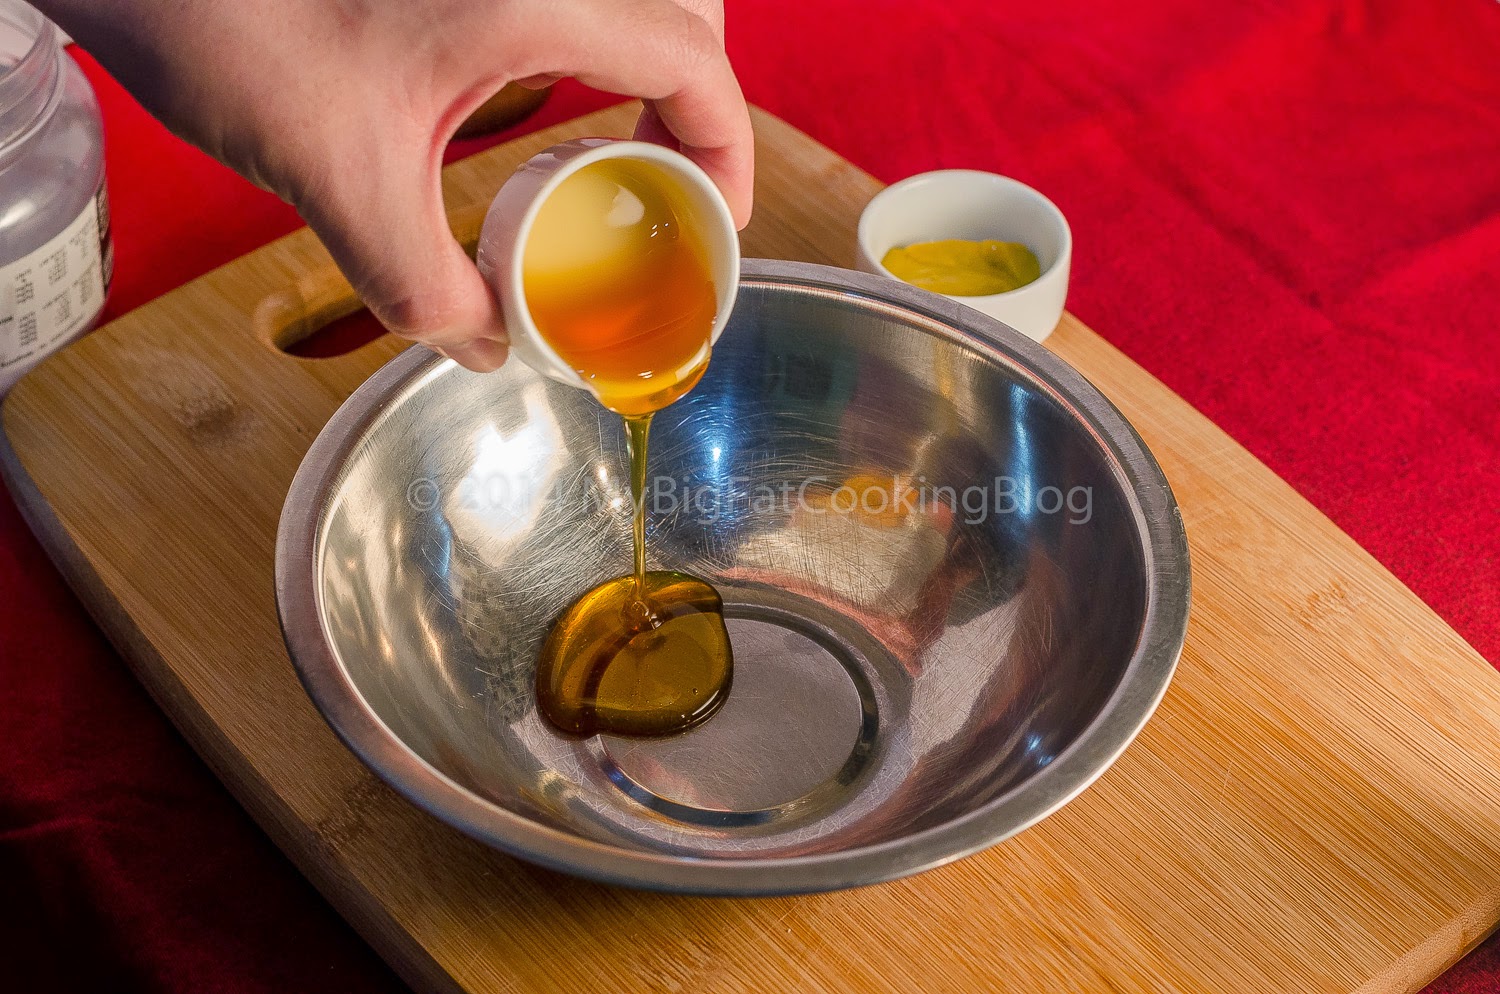
Honey
Mustard
Salt
Pepper
Paprika
Mix!

Step 3 – Mix your Cornstarch with Salt, Pepper, and Paprika, and give it a mix. Then dredge the chicken piece in it

A bit of salt
And Pepper
As always, MIX
Mix again
Coated!

Step 4 – Get a non-stick pan, give it a light splash of oil. Let it heat up on Medium high heat. Once the pan is scorching hot, add the chicken. If your pan can’t cook everything at once, do it in batches. Cook them for about 1,5-2 minutes (or until pale white and crispy) on each side. Set it aside.


Step 5 – Heat another pan on medium heat. Put the garlic in, and stir quickly to avoid burning it. Once it smells good, put the chicken in first, and then the sauce mix. Turn the heat to low, and let the sauce caramelizes beautifully! Just before serving, turn off the stove, and sprinkle the Coriander leaves (purely optional). Once the sauce is nice and sticky, plate it.
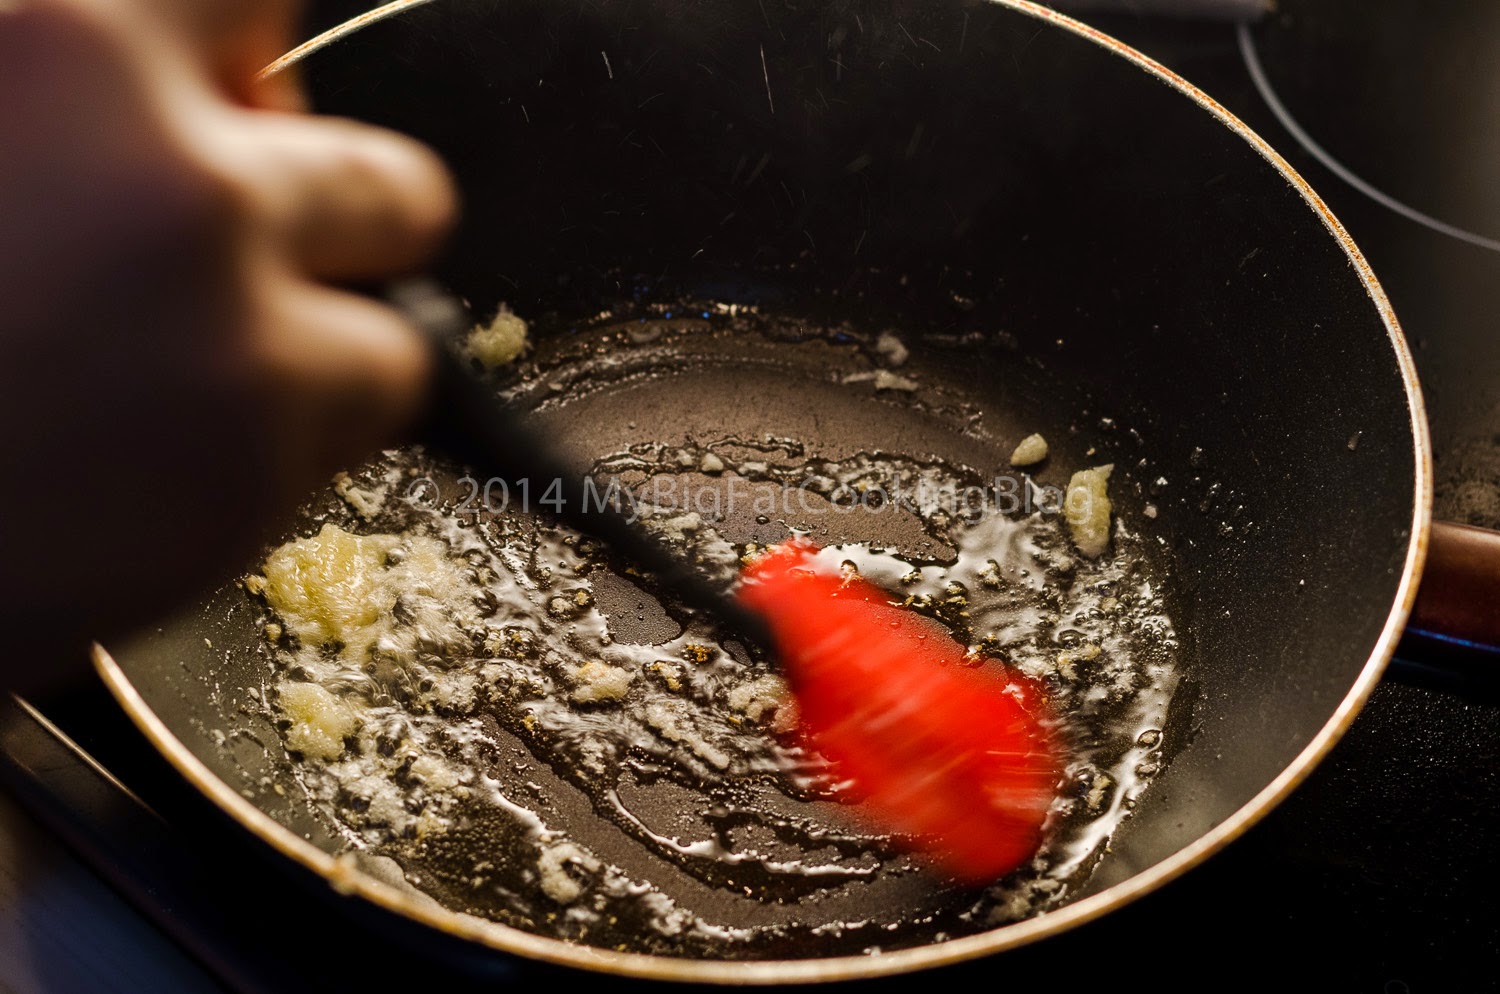
This here is Garlic and Oil
The chicken goes in
Sauce tossed in!
Finishing touch!
Step 6 – Serve!

:)

Sweet, sticky, savory. Perfect combo!

Cheers

xx

Sunday, March 9, 2014

023 - Sprite Mayonnaise Shrimp (Because WHY NOT?)

First of all, I would like to apologize for lack of update last week.

I was out traveling to Singapore to catch my favorite band Taking Back Sunday LIVE! The experience was any less than exhilarating! Not only did I get to sang my favorite song along, I also got to meet Adam Lazzara personally (totally by accident, I tell you), and the whole band few moments afterwards! 

I told them how disappointed I am about that proposed Jakarta show in 2010 that got cancelled, and how lucky I am to be able to see them live that day. If you love music, please please please, check out Taking Back Sunday newest album (it’s coming out on March 18th), here’s a video of their latest single, ‘Flicker, Fade’


Anyway, Singapore has the biggest Kinokuniya bookstore in all of SE Asia. And I didn’t miss my chance to scoop up some new readings. I read through some interesting cooking books, and got several quirky ideas for a new recipe.

This week recipe is a crowd favorite at Chinese Restaurant here in Jakarta. But as always, this is my take on the recipe. Please give a warm welcome to…..

SPRITE BATTERED SHRIMP WITH MAYONNAISE!

This might just be the craziest idea I’ve put up in a while, but why not??

Here’s everything you need, be noted, not everything is pictured here:


10 medium sized Shrimp. Always get your shrimps fresh. Deshell them, make a split on the back and remove the black vein.
Enough flour for dusting
Enough cooking oil for frying

For the Batter:
1 cup all-purpose flour
3/4 cup ice cold Sprite. If you don’t want to use Sprite, switch it to sparkling soda water instead. The cold and the fizz will help the batter to crisp up nicely!
1 egg, beaten
1 tsp of Garlic powder
Pinch of Salt

For the sauce:
4 tbsp of Mayonnaise. I like Japanese mayo the best, but I currently have Korean Mayonnaise, and it’s not that much of a difference, so I’m using that.
4 tbsp of sweet condensed milk. YES, I know what you’re thinking. How in the world this sweet and sticky concoction can help the recipe? Well, they just do.
2 tsp of Lemon Juice. Acid will cut the overwhelming taste, trust me.

So, ready to shake off some bad memories about your ex and whip up a killer dish?

I say it again.

Ready? Here We Go

Step 1 – Clean your shrimp and pat it dry. Set aside to let it come to room temperature
Lay the shrimp evenly
Gently squeeze
Dried and ready to go
Step 2 – Prepare the batter. Get a bowl; pour your flour, garlic powder, beaten eggs. Mix it a bit, and pour your Sprite adding little by little. This will help prevent lumps. Oh yes, the Sprite HAS to be ice cold! Set the batter aside. Oh, and if by any chance the batter seems too thin, add a bit of flour to thicken it, or, cornstarch for that crispy bite!

Flour

Beaten Egg
Garlic Powder
Pinch of Salt
SPRITE!
Mix

Step 3 – Heat your cooking oil on medium high heat, and assemble a line of flour-batter-oil. The shrimp will go the flour for dusting first, or else the batter wouldn’t stick. Then it goes to the batter, and then, BOOM, hot oil. Fry for 30 seconds on each sides until lightly golden. Don’t overcook it! shrimp will taste like rubber if left for a long time! Set them aside on paper towel to drain excess oil.

Dusting with the flour
Dunk in the batter
Hot Oil
Fry 'em several at a time, i'm going with 3
After 30 seconds, flip
Golden Brown perfection!

Step 4 – Mix together the mayonnaise, lemon juice and the condensed milk, and throw the shrimps in for a bathe of sticky-sweet-savory concoction!

Condensed Milk
Mayonnaise
Lemon Juice
Finished Product
Pour
Drizzle

Step 5 – Serve


Ah yesh!!! This dish will definitely steal the attention! Eat this with a serving of heartwarming hot white rice, with a side of your favorite vegetables!

Give this a try, and let me know the results!

Peace

xx


Sunday, January 26, 2014

018 - Fish and Egg in a Bowl (a.k.a the DON)

Good morning everyone!

I sincerely hope the hangover from last night got through already. No? SUCK IT THEN! X))))

Anyway, I’m feeling like making a simple don before you go out for the day. You know, Don, that Japanese lunch in a bowl. It’s mostly fast and convenient. Tasted good too!

I loved the fact than you can prep 2/3 of the ingredient in this recipe beforehand. And by beforehand, I mean the night BEFORE! How amazing is that? Having a great lunch bowl ALREADY done even before you woke up the day after! (okay, I’m waaaaay too excited)

The Don will consist of 2 section: Rice and Toppings. No fuss in between. That’s, unless you want to add something else.

You will need:

As many rice as you want to fit inside the bowl. That’ll be around 1 cup or so on a small-medium size bowl.

For the fish floss:


150 grams of white fish, preferably Cod or Halibut (that’s ‘ikan sebelah’ for you Indonesians)
1 tbsp of Sea Salt for poaching
2 cups of water for poaching (feel free to adjust according to the size of your saucepan)
1 tbsp of Sake
1 tbsp of Mirin
1 tbsp of Sugar
2-3 drops of Red food coloring dissolved in a teaspoon of water (optional, but it made the dish looked pretty!)

To those reluctant to use alcohol in this recipe, you can cook without it just fine. The alcohol role in this recipe is to remove the fishiness.

For the scrambled eggs:


2 whole eggs
A pinch of salt

Ready? Here We Go

How to make Fish Floss

Step 1 – Clean your fish thoroughly, remove every bones if you haven’t ask your fishmonger to do so, wipe the surface with paper towel to remove excess moisture. Cut it down to small pieces to fit the saucepan.

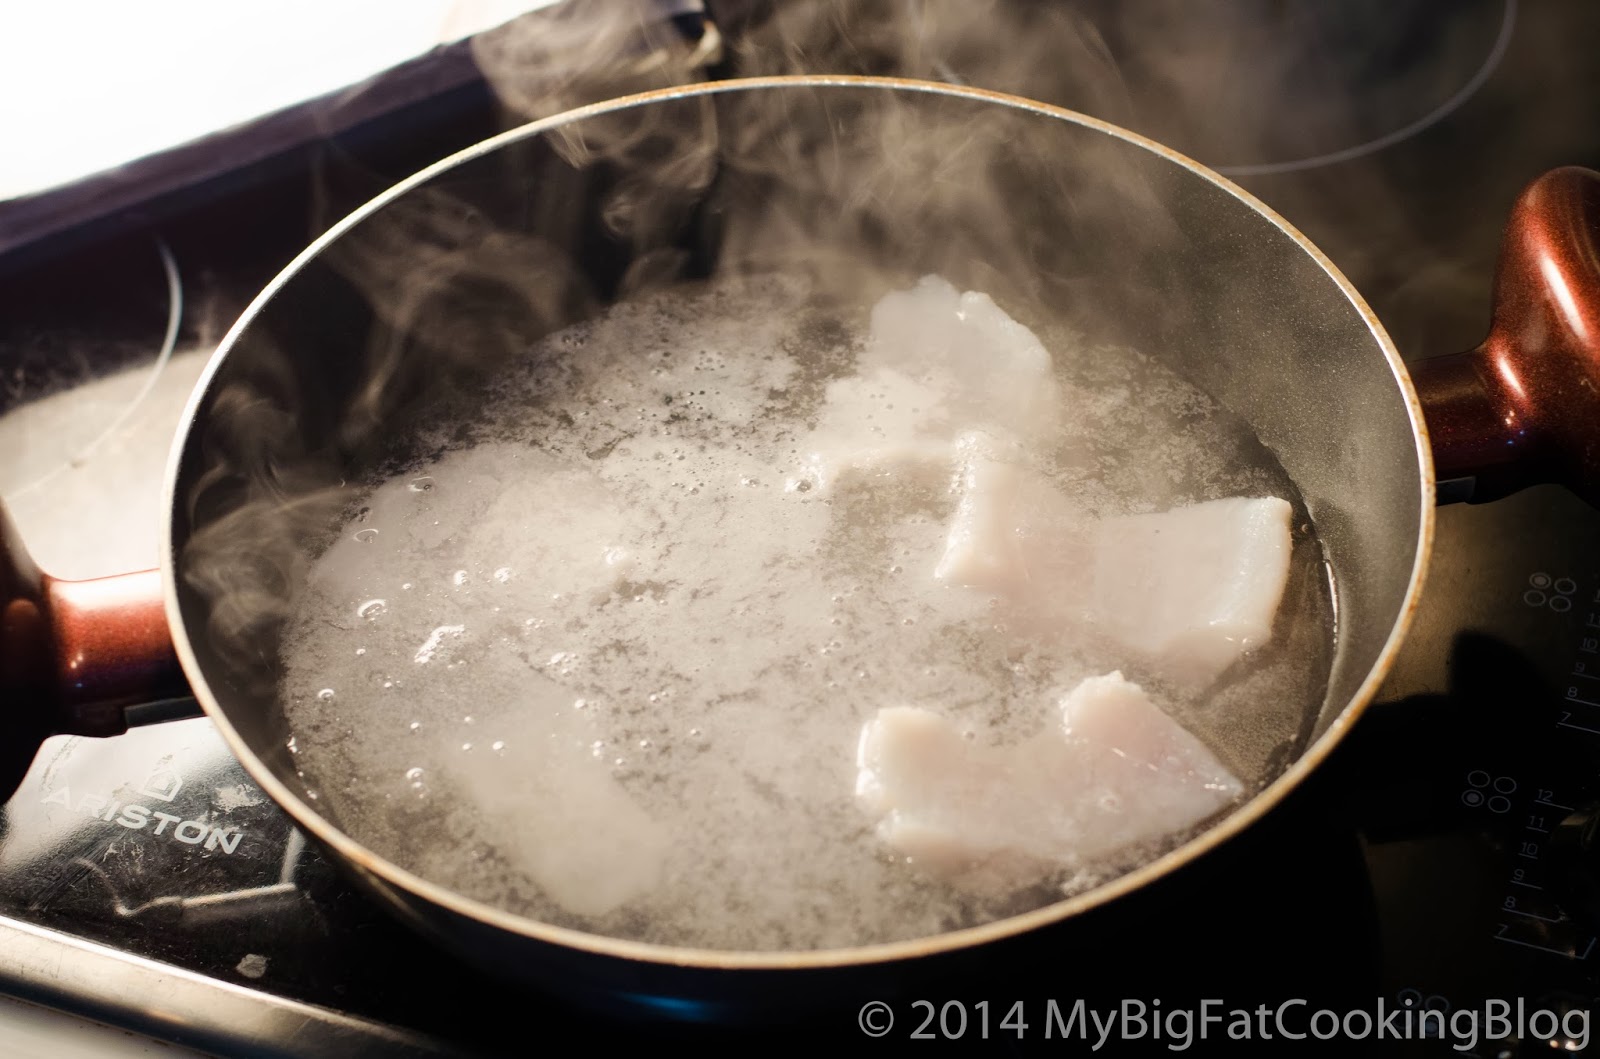
Step 2 – Pour your water into the sauce pan, and dunk the sea salt in it. Let it boil.


Salt


Step 3 – Once boiling, throw your fish in and let cook for around 2 minutes on high heat, before lowering the heat down to low. Remove any foam on the surface while you cook. Once the fish can be flaked easily, time to remove it!


Foam starting to appear

Remove the foam!


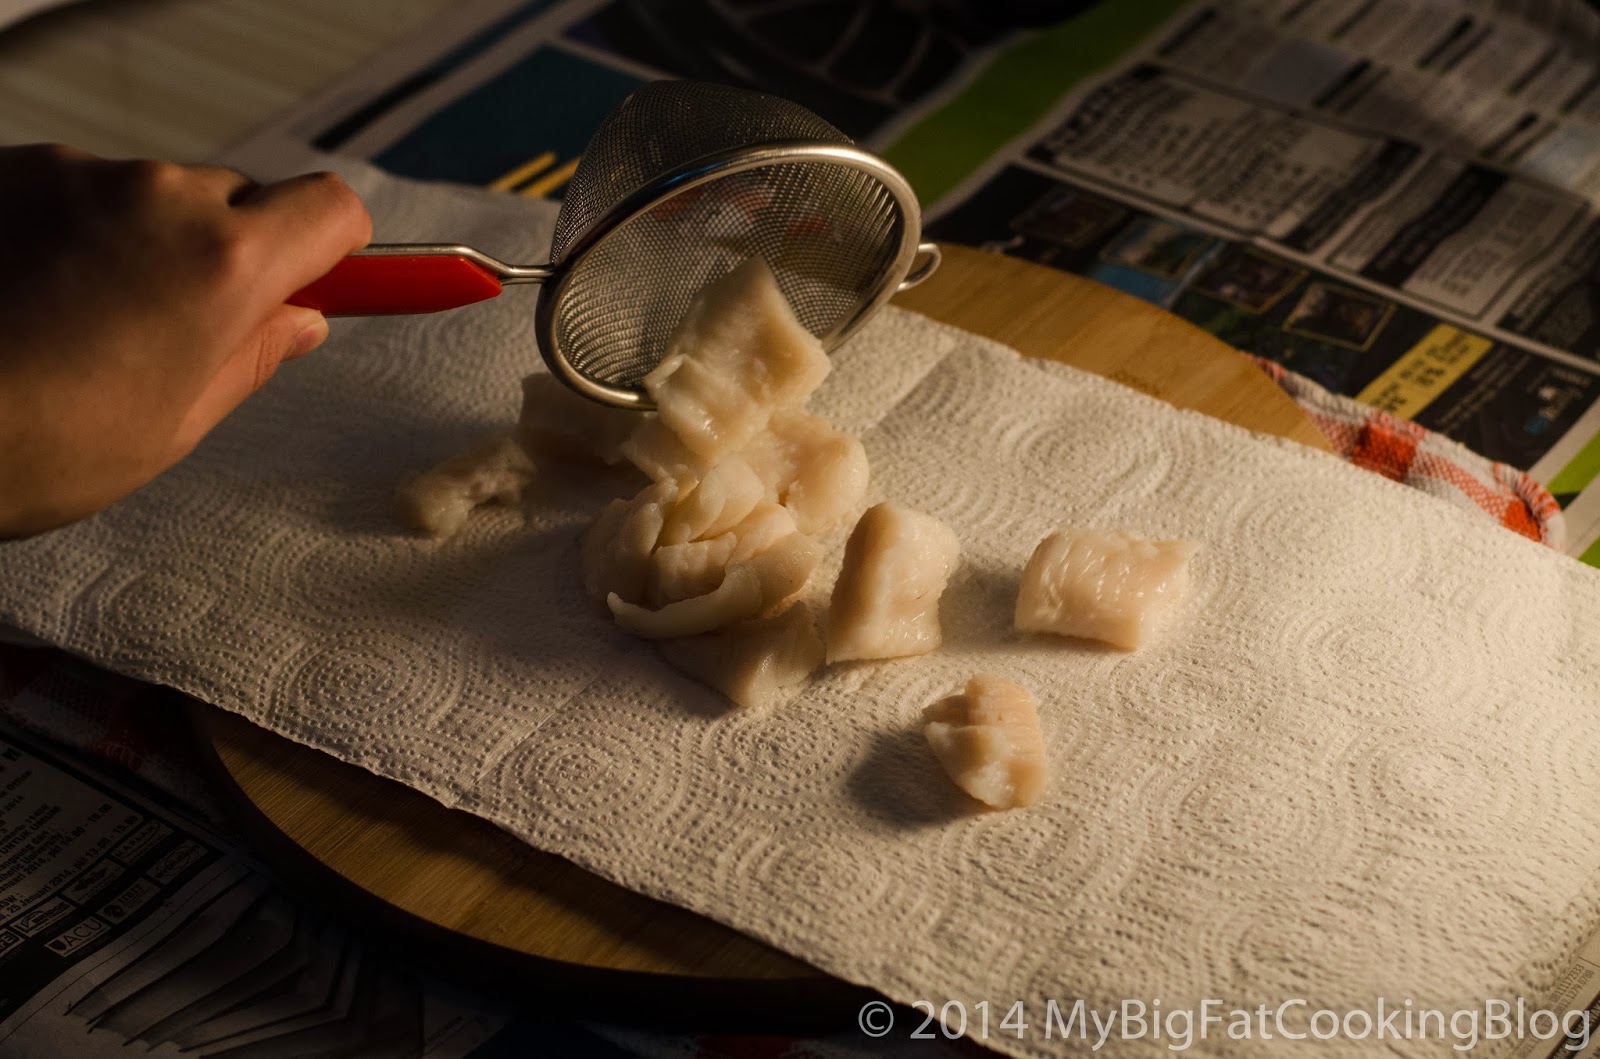
Step 4 – Prepare a strainer to drain your fish. Once all visible moisture has gone down, lay the fish onto the paper towel to be squeezed out of every single bit of moisture left. It’s okay if you want to imagine your ex gf/bf while you’re squeezing, I’m not here to judge. HAHAHA LOL.


Strain


Squeeze

Ready for flaking

Step 5 – After squeezing, time for flaking! Now it’s time to get down and dirty. First thing first, WASH YOUR HANDS. No no, I don’t care if you said you washed it after you pee. If it came after touching the crotch, it won’t touch your food. Once your hands are clean, flake your fish (be careful, it’s still hot!), tear down every single bit you can lay your hands on. This process will help later on!


Step 6 – Prep your nonstick pan on low heat, then dunk your flaked fish in. I’m using chopsticks for 2 reasons: it won’t hurt my Teflon that much, plus, it looked bad ass. Stir your fish constantly with high speed. Then, pour your sake, mirin and sugar in. Stir vigorously until all moisture has left the fish. Word of advice: the pan might get too hot and brown the fish. If this happens, remove the pan from the heat and continue stirring before returning it back to the heat.


Sake

Mirin

Sugar

Stir more

Step 7 – Pour your food coloring in, stir even more vigorously to ensure even coloring on the fish. At this stage, you can use fork to break any stubborn lumps. After a minute or two, your fish floss is done!!


How to make the scrambled eggs

Step 1 – Break your eggs into the bowl, stir it with whatever tools you have lying around.


Step 2 – Prep your pan, pour a dash of oil. Just before dunking your eggs into the hot pan, give a dash of salt to taste.


Step 3 – Stir vigorously with chopsticks (or fork, FINE), to create a small and consistently sized eggs.


Step 4 – You’re finish once all liquids are gone!

Serve.


Man. MAN. That looked friggin’ cool. At some point, I thought I recreated a pokeball on a different color (Haha!)

Anyway, the fish floss could keep in the fridge inside a sterile jar for around 2-3 days. It’s microwavable, so it’s a nice thing to have for a quick bite.

Give this a go, and let me know how it turns out.


Peace

xx