Showing posts with label Cheap. Show all posts

Saturday, June 28, 2014

037 - Silky Scrambled Eggs (Fast, Easy, CHEAP!)

Hello and happy weekend people!

How was your week? Mine was pretty awesome (snagged 21 Jump Street Blu Ray for 30% off? SCORE).

Anyway, since Ramadhan (fasting month) is right around the corner, I’m going to try to come up with more easy to whip up recipe to accommodate this holy month!

Recipe for today is very, VERY, straight forward. It is also very light tasting, perfect to match with any carbs you like. Rice, Bread, Pasta, all of it will work fine!

This is the SILKY SCRAMBLED EGGS!

I love eggs. Who doesn’t?? It is filled with protein, it is fulfilling, it is very flexible, and….IT IS CHEAP.

The recipe calls out for 3 ingredients only. How’s that for cost saving solution?

==============================

For 1 servings, you will need:


3 fresh eggs. Get organic if you can, the yolk tends to be bolder in flavor!
1 Tbsp of Butter. GREAT NEWS! Margarine can work in place of Butter too!!
Salt to taste

===============================

Ready? Here We Go!

Step 1 – Get a bowl and crack all your eggs in. Get a fork and start whisking. Just mix for about 20 seconds, and set it aside.
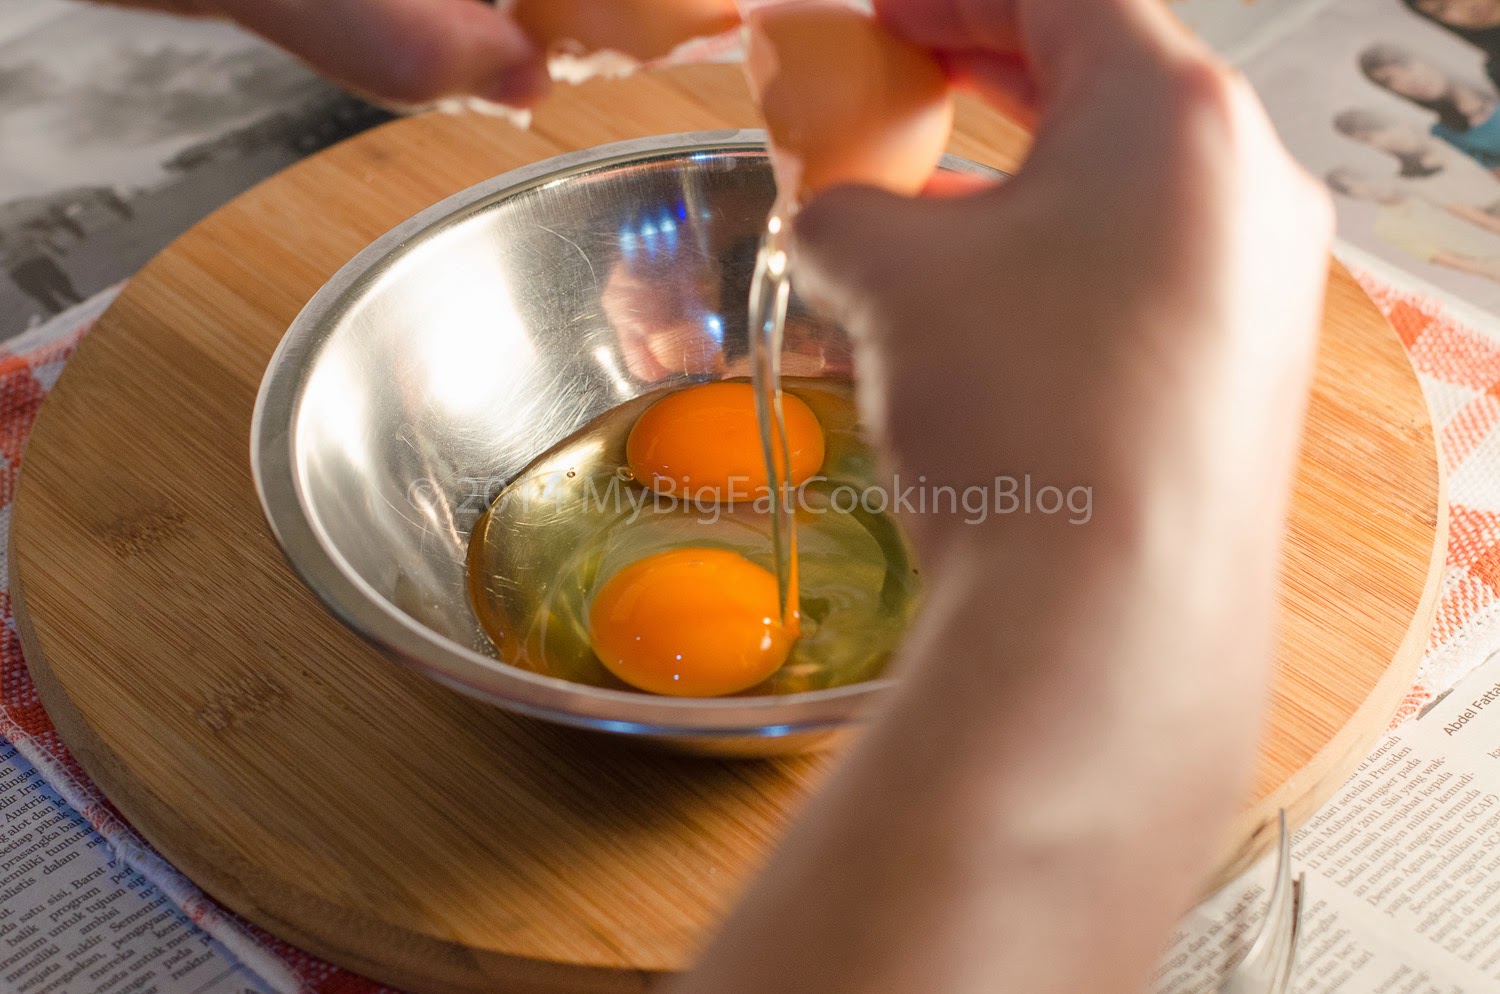
Cracking eggs? Don't be afraid. Thump it with confidence against a hard surface, and BOOM. Off they go.
Don't overwhip! 

Step 2 – Get a non-stick pan, and pour 1 tablespoon of cooking oil. DON’T START THE STOVE YET.

GOT YA! I didn't pour the eggs just yet :p

Step 3 – Pour your eggs and butter in THEN you can start the stove. Use Medium-Low heat. I personally always start at Low, before gradually increasing to medium throughout the whole process. This way, the egg will become silky smooth. I actually first see this technique used by Gordon Ramsay. But his version is a bit different than mine. See the video and read on!

Eggy shower...
..with Butter for company

Step 4 – Rubber spatula is the only tool you will need for this. It won’t break the non-stick coating, and it doesn’t burn your hand! Constantly stir the egg non-stop to cook it. You can see the progress on the picture I took. After the first 30 seconds of stirring, add the Salt.  It took me around 4 minutes of constant wristwork to get this dish finished!

First stage
Salt goes in
See how it starts to curdle?
Keep going, nearly there
Bloody beautiful!
That is what you're aiming for!
Set it aside to avoid overcooking!

Step 5 – Serve!


Talk about quick and easy eh? I like to cook this for breakfast. I put it on top of my toast, and crack some black pepper over it, and yum yum yum. Love on my tummy people!

Here's some tips to remember by:
  1. Fresh eggs, fresh eggs, fresh eggs. Stale eggs? Get the f**k outta here!
  2. Improv? You can! mix some herbs and spices in the egg mix. Dried Parsley and Dill worked brilliantly well!


Give this recipe a go!


Peace

xx


Friday, April 18, 2014

028 - Rainbow Rice Crispies Treat!

As you can see from my last week recipe, I’m currently obsessed with easy desserts. I don’t know why. But to me, a treat that is sweet AND easy to make sounds like pure gold. And for this week, the recipe is DEAD EASY. All you will need are 3 basic ingredients, and a whole lot of imagination. If that isn’t easy, I don’t know what is.

Introducing, RICE CRISPIES TREAT.


You will need:

1 bag (300 grams) Marshmallows. Big sized or mini sized, both worked just fine. If you’re a conscious Moslem, there are Marshmallows that are made with Cow Gelatin instead of Pig in the market.
130 grams of plain Rice Krispies cereal. This is also called ‘Rice Puff’ in some places. Not trying to be sounding like I need an endorsement, but Kellogg’s are the way to go!
4 Tbsp of Butter. I’ve yet to find a recipe that substitute this with Margarine, but if you gave it a go, let me know how it turns out!

Equipment:

1 Large baking dish, for shaping the treats obviously. I’m using my brownie pan
Aluminium Foil.
Oil/Cooking spray

Reader, keep in mind, you can actually whip this up all together with no problem at all. But, I’m feeling a bit adventurous today, so I’m making this a RAINBOW RICE CRISPIES TREAT. With that being said, I’m adding 5 food coloring (Dark Red, Orange, Yellow, Green, and Blue) to the overall ingredient to recreate a rainbow.

If you decided to make it a Rainbow treat, just divide the overall recipe into 5 separate portion for each color. I will be giving the details in the steps.

Ready? Here We Go!

Step 1 – Line your pan with aluminium foil. Here’s a neat trick to make it easier: Flip your pan, adjust the foil to be put into the center of the squares and press down to the shape of the pan. Flip it, and just put it in, VOILA


Flip
Adjust the foil so it overlaps
Press!
Shape!
Insert!

All set up!


Step 2 – Heat the pan on medium-low heat (Gas mark 6 in an electric stovetop), put in your butter. If you’re going for regular treats, put ALL your butter in. If you’re going for Rainbow, put 1/5 of the butter in.


Step 3 – Once the butter has melted completely, time for the Marshmallows to be melted. Again, you can either put ALL of it for regular treats, or 1/5 (60 grams to be exact) of it for Rainbow treats. Use a spatula that has been wiped with oil or sprayed with cooking spray to mix. TRUST ME, you definitely NEED to lubricate the tools. Stir vigorously STILL on LOW heat to avoid scorching the Marshy. 

It goes in
It gets stirred
It MELTS!

Step 4 – For regular treats, put ALL of your Rice Krispies into the pan and stir to mix with an oiled-spatula (to avoid it sticking, obviously). If you’re doing the Rainbow, put in 5-6 drops of food coloring (start from the darkest color, going ascending to the lightest one, or vice versa), and stir vigorously before putting 1/5 of the cereal (Approx 26 grams) in and continue stirring

No, that's not period blood.
..but it did get swirled!
Puff goes in
Puff goes stir-stir
Gooey

Step 5 – Working quickly (because this mix hardens REAL fast), spread the cereal-marshy mix into the pan that is previously wiped with cooking oil/cooking spray. For regular treats, this is as far as you go. All that is left is to wait for it to harden in about 15 minutes. For Rainbow treats, repeat step 2-4, until you have made the rest of the 4 color mix.

Work fast, these things hardens in no time
First of the 5 color

Step 6 – SERVE!


Oh man, this is seriously the nicest looking treats I ever whip up so far. This tasted gooey, and crunchy both at the same time.

But keep in mind, this treat tasted the best at the day it is made. 

If you’re going to keep some of it, use a sealed jar, and it will keep for 2 days in room temperature before going rock hard. But I suggest keeping it inside a sealed bag in a freezer; it will keep for almost 2 months. To serve freezer-kept treats, let it thaw in room temperature for 15 minutes before eating it.

Please, please, please, give this a go. I know if you had children, they will absolutely love it. I’m not saying that Adult wouldn’t like it, but the taste is a bit too sweet for some adults. But not for ME. THIS IS HEAVEN


Peace

xx

Saturday, March 22, 2014

024 - Tuna Toast (A Dimsum Tryout)

Yo yo, I’m back people. As you might notice, I missed my regular update (AGAIN). This time was due to the fact that I’m lost inside the madness us Jakartans knew as Jakarta Toys Fair. This annual event is the biggest toy/comic/everything-else-in-between gathering thus far. I’m pretty excited. Hell no, I’m WAY BEYOND EXCITED for this year event since my favorite cosplayer, Enji Night, is in town for the event!


Long story short, I got to meet Enji and her friend, Kana, I also bagged myself a Ted PLUSH!! And the greatest thing is, IT TALKS. Move over everyone, I got my thunder buddy. FUCK YOU THUNDER!

Someone is overly excited

For this week recipe, I conceived it while I was out of the office one day and got this terrible munchies for a Chinese Dim Sum I know as Shrimp Toast. I thought it was very good, and it is very easy to make too! But, shit out of luck, I don’t have any shrimp lying around at home at the time. So, I went with canned tuna. And by God, did it worked! Without further ado, I present to you: The TUNA TOAST

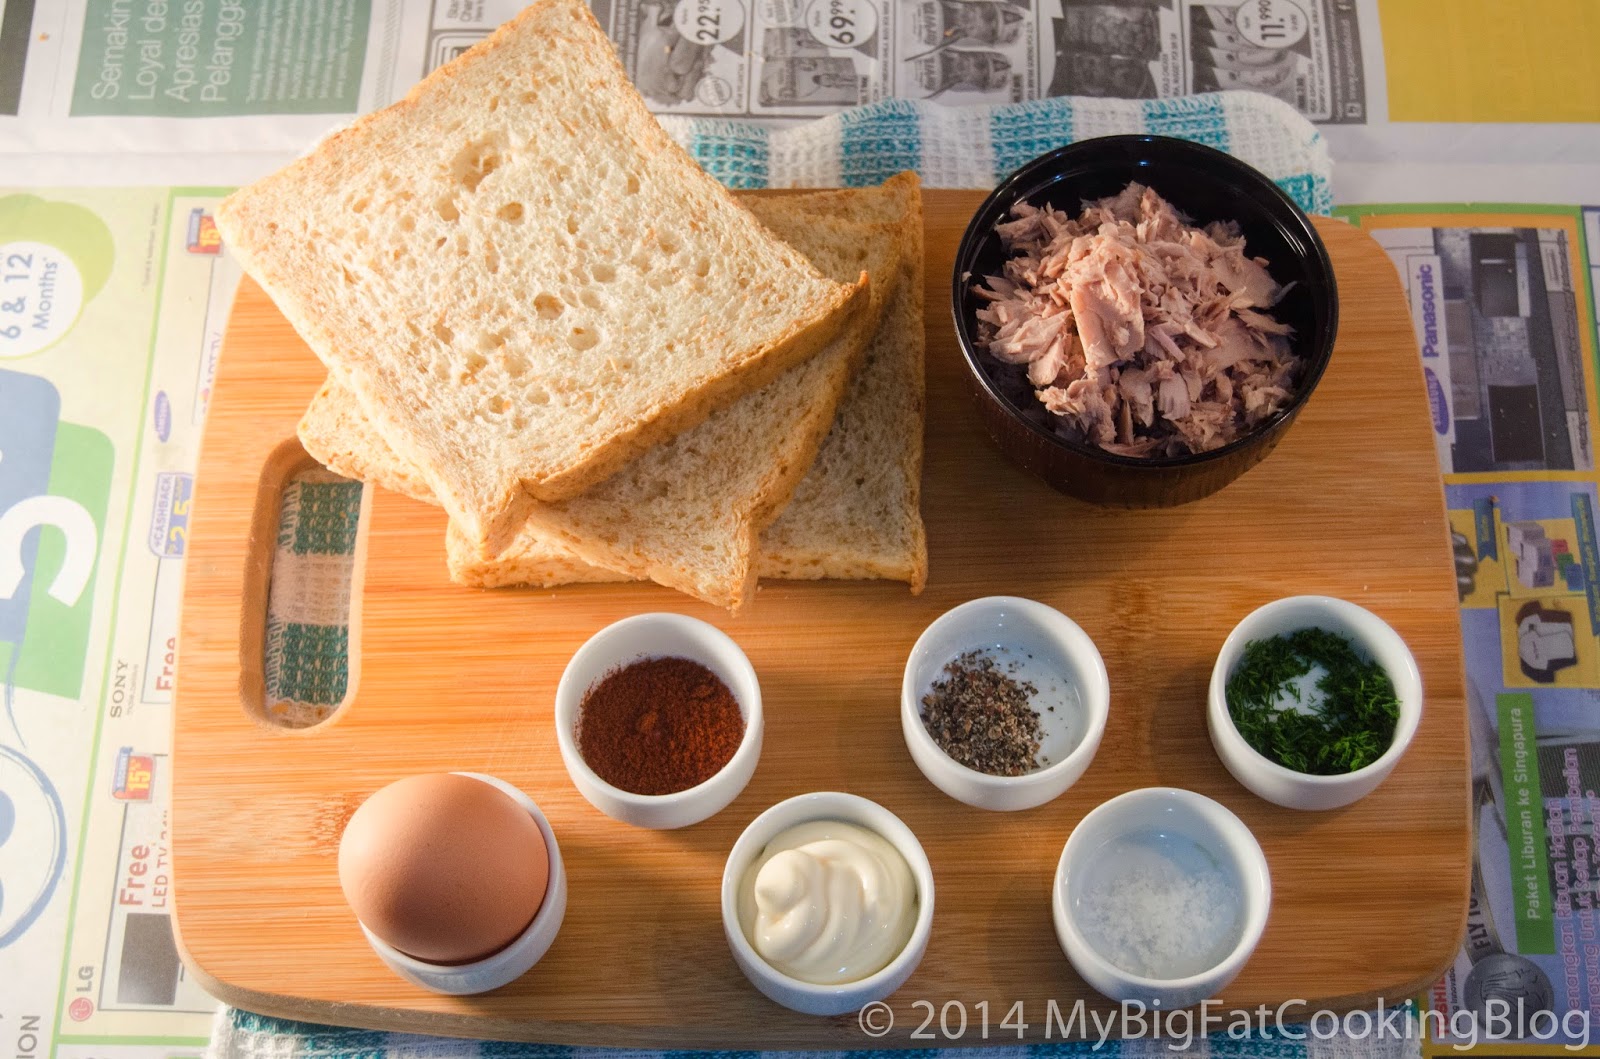
You will need:


1 can of Tuna, approximately 175 grams (preferably the ones soaked in brine, not oil), dried, and flaked finely
1 egg, beaten
1 tbsp of herbs of your choice. This time I’m using Dill
3 tbsp of Mayonnaise
Pinch of Salt
Pinch of Black Pepper
Pinch of Dried Paprika Powder
3 Slices of Bread
Oil to cook

Ready? Here We Go!

Step 1 – Mix together your pre-flaked Tuna with eggs, herbs, mayonnaise, salt, pepper, and paprika. Stir to combine until it becomes a very thick paste.

The Tuna was still flaky, i'm about to unleash hell

All forked up

Mayo

Egg

Paprika

Pepper

Salt

Dill

All stirred up


Step 2 – Spread the mixture on the bread evenly. Don’t put too much, or the mixture won’t cook up nicely. Nobody wants a raw insides right?


Step 3 – Heat a small amount of cooking oil with medium heat on a nonstick pan. I'm using my cooking spray this time, but cooking oil, or even butter will work fine. Once the pan is hot, we will cook the spread-side down first for 3-4 minutes.


Step 4 – Once browned, flip the bread and toast the other side for about 1 minutes or until desired doneness.


Step 5 – Serve!


That’s it people. Very straight forward, and a rather healthier version of a Chinese restaurant favorite. Serve this with a sweet and spicy chili sauce with a slice of lime.

Hope you’ll give this a try! If you don’t, tell your friends about this!

Peace


xx