Showing posts with label Gourmet. Show all posts

Saturday, June 28, 2014

037 - Silky Scrambled Eggs (Fast, Easy, CHEAP!)

Hello and happy weekend people!

How was your week? Mine was pretty awesome (snagged 21 Jump Street Blu Ray for 30% off? SCORE).

Anyway, since Ramadhan (fasting month) is right around the corner, I’m going to try to come up with more easy to whip up recipe to accommodate this holy month!

Recipe for today is very, VERY, straight forward. It is also very light tasting, perfect to match with any carbs you like. Rice, Bread, Pasta, all of it will work fine!

This is the SILKY SCRAMBLED EGGS!

I love eggs. Who doesn’t?? It is filled with protein, it is fulfilling, it is very flexible, and….IT IS CHEAP.

The recipe calls out for 3 ingredients only. How’s that for cost saving solution?

==============================

For 1 servings, you will need:


3 fresh eggs. Get organic if you can, the yolk tends to be bolder in flavor!
1 Tbsp of Butter. GREAT NEWS! Margarine can work in place of Butter too!!
Salt to taste

===============================

Ready? Here We Go!

Step 1 – Get a bowl and crack all your eggs in. Get a fork and start whisking. Just mix for about 20 seconds, and set it aside.
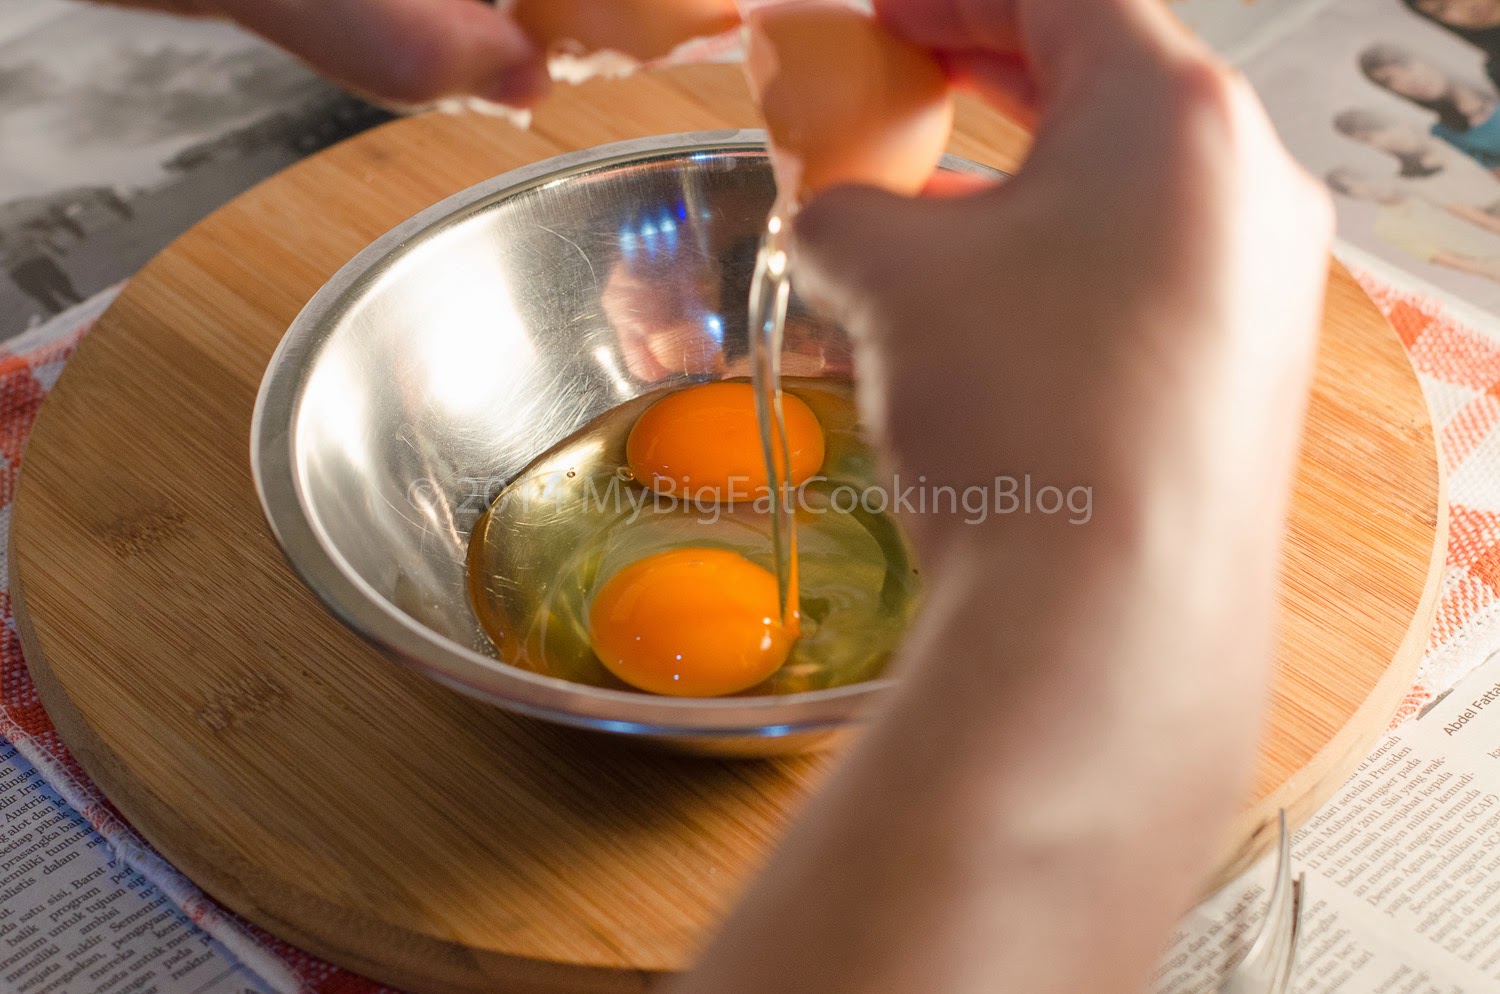
Cracking eggs? Don't be afraid. Thump it with confidence against a hard surface, and BOOM. Off they go.
Don't overwhip! 

Step 2 – Get a non-stick pan, and pour 1 tablespoon of cooking oil. DON’T START THE STOVE YET.

GOT YA! I didn't pour the eggs just yet :p

Step 3 – Pour your eggs and butter in THEN you can start the stove. Use Medium-Low heat. I personally always start at Low, before gradually increasing to medium throughout the whole process. This way, the egg will become silky smooth. I actually first see this technique used by Gordon Ramsay. But his version is a bit different than mine. See the video and read on!

Eggy shower...
..with Butter for company

Step 4 – Rubber spatula is the only tool you will need for this. It won’t break the non-stick coating, and it doesn’t burn your hand! Constantly stir the egg non-stop to cook it. You can see the progress on the picture I took. After the first 30 seconds of stirring, add the Salt.  It took me around 4 minutes of constant wristwork to get this dish finished!

First stage
Salt goes in
See how it starts to curdle?
Keep going, nearly there
Bloody beautiful!
That is what you're aiming for!
Set it aside to avoid overcooking!

Step 5 – Serve!


Talk about quick and easy eh? I like to cook this for breakfast. I put it on top of my toast, and crack some black pepper over it, and yum yum yum. Love on my tummy people!

Here's some tips to remember by:
  1. Fresh eggs, fresh eggs, fresh eggs. Stale eggs? Get the f**k outta here!
  2. Improv? You can! mix some herbs and spices in the egg mix. Dried Parsley and Dill worked brilliantly well!


Give this recipe a go!


Peace

xx


Sunday, April 6, 2014

026 - The Double Crispy Trouble!

Instant ramen is a game changer. No doubt about that. Ever since its inception, the fabulous thing had been converted into lots of creative meal. The imagination those who create a meal off of it has no limit. 

So after I made Milk Ramen few weeks back, I’m going to incorporate yet another Instant Ramen into my recipe. So for this week, brace yourself for this fucker. Lo and behold, the Double Crispy Trouble.

Why double? This dish consisted of Ramen that is pan fried till crisp PLUS a crispy chicken thigh seasoned with the seasoning pack itself!

Here’s what you need:


1 Pack of Instant Ramen of your choice. Onion chicken for me today
Enough oil for frying

For the chicken:

70 grams of Chicken Thigh, cut into bite size pieces.
1 garlic peeled and grated.
2 tbsp of Soy Sauce
2 tsp of Rice Wine Vinegar
1 tsp of Dried Chili Flakes.
1 seasoning packet from the ramen. Remember, save it, don’t waste it. (PURELY OPTIONAL! Read below!)
8 tbsp of Cornstarch (for Indonesians, we call it Maizena)
1 egg white

Ready? Here We Go!

Step 1 – Marinate your chicken. Mix the chicken thigh with the garlic, soy sauce, rice wine vinegar, chili flakes, AND if you’re feeling adventurous, the ramen seasoning. If you decided to add the ramen seasoning, it’d be best to leave the soy sauce out of the marinade! The seasoning will overwhelm everything, and it will make your chicken way too salty. Oh, and leave it to marinate for at least 10 minute.

Chicken
Soy Sauce

Rice Wine Vinegar

Chili Flakes
Garlic
WARNING: CONTAIN MUCH MSG ORGASM. SUCH INTENSE. MUCH WOW.
 This is what i feel about the seasoning packet:


OOOHHH LA LAAA
Mixy-Mixy- MIX IT UP
Step 2 – Boil your ramen as usual, strain it after it’s done to your liking, and leave it to dry for a bit. Dry ramen will yield a crispy ramen. And you know what crispy means right? YUM YUM. Oh, and no picture for this step, you know how it's done right?

Step 3 – While we wait for the ramen to dry, heat your oil in the pan with high heat, just enough to shallow fry the chicken. Shallow frying is typically used to prepare portion-sized cuts of meat and fish, and patties such as fritters (that’s what Wikipedia says, I simply call this as ‘goreng dangkal’ LOL)


Step 4 – Drain the marinade off the chicken; mix the egg whites and prepare the cornstarch. The flow goes; chicken-cornstarch-egg whites-corn starch. You will see that the chicken will be coated in a thick batter. And trust me on this one; this will become crisp once finished!

Prep line
Corn starch first
Egg whites
Back to the starch
 Step 5 – Dunk the chicken to the hot oil. Cook it for 1.5 - 2 minutes on each side, or until that golden brown crust has popped up gracefully! Be very careful not to burn the crust. Once you hit the jackpot, strain and leave the excess oil drop on top of the paper towel.

After the flip. LOOK AT THAT
Step 6 – Heat yet another batch of oil. Feel free to reuse the previous oil, but for great appearance, use fresh new batch. Don’t be a cheapo will ya? Oh, use medium heat for this. Once you see smoke, put the ramen and shape it into concentric circles. You know, for presentation ;) Cook this for about 4-5 minutes on each side, until it turns golden brown. Drain it on paper towel after it’s done. Oh, and don’t you dare to speedhack the process with higher heat, you will definitely burn the noodle! (I did this, stupid)

First side. Looking lumpy.
Press it!
Golden Brown Crunch!
Step 7 – Serve!


See how easy it is for you to elevate the level of a simple instant ramen? Heads will turn folks, heads will turn. For that extra savory, mix mayonnaise with mustard and a touch of acidity in forms of either lemon juice or white vinegar. Drizzle that all over the dish. D-E-L-I-S-H!

Give this a go and let me know how it turns out!

Peace

xx