Showing posts with label Chicken. Show all posts

Saturday, April 18, 2015

069 - KARAAGE - 唐揚げ

Hello everyone. Man, I feel bad for not giving you update what’s going on over the last 3 weeks since my last post. There were a lot of stuff going around during that time, but long story short, I wasn’t on the mood.

Yes, Mr. Moody is back.

It’s not that I don’t want to make a new post with new recipe on it, it’s just that; let me ask you a question first.

Have you ever wanted to show people something so bad, but stopped halfway through because you know it looked ugly as hell and you could do a lot better than that? 

Because that’s exactly what happened to me!

You see, I tested a few new recipes, but none of it made it. It’s just too tacky, ugly, simply said; ain’t good enough for you guys. But hey, failures breeds success.

So, here I am, proud to show you my take on Japanese deep fried chicken, also popularly known as KARAAGE.

Karaage, for me, is the perfect fried chicken. It’s even better than KFC, since with little ingredient, you can deliver even bigger flavor than Colonel’s!

Without further ado, let’s get going!

For 1 serving, you will need;
YES, THE SUGAR WAS MISSING, FORGOT TO PUT IT THERE

·         Chicken Thigh – 150 Grams – Cut into bite sized pieces
·         Cornstarch – 1 ½ Tbsp
·         All Purpose Flour – 1 ½ Tbsp
·         Egg – 1 piece – Beaten
·         Oil – Enough to cover the chicken during cooking
Seasonings
·         Soy Sauce – 1 Tbsp
·         Sake – 1 Tbsp (Optional for y’all Halal readers out there)
·         Garlic – 1 Tsp – Grated
·         Ginger – 1 Tsp – Grated
·         Sugar – 1 Tsp
·         Sesame Oil – 1 Tsp (Optional)

Ready? Here We Go!

Step 1 – Pat your chicken dry with kitchen towel if you haven’t done so. Transfer it into a bowl; add the soy sauce, sake, garlic, ginger, sugar, and sesame oil. Get dirty and use your hands, give it a nice massage you can ever do to a chicken. Once done, cover the bowl with plastic wrap, let sit in the fridge to marinade for 30 minutes.
Garlic goes in

..Ginger too

Then soy sauce says hi

Sake says hello

Sesame seed oil apologizes on behalf of sugar for not being there on time (YES, YOU'RE SUPPOSE TO PUT THE SUGAR RIGHT AFTER SESAME SEED OIL)

The greatest mix up of all time!

Step 2 – Take the chicken out of the fridge. Add the beaten egg, give it a nice mix. Add the flour, mix again. Add the cornstarch, and give it a final mix. Don’t mix too much, or else the dough will get a chewy finish later. Set aside.
Egg was lovely today

Eww, sticky!

Flour. Hmm..let's see what happens next

OH MY GOD STICKY.

Cornstarch. I got a bad feeling about this

OH MY GOD, LET ME HAND GOOOOOOO

AHHHHHHHHHHHHHHHHHHHHHHHHHHHHHHHHHHHHHHHH

..and there you are.

Step 3 – Heat the oil on medium heat. You can tell it’s hot when you drop a little bit of batter in and it floats right away. Anyway, cook your chicken in batches so you don’t f*ck up with the temperature too much. I’m cooking 3 pieces per batch. Fry for approximately 1-2 minutes depending on the size. Once it’s pale/almost light brown in color, take it out and let it rest. Cook the rest like you would the first time.
Soybean oil this time around. Higher smoke point madafaka!

YESS

Now, this is what you're aiming, done, but not quite there.

Whole batch of it!

Step 4 – Once the first frying is done, we are going to double fry these bad boys. Set the heat to high, and let the oil gets smoldering hot. Cook your chicken in batches (again), this time it’ll only take a mere 20-30 seconds. Once it’s crispy to touch and golden brown in color, welcome to heaven.
See the bubbles? Eat yourself, beer.

PERFECTION

See how double frying actually improves everything? The left side is single frying, right one is double fried.

Step 5 – Serve!


I personally like to add a sprinkle of salt over the Karaage right after it left the fryer. Karaage tend to have a light taste that is not overwhelming, that’s why some people will prefer to have more savory kick to it, hence, the salt.

Karaage is best serve with rice, like you would Japanese dish. However, possibilities are endless. I’ve seen Karaage served with French Fries, Mashed Potatoes, even sandwich between Burger Bun!

Give this recipe a try this weekend. It is very easy, and guaranteed to be loved by your family. Well, unless they hate fried food.

Cheers

xx

Monday, October 13, 2014

052 - Balado Chicken / Ayam Balado

Where do you come from anyway? That’s probably the question that people ask right after they got introduced to someone. Me? I’m of Padangnese descent. But no, I did not grow up there. I grew up in Jakarta (also spent 2 years or so at SF) to a strong Padangnese food culture. Every now and then. Lying. Every DAY, there'll always be a Padangnese food at the dining table at my home. Let it be a humble Rendang, Kalio, and this dish.

Padang cuisine is filled with, well mainly 2 things. Care to guess? Yes, it is Coconut Milk and Chili. The cuisine is easily characterized with it's vibrant Red-ish color, and of course, spicy heat. 

Now, let’s have some fun cooking the famous Padangnese comfort food, 

BALADO CHICKEN.

It’s basically a deep fried chicken mixed with spicy concoction of Chili, Shallots, Salt, Sugar and Vinegar. Truth be told, nobody knows which version is authentic. But this is the version my mom taught me. And it tasted bad ass!

=======================

For 8 pieces of Chicken, you will need;


8 pieces of Chicken. I like mine with the skins off. But if you like ‘em, you can leave it anyway.
Oil for frying

For the Chicken Marinade
4 Cloves of Garlic
2 tsp of Salt

For the Chili Sauce
10 Large Red Chili.
8 Red Bird’s Eye Chili.
6 Shallots
2 tsp of Salt. Or to taste.
1 tsp of Sugar
2 tbsp of Vinegar                
3 tbsp of Oil

=======================

Ready? Here We Go!

Step 1 – Cut your chicken into portions if you haven’t done so. Or you can always get your butcher to help you with that. Clean them under running water, pat them dry, and put in a mixing bowl. Chop the garlic finely. Spread it over the chicken along with the salt. Give them a good massage, and let them rest for about 1 hour to marinate.

Step 2 – Slice the entire Chili Sauce ingredient finely. I recommend you to grind all the ingredients inside the spice attachment of a blender. If you got food processor, that’s fine, they work just fine. Or you don’t have either but you got a mortar and pestle? Bash away my friend. Set it aside.

Chili
Shallots
Victimized.
The lovely spice attachment!
In they go!
Blitz away!
Hell!

Step 3 – By now, the chicken should have been marinated nicely, so heat a large amount of oil in a pan, set it on medium high. Once the pan is smoking hot, put the chicken in. If your chicken pieces are large, set the heat to low and let cook for about 7-10 minutes, before turning the heat back to high for another 2-3 minutes to crisp up. If your chicken pieces are small, cook it on medium high for about 5 minutes should do it. Anyway, no pictures on this one, i was too lazy to make one. HAH!

Step 4 – Heat oil in the pan, about a 2 tablespoon should do. Set the heat on medium, and cook the chili mix. Add the Salt, Sugar and Vinegar, give it a nice stir. At this point, if the mix is looking a little dry, you can add more oil in. The cooking process for the chili will took around 10-15 minutes depending on the amount of the chili. You can tell it’s done when the chili is noticeably darker from when it began, and smelling wonderful.

Canola oil
Stir!
Sugar
Salt
Vinegar
This is before
And this is afterwards (5 minutes later)

Step 5 – Mix the chicken with the chili! Now this is where the fun begins. Mix thoroughly, and..what else?


Step 6 – SERVE!


Did you notice something? Yes. This is my first Indonesian food recipe here!!!!

HAHAHAHAHA. Sorry it took me long enough to actually made one. Tell you what, this baby is not at all greasy, it has a lot (i mean, a lot, LOT) of spicy kick. I really loved to eat this with a nice serving of piping hot white rice, cucumber slices, and prawn crackers. 

It. Hits. The. SPOT!

Cheers

xx

Saturday, September 20, 2014

049 - Pan Fried Chicken Breast

Ever had one of those dreadful ‘Chicken Nightmare’?

It’s not cool is it? So you’re in this super nice new hot joint in town with your girlfriend/boyfriend, you ordered some fine wine, a soothing Jazz music playing in the background, and, oh, here comes your order. A pan fried Chicken Breast fillet. You grab your knife, make a slice, and in goes.

Boom.

As dry as Sa-f*cking-Hara desert.

Night’s ruined. You complaint. The booze can’t even help you forget the dreadful chicken experience.

No, you didn’t do anything wrong. It’s the Cook who forgot that Chicken….
Well they uh.., let’s just say they dry out easily.

Fear no more! I’m here to save you and your pride from embarrassment! I’m gonna show you how to make those lovely, killer, juicy chicken breast at home! It’s easy, it is so cheap, and it definitely, taste good!

PAN FRIED CHICKEN BREAST, it is.

=================================

For 2 Servings, you will need


2 Large chicken breast
Salt to taste
Pepper to taste

For the Brine

600 ml of Water
1 ¼ Tbsp of Salt
1 Tsp of Whole Peppercorns
2 Cloves of Garlic

=================================

Ready? Here We Go!

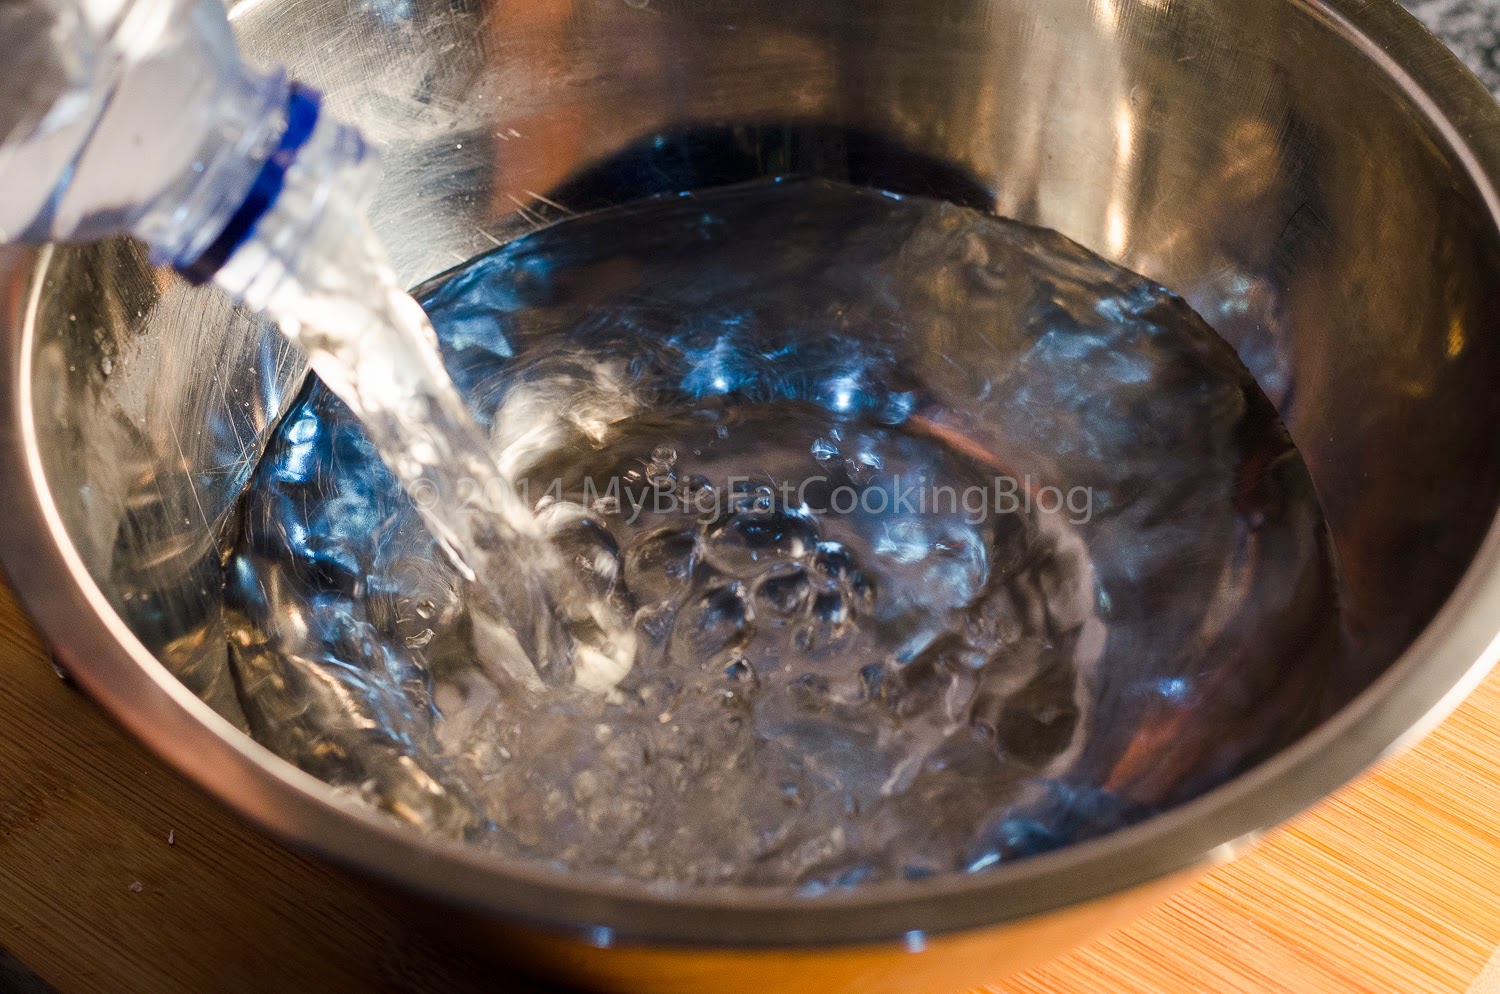
Step 1 – First things first, let’s make the Brine. Mix the Water, Salt, Peppercorns, and Garlic together. Stir until all of the salt has dissolved.

For those who don’t know, Brine is a salt-based solution that can make the driest chicken juicy. In short, it can make the muscle tissue hydrated with moisture. It’s totally customizable to your own taste bud. Like chili? Add ‘em. Cinnamon? Add ‘em. Star Anise? ADD ‘EM. There’s no limit.

Start with Water
Peppercorns
Salt and Garlic!
Stir until all salt has dissolve.

Step 2 – Put the Chicken into the brine and let sit for at least 4 hours. Preferably, overnight.


Here's some proof how brining changed the Chicken meat;


The left one is raw, the right one is brined. You can tell that the right one is hella juicy ain’t it?

Step 3 – Heat a non-stick pan on high. Pour some cooking oil, and let it smoke. Meanwhile, take your chicken out of the brine and dry it out with paper towels. As always, ensure it’s in room temperature!!


Before seasoning, give a nice bash with a meat tenderizer (or anything hard and blunt) to ensure even cooking. And season them with Salt and Pepper on both sides.

Bashing without worry; cover the chicken with plastic wrap before smashing it
Seasoning. Salt and Pepper.

Step 4 – Once the pan is hot, put the chicken in and DON’T, F*CKING, MOVE IT. Let it sear for a good 4-5 minutes. After that, give it a flip and cover. This will help cook the insides while still giving it a nice char marks. After another 5 minutes, it’s done!

Don't let this move. Seriously, don't give in to temptation!
Isn't she lovely?
Cover will help cook the insides!

Step 5 – Serve!


One can’t deny that Chicken Breast is the go-to meat for main course. With this trick I just taught you, people will be in awe. If there’s any other easy way to cook up juicy chicken breast in a relatively short time period, please let me know. Because at this moment, I don’t think there aren’t!

Please give this recipe a go. Tell your mum, your dad, your girlfriend/boyfriend, anyone you knew who might be interested in this daring recipe. Your support helps me keeping this blog up and running!

Cheers

xx