Sunday, November 2, 2014

056 - EGG IN A BASKET!

Here’s a quick, less than 5 minute to cook recipe to impress people!

It’s EGG IN A BASKET!

If you follow my instruction, you might just pulled off your very first gourmet looking dish!

==================

For 1 Servings, you will need:


1 Piece of White Bread. Or you know, go health with Wheat, cause whatever
1 Eggs. I’m currently in love with organic eggs since it has a brighter looking yolk, and it tasted better too!
Oil For frying
Butter For frying

==================

Ready? Here We Go!

Step 1 – Make sure the bread is in room temperature (lazy ass people, trust me, it pays to do so!). Grab a circular cookie cutter (or a glass if you don’t have one), press it gently towards the center of the bread to make a hole. Keep both the Hole and the rest of the bread, set it aside.

Here we have a Circular Cookie Cutter in it's natural behavior: Making Holes (LOL)

Look Ma! A Hole!

Step 2 – Get a non-stick pan, set the heat to medium, and put a dash of Oil and Butter in there. After the pan gets hot, put the bread in (NOT the Hole people, not just yet.) Afterwards, crack your egg in the middle, and let it cook for about 2 minutes, or until it hardens to your liking.

Olive Oil and Butter
A nice mixing action
Bread goes in
Egg goes in!
NOOOO! The Yolk Broke :'((

Step 3 – After the egg gets a little bit runny, give it a flip to cook the other side for another 1 minute. Once done, set aside, and cook the hole part of the bread until it gets toasty on both sides.


Step 4 – Serve!


See? I promised you an easy recipe didn’t i? If that wasn’t easy enough, go try it on yourself! You’ll be amazed how much you can do with just 2 ingredients!

Serve this with a touch of Salt and Pepper, or maybe a Hot Sauce too, and enjoy with a nice cup of freshly brewed coffee.

Have a nice weekend everyone!

Cheers


xx

Saturday, November 1, 2014

055 - A Small Step Towards Greatness

'Kay, as i was typing this post, i just finished exercising outside (my first in a veeeeeeeeeeery long time!), and it got me thinking.


"Wow, it feels good to savor the clean air, sunlight, and everything in between"


What does that have to do with this cooking blog? Inspiration.

You might not realized it, but My Big Fat Cooking Blog is now 1 years old! *YAYYYYY*


Can't believe i finally took my step on inspiration and passion on cooking last year. The journey wasn't easy, but it was worth it.


So here's to the first year, and more to come.

HAPPY BIRTHDAY MY BIG FAT COOKING BLOG!

Saturday, October 25, 2014

054 - OKONOMIYAKI

Cooking your own food and eat it straight away is pure bliss. Don’t believe me? Try one of my recipes, preferably the easier ones, like the Aglio e Olio spaghetti or Grilled Cheese Sandwich. Grab a bite, and tell me if you don’t love it.

See what I’m talking about? That’s the great thing about comfort food. Done right and it will always hit the spot. Guaranteed.

This time around, it’s still Japanese, it’s still comfort food, and it’s still amazing.

It’s OKONOMIYAKI

To those with lazy fingers, let me help you with the googling. Okonomiyaki is basically a Japanese pancake. Well, not authentically theirs, but it’s their own take on the recipe. Instead of Butter and Maple, Okonomiyaki is served with Okonomi sauce and mayonnaise. 

Yes, it is Savory.

Okonomiyaki basically means ‘grill it as you like’. So each region throughout Japan has their version of it. Osaka people loved to add Squid or Shrimp to the mix, because their region specializes in Seafood. Hiroshima people loved to keep it heavy by adding yakisoba noodles and fried eggs into their already humongous Okonomiyaki.

Me? This is my take based on the Osaka version of the recipe. The recipe was adopted from several recipes I stumbled upon, and I tried to adjust it to Indonesian ingredients availability.

======================
For 2 Servings, you will need:


The star of the show!

100 grams of Cake Flour. Cake flour is basically a low-protein flour.
140 ml of Dashi stock. You can substitute this with Chicken Stock
¼ tsp of Baking Powder
(optional) 1 tbsp of Nagaimo. Nagaimo is Japanese mountain Yam. It can be bought at Japanese supermarket. The sticky texture doesn’t come cheap, it costs IDR 350.000 per kilogram.
Salt to taste
200 grams of Cabbage
75 grams of Green Onion
2 Eggs
100 grams of Squid/Shrimp. You can substitute this with Chicken. Keep in mind, Chicken cook longer, so it need to be par-cooked before being added to the batter.

For Toppings
Okonomiyaki/Japanese Worcestershire sauce. Mostly known as the ‘Bulldog’ brand.
Dried Seaweed
Katsuobushi (Dried, Smoked, Skipjack Tuna). Readily available at most major supermarkets today.
Japanese Mayonnaise. Kewpie should be your choice. Japs added MSG in their Mayo and it makes a whole world of difference.
Chives

========================

Ready? Here We Go!

Step 1 – Get a bowl and put the Flour, Baking Powder, and Salt in. Slowly add the Dashi while stirring constantly to avoid lumps. If you’re using Nagaimo, peel the skin, and grate it. Add the gooey stuff to the mix. This will make the final product chewy in a very good way.


Flour
Baking powder
Salt
Dashi stock
Nagaimo
It's sticky, YEW!

Step 2 – Add the Cabbage, Green Onion, Squid, and Eggs. Give it a nice stir. Not too much, just until combined. We don’t want gluten to form don’t we?

Cabbage and Green Onion
Squid
Eggs
Stir to combine

Step 3 – Get a large non-stick pan, add some oil to it. Heat it up on medium. Once the pan is hot, put the mixture in. Quickly cover the pan, and let cook for about 5 minutes on medium. After that, give it a flip, and cook on Medium-Low heat for another 6-7 minutes to crisp up.


Oil
Cooking on medium
The cover will help the insides cook
Ready to flip?
BAM!
Cover, yet again

Step 4 – Once crispy, take it off the heat and decorate! I usually go with Okonomiyaki Sauce, Katsuobushi, Chives, Seaweed, and Mayonnaise.


Okonomi sauce

Spread that sh*t, yeah
Katsuobushi
Chives
Seaweed
Kewpie Mayonnaise

Step 5 – SERVE!


You know, this might not be as authentic as it is in Japan, but it tasted pretty damn good!

You can literally put anything you want in here. For example, if you're not a fan of squid, you can add fish or shrimp. Or maybe shredded chicken? Yes, that can work too!

The thing is, Okonomiyaki is best enjoyed with family and friends. Cause it's just so damn good!

Give this thing a go!

Cheers

xx

Friday, October 17, 2014

053 - Vietnamese Spring Roll (With a Twist)

Vegetarians! Rejoice!

This week recipe can and will be one of your favorite dish to make at home. Guaranteed!
VIETNAMESE SPRING ROLL is what we’re making today!

Vietnamese version of this humble finger food is awesome in every way. We’re going to use rice paper (instead of the regular wonton paper), and fill it up with all these delicious veggies you have in your fridge! If you don’t have one, then go grab your silly ass up from the couch and go to the nearest market! 

Buy local, eat organic, because it is hell of a lot better for you!

The spring roll will be filled with lots of goodness. I’m talking about stuff like Vitamin A-rich Carrots. Then we’ll be adding a lot of crunch factor to it. Remember Peanuts? You know you love it.

The prep time for this dish is minimal, and it can be made in a blink of an eye (sadly, not literally :( )

==========================

For 1 Servings of 4 pieces, you will need;


4 x Rice Paper wraps. You can buy these at most major supermarkets, look in the Asian food section. It should be there. And no, you cannot substitute with anything else.
100 grams of Carrot. Clean and peeled
100 grams of Cucumber. Clean.
100 grams of Lettuce. Wash and clean.
30 grams of Chives. Wash and clean.
20 grams of Coriander Leaves. Wash and clean.
50 grams of Roasted Peanuts.

=========================

Ready? Here We Go!

Step 1 – Cut all your Carrots into match sticks. The easy way to do this is to make a straight cut on one of the sides, and turn it as the base to cut the rests. When you have a square cut of Carrot, slice it about ½ cm thin, and then proceed to cut it into strips. As for the Cucumber, only use the sides, NOT the seeds. Cut it in the same fashion as the Carrots.

Cut one of the sides to turn it into the bottom part
Make even cuts on the rest of the sides, turn it into a rectangle (left side), then proceed to cut into large thin strips
Another look on how to make the thin strips
Cut the thin strips into matchsticks!


Step 2 – Wash the Chives, cut away the white parts, use the green parts only. Continue by tearing the Coriander leafs from the stalks. Don’t forget to chop the Lettuce into small pieces.

Chives
Coriander
Lettuce

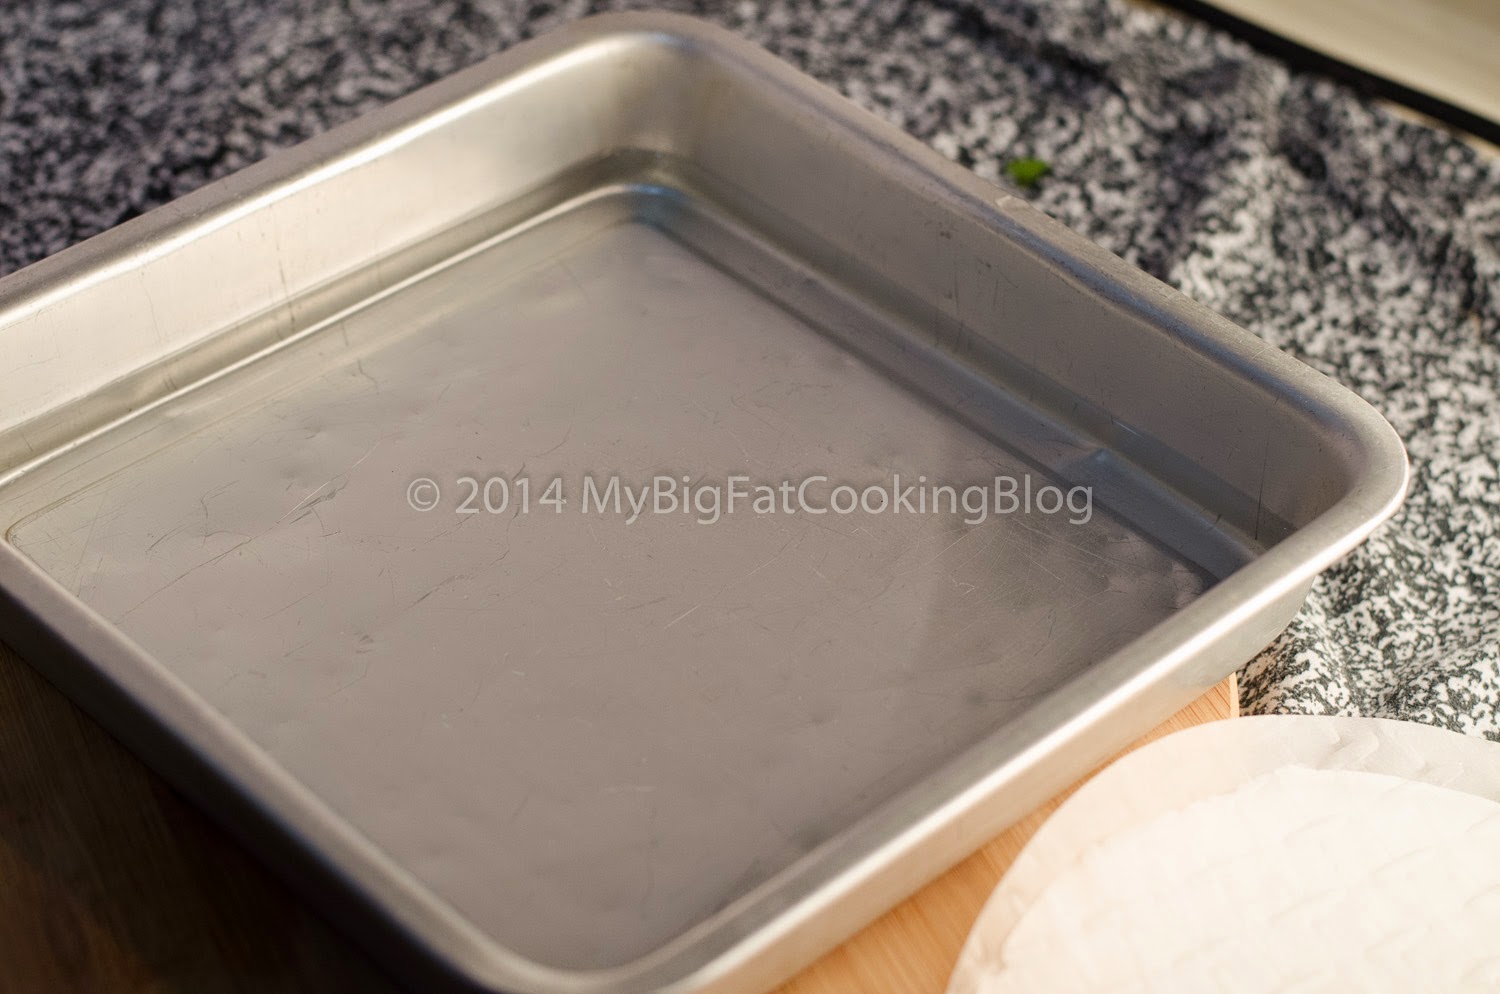
Step 3 – Get a bowl or a shallow baking pan, fill it with warm water. Get one of the Rice Paper, dip it whole briefly into the water. Remember, this thing is like sponge, even if you took it out of the water already, it still soaks up the remaining to dehydrate the whole thing. Lay it flat in the wet surface to avoid it from sticking.

Just in case you didn't notice, there is indeed water inside this baking pan
Now that's me dipping the rice paper (OBVIOUSLY, duh)
Add water to the cutting board to avoid it from sticking too much

Step 4 – Go crazy with the fillings! I like to fill it in this order; Lettuce, Carrots, Cucumber, Coriander, Chives, and Peanuts. To wrap it up; (1) Fold the left and right side inward, (2) Fold the short side and tuck it in, (3) Continue folding until it all wraps up nicely.

Lettuce
Carrots
Cucumber + Coriander
Chives
Peanuts
Fold inward
Tuck the filling in
Roll!
Done!

Step 5 – SERVE!


Serve this dish with a lovely Thai Sweet-Spicy Chili Sauce. The greatest carnivore will even succumb to the lovely taste of this hearty spring roll!

Give this a go, as always, this one is rather low on calorie, high in fiber and vitamins, and tasted all good.

Cheers

xx