Friday, January 31, 2014

019 - Cookie and Cream Popcorn!

Welcome to the weekend folks!

I just want to say Happy New Year to all my Chinese reader out there! Gong Xi Fa Cai!

So, what’s your idea for a great weekend? I’m pretty sure some of you chose to crash the couch while watching a movie and munchin’ on something. Tell you what, what if that ‘something’ turn out to be Cookies and Cream Popcorn? FUCKIN’ ACE ain’t it?

Here’s what you need:


100 grams of popcorn kernel
200 grams of white chocolate. If you can afford a real white chocolate (not like the ones pictured here), it’d be much better. But, if you’re stuck with compound chocolate, it’ll work just fine.
150 grams of Oreo. Regular tasting cream only, please. No fancy ones!
A splash of oil

Ready? Here We Go!

Step 1 – Unpack your Oreos and put it inside a plastic bag. Ziploc type bag worked best since it prevent the cookie from spilling everywhere. Smash it with something hard, in my case, rolling pin. Set aside after everything is reduced into a mush.


Step 2 – Get a pan with a lid, and pour a splash of oil in. Not too much, just enough to coat the kernel. Set the heat to medium, and pour your kernel in, and CLOSE THE LID.. The process until first pop will depend on the heat. It took me around 3 minutes until the first popping sound is heard.


I pour too much oil, ended up using kitchen towel to drain the excess out :|

Protection is necessary


Step 3 – Swirl the pan occasionally to ensure no kernel left unpopped! Remember, Kernel’s don’t leave other kernel behind!

Step 4 – Once all popping sounds recedes, transfer the popcorn to a large bowl, set aside


Step 5 – Melt your chocolate. You can use fancy technique I use in the Chocolate Nutella Mousse recipe, but it’s a bit time consuming, so I’m going with the microwave. I’m melting it on high, on a 30 second burst. So every 30 second, stir, 30 second, stir. It took me precisely 75 seconds to melt the chocolate completely. Oh, and use a microwave proof bowl!


The humble-old-beaten-up microwave


Still hot, almost melted completely.

Stir

Voila!

Step 6 – Assemble! First, pour your Oreo, stir. BE CAREFUL! Popcorns are fragile and should be treated with utmost respect! Use a spatula and a slicing motion. Slicing motion is a movement in which you cut through the popcorn as if you’re slicing it. After the Oreo is incorporated, pour the chocolate and say this with me; “HALLELUJAH!”

Oreo taking a peek

OREO SHOWER!


CHOCOLATE LOVE!


Step 7 – Indulge. Forget. The. World.


This simple much is full of calories for sure, but it hits the spot! Give this recipe a try!

Peace


xx 

Sunday, January 26, 2014

018 - Fish and Egg in a Bowl (a.k.a the DON)

Good morning everyone!

I sincerely hope the hangover from last night got through already. No? SUCK IT THEN! X))))

Anyway, I’m feeling like making a simple don before you go out for the day. You know, Don, that Japanese lunch in a bowl. It’s mostly fast and convenient. Tasted good too!

I loved the fact than you can prep 2/3 of the ingredient in this recipe beforehand. And by beforehand, I mean the night BEFORE! How amazing is that? Having a great lunch bowl ALREADY done even before you woke up the day after! (okay, I’m waaaaay too excited)

The Don will consist of 2 section: Rice and Toppings. No fuss in between. That’s, unless you want to add something else.

You will need:

As many rice as you want to fit inside the bowl. That’ll be around 1 cup or so on a small-medium size bowl.

For the fish floss:


150 grams of white fish, preferably Cod or Halibut (that’s ‘ikan sebelah’ for you Indonesians)
1 tbsp of Sea Salt for poaching
2 cups of water for poaching (feel free to adjust according to the size of your saucepan)
1 tbsp of Sake
1 tbsp of Mirin
1 tbsp of Sugar
2-3 drops of Red food coloring dissolved in a teaspoon of water (optional, but it made the dish looked pretty!)

To those reluctant to use alcohol in this recipe, you can cook without it just fine. The alcohol role in this recipe is to remove the fishiness.

For the scrambled eggs:


2 whole eggs
A pinch of salt

Ready? Here We Go

How to make Fish Floss

Step 1 – Clean your fish thoroughly, remove every bones if you haven’t ask your fishmonger to do so, wipe the surface with paper towel to remove excess moisture. Cut it down to small pieces to fit the saucepan.

Step 2 – Pour your water into the sauce pan, and dunk the sea salt in it. Let it boil.


Salt


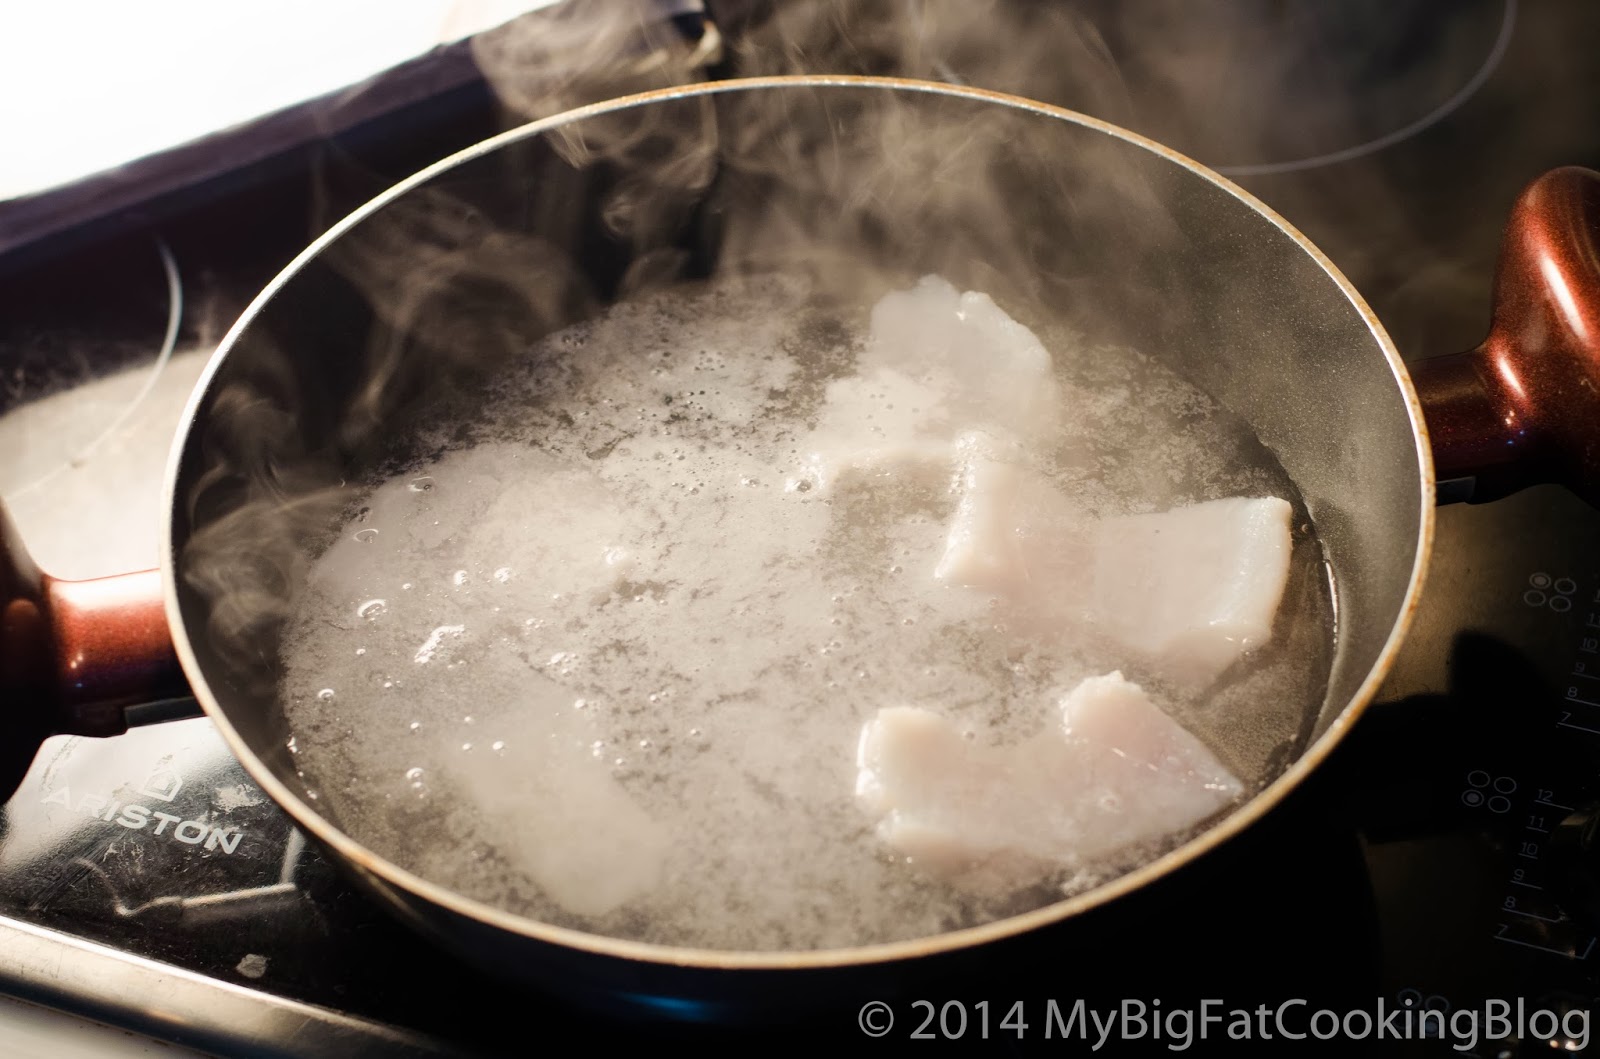
Step 3 – Once boiling, throw your fish in and let cook for around 2 minutes on high heat, before lowering the heat down to low. Remove any foam on the surface while you cook. Once the fish can be flaked easily, time to remove it!


Foam starting to appear

Remove the foam!


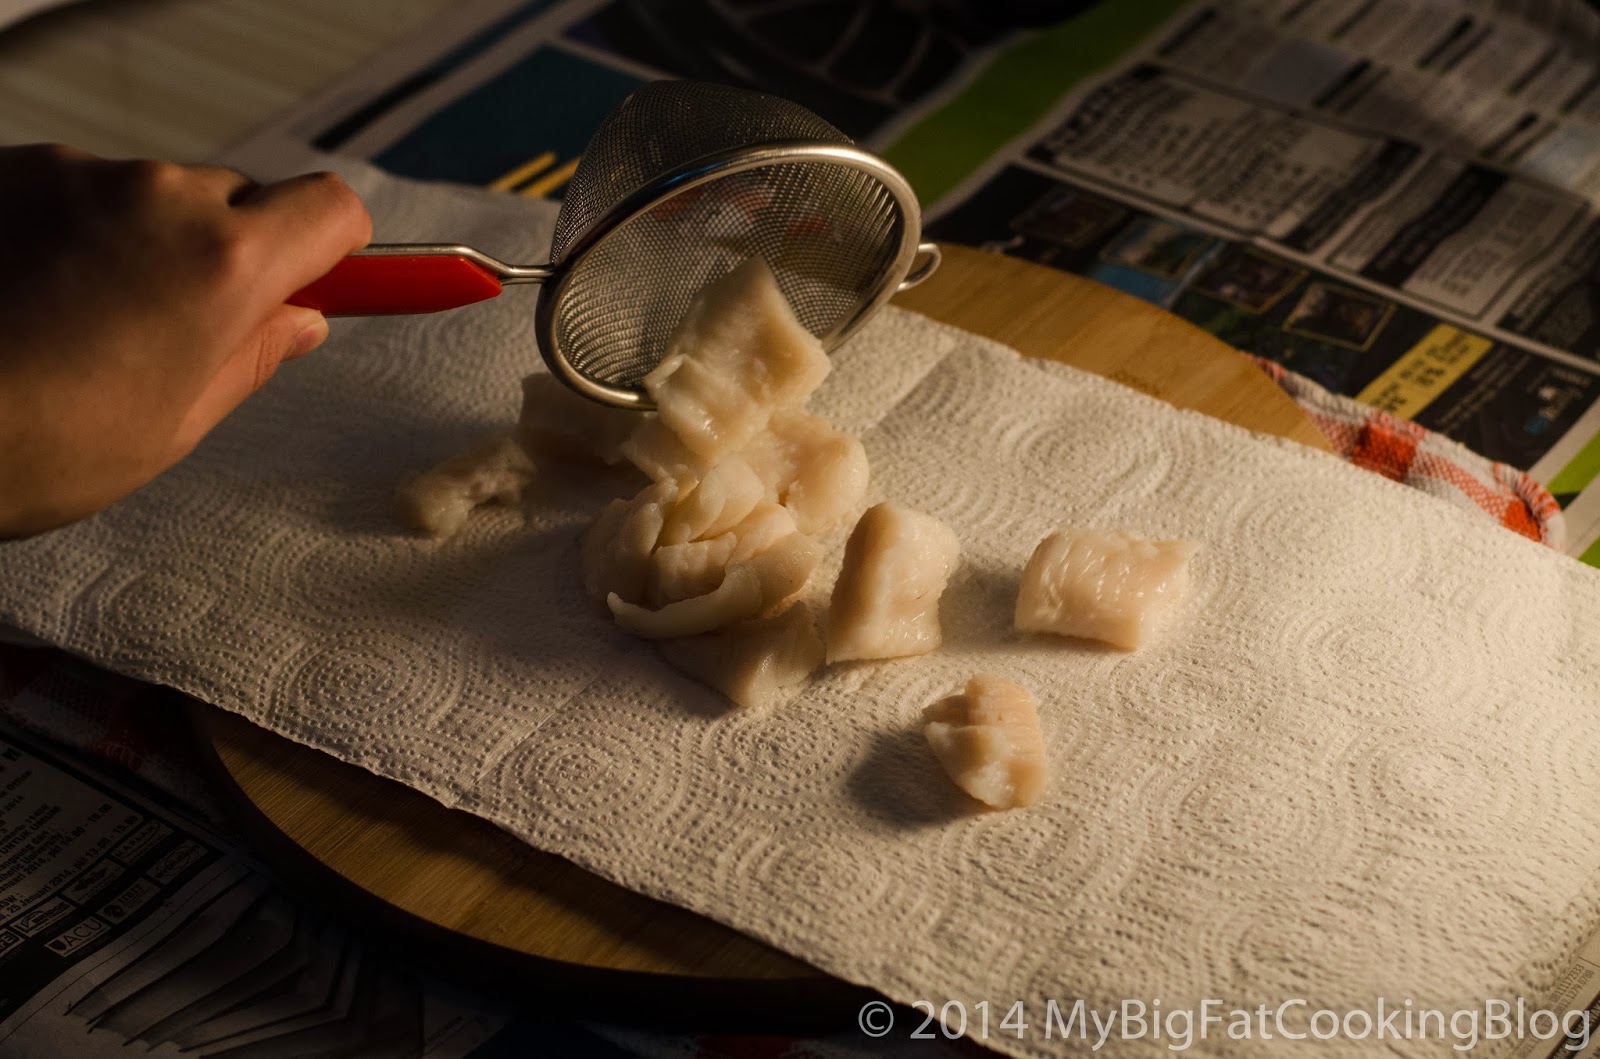
Step 4 – Prepare a strainer to drain your fish. Once all visible moisture has gone down, lay the fish onto the paper towel to be squeezed out of every single bit of moisture left. It’s okay if you want to imagine your ex gf/bf while you’re squeezing, I’m not here to judge. HAHAHA LOL.


Strain


Squeeze

Ready for flaking

Step 5 – After squeezing, time for flaking! Now it’s time to get down and dirty. First thing first, WASH YOUR HANDS. No no, I don’t care if you said you washed it after you pee. If it came after touching the crotch, it won’t touch your food. Once your hands are clean, flake your fish (be careful, it’s still hot!), tear down every single bit you can lay your hands on. This process will help later on!


Step 6 – Prep your nonstick pan on low heat, then dunk your flaked fish in. I’m using chopsticks for 2 reasons: it won’t hurt my Teflon that much, plus, it looked bad ass. Stir your fish constantly with high speed. Then, pour your sake, mirin and sugar in. Stir vigorously until all moisture has left the fish. Word of advice: the pan might get too hot and brown the fish. If this happens, remove the pan from the heat and continue stirring before returning it back to the heat.


Sake

Mirin

Sugar

Stir more

Step 7 – Pour your food coloring in, stir even more vigorously to ensure even coloring on the fish. At this stage, you can use fork to break any stubborn lumps. After a minute or two, your fish floss is done!!


How to make the scrambled eggs

Step 1 – Break your eggs into the bowl, stir it with whatever tools you have lying around.


Step 2 – Prep your pan, pour a dash of oil. Just before dunking your eggs into the hot pan, give a dash of salt to taste.


Step 3 – Stir vigorously with chopsticks (or fork, FINE), to create a small and consistently sized eggs.


Step 4 – You’re finish once all liquids are gone!

Serve.


Man. MAN. That looked friggin’ cool. At some point, I thought I recreated a pokeball on a different color (Haha!)

Anyway, the fish floss could keep in the fridge inside a sterile jar for around 2-3 days. It’s microwavable, so it’s a nice thing to have for a quick bite.

Give this a go, and let me know how it turns out.


Peace

xx