Monday, October 6, 2014

051 - Honey Mustard Chicken

I’m a conservative in the kitchen. Not all the time, but most of it. I experiment for sure, just not every day. This recipe I’m about to show you how to make was one of my proudest achievement when I first started cooking seriously. But later on, I was disappointed because as it turns out, I’m not the first one to come up with the idea. (BOOOO)

Oh well, better to find out by myself than from somebody else right?

Anyway, the recipe is HONEY MUSTARD CHICKEN.

If I recall the history of coming up with the recipe correctly, I was dead bored of my cooking at the time. I was cooking Chicken on my stove, and looked beside me to find Honey. So I immediately opened up my fridge and found a yellow container of Mustard on it. So I picked it up, mixed it with the honey, and VOILA. Magic.

This recipe is actually savory and sweet at the same time. But there’s no denying that you can actually stretch the recipe to your liking.

There’s no limit to the type of Protein you’re going to use too! But I prefer Chicken because it is a lot more succulent than Beef, and it meld with Honey and Mustard perfectly.

========================

For 2 Servings you will need


200 grams of Chicken Thigh fillet. For health conscious crowd, you can substitute with Breast meat. Caution though, they tend to dry out (unless you brine it). And when they do, it doesn’t taste good with the H&M sauce.
4 tbsp of Cornstarch
2.5 tbsp of Honey
1 tbsp of Mustard. Experiment with the types of Mustard you have. I like to use Whole Grain mustard. Regular yellow mustard will work as well.
2 Cloves of Garlic. Grated/Minced finely
Salt to taste
Pepper to taste
2 tsp of Paprika Powder
Oil for frying.
(optional) Coriander leaves, chopped finely.
(optional) Sesame Seeds

=======================

Ready? Here We Go!

Step 1 – Clean your chicken and cut it into bite size pieces (if you haven’t done so). About 2 cm x 2 cm. Pat it dry with kitchen towel, set it aside.

Step 2 – Meanwhile, mix Honey, Mustard, Paprika Powder, Salt and Pepper in a small bowl. Set it aside
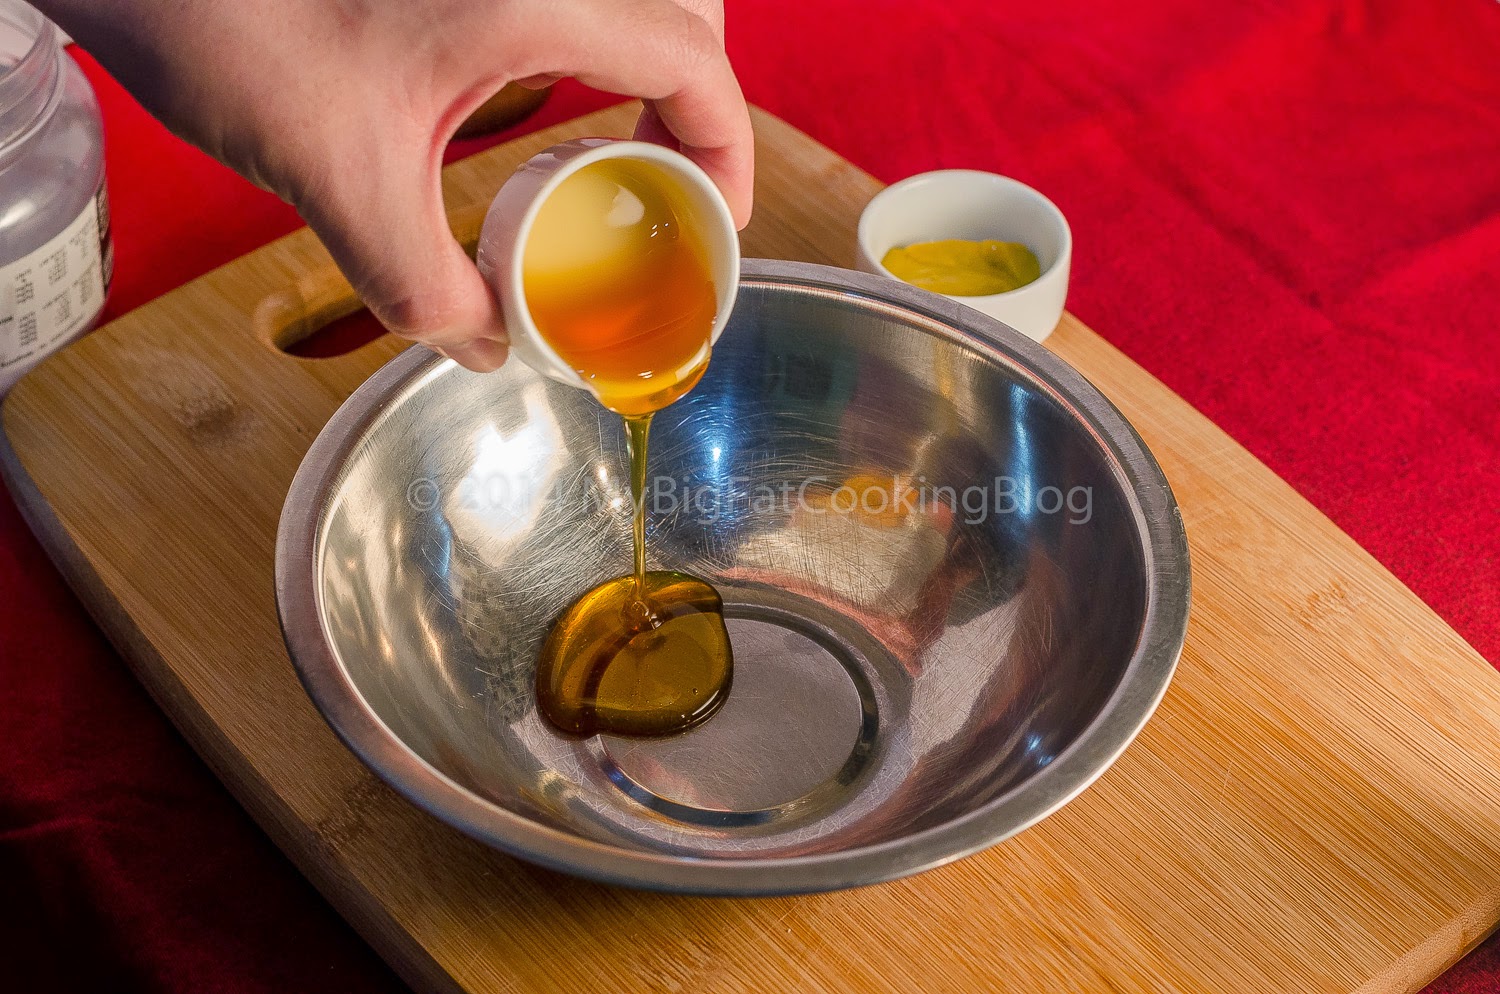
Honey
Mustard
Salt
Pepper
Paprika
Mix!

Step 3 – Mix your Cornstarch with Salt, Pepper, and Paprika, and give it a mix. Then dredge the chicken piece in it

A bit of salt
And Pepper
As always, MIX
Mix again
Coated!

Step 4 – Get a non-stick pan, give it a light splash of oil. Let it heat up on Medium high heat. Once the pan is scorching hot, add the chicken. If your pan can’t cook everything at once, do it in batches. Cook them for about 1,5-2 minutes (or until pale white and crispy) on each side. Set it aside.


Step 5 – Heat another pan on medium heat. Put the garlic in, and stir quickly to avoid burning it. Once it smells good, put the chicken in first, and then the sauce mix. Turn the heat to low, and let the sauce caramelizes beautifully! Just before serving, turn off the stove, and sprinkle the Coriander leaves (purely optional). Once the sauce is nice and sticky, plate it.
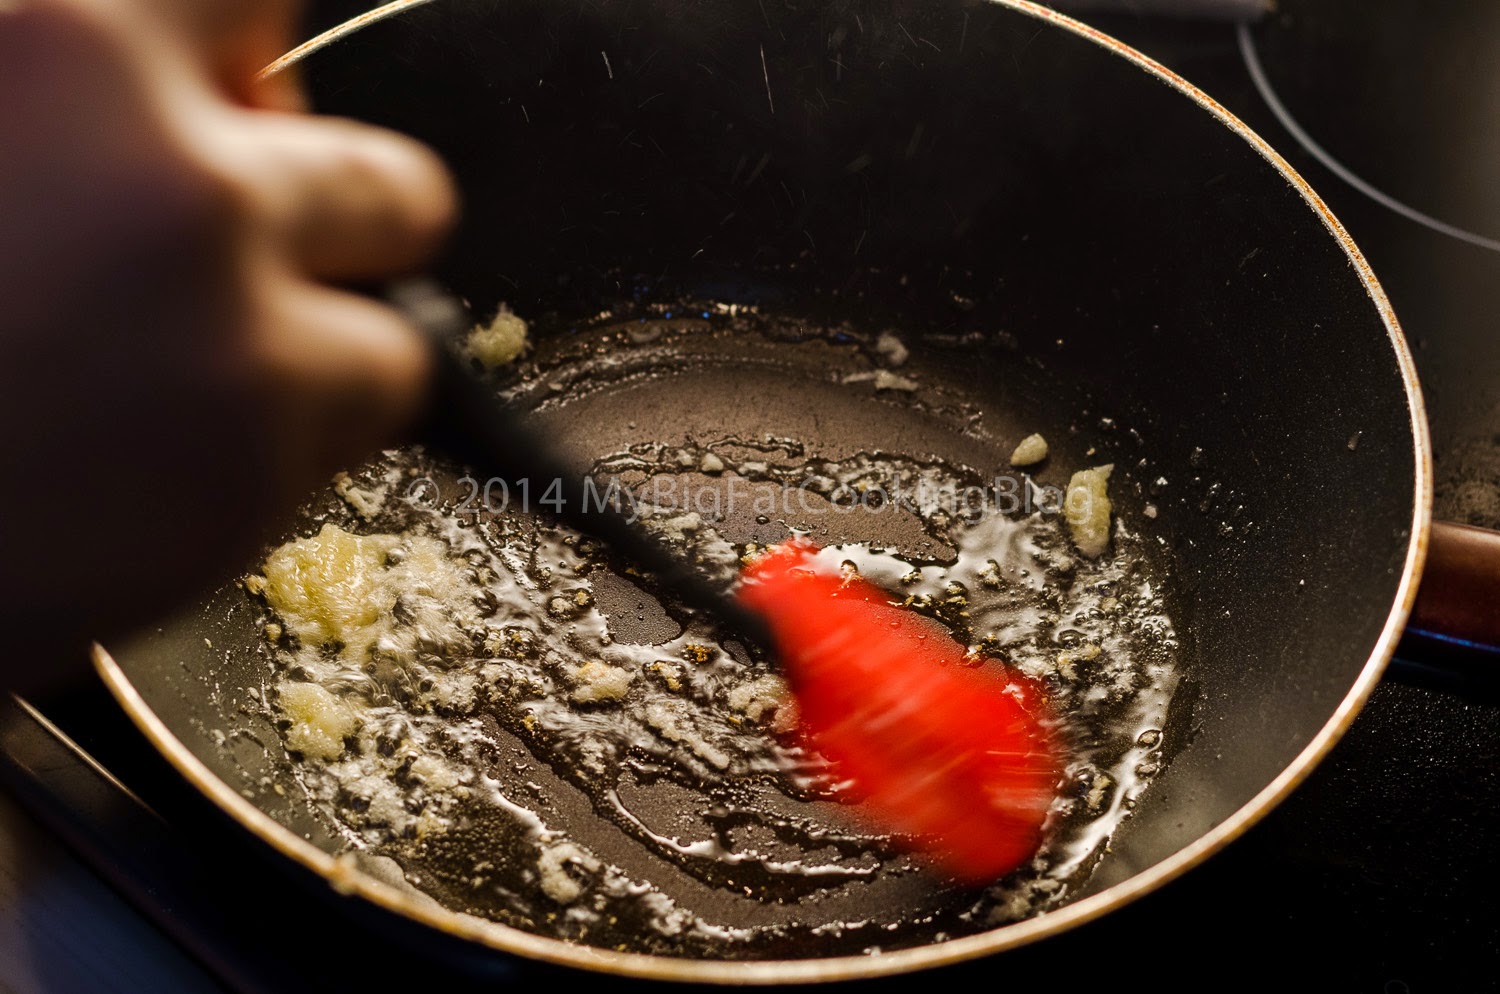
This here is Garlic and Oil
The chicken goes in
Sauce tossed in!
Finishing touch!
Step 6 – Serve!

:)

Sweet, sticky, savory. Perfect combo!

Cheers

xx

Sunday, September 28, 2014

050 - NUTELLA WONTON! (50TH POST SPECIAL)

Hello and welcome to the special 50th edition of My Big Fat Cooking Blog recipe post!

Fifty. FIVE O. That’s a huge number for me! Can’t believe I’ve got this far. Sure I could use more tweaks here and there. But hey, it’s better to take things slow than doing nothing at all :)

This week, i’m going to take you to another Nutella filled journey. This time, in a form of Wonton. So please give it up for…….NUTELLA WONTON.

Remember, this time around, there are no rules. Nothing.

========================

For as many servings as you like, you’ll need


As many wonton wraps as you like (rule of thumb: there are 2 shape, square and circle. Square worked for Boat shaped, the latter for Half-Moon and Gyoza)
As many Nutella as you like (rule of thumb: use ½ tsp Nutella per-Wonton. 1 tsp for the Boat shaped)
As many Mini Marshmallow as you like (rule of thumb: 3 per Half-Moon/Gyoza shaped, 4 for the Boat Shaped)
Oil for frying

=======================

Ready? Here We Go!

Step 1 – Fill a small bowl with water, get it ready beside you

Step 2 – Get a piece of Wonton/Gyoza Wrap, fill it with Nutella and Marshmallow (follow the amount listed above)

Pure, untouched.
..then it got tainted.
..with Marshmallow.
Step 3 – Wet your finger, and give the edges a wipe. Now it’s time to fold. If you’re using Gyoza style wraps, you can just fold it halfway (to make a half moon fold), or make a Gyoza fold by joining the center part together, and fold the sides 2 times on both ends. To make the boat shape, it’s more intricate. Get a piece of Square Wonton wraps, fill it up, wet the edges, fold one corner so it meets the opposite end. Give it a nice seal, tuck the middle part with your finger in, fold the long edges so it meets one another, and VOILA!

Gyoza Fold:

Wet the edges
Hold it up
Let the center part meets
Fold the sides toward the insides
Gyoza!
Half Moon Fold:

Hold it firmly
Wet the edges
Fold it in half
Boom!
Boat Fold:

Wet the edges
Make a triangle fold
Wet the left side of the triangle
Tuck the middle part in
Fold inwards so the dry part meets the wet part

Seal
Boat!

Step 4 – Fill a wok with Oil, heat it on medium-high. Deep fry time fella. Frying is quick, approximately 1 minute. Careful, and watch it, as Marshmallow can leak!

Heat test: look at how the chopsticks emit bubbles
FRY!


Step 5 – Serve!


Okay, so this wasn’t the healthiest idea around. But who gives a f**k? It’s 50th post!

Remember, the Nutella nad the Marshmallow is only the tip of the iceberg. You can improvise as crazy as you want!

Cheers


xx

Saturday, September 20, 2014

049 - Pan Fried Chicken Breast

Ever had one of those dreadful ‘Chicken Nightmare’?

It’s not cool is it? So you’re in this super nice new hot joint in town with your girlfriend/boyfriend, you ordered some fine wine, a soothing Jazz music playing in the background, and, oh, here comes your order. A pan fried Chicken Breast fillet. You grab your knife, make a slice, and in goes.

Boom.

As dry as Sa-f*cking-Hara desert.

Night’s ruined. You complaint. The booze can’t even help you forget the dreadful chicken experience.

No, you didn’t do anything wrong. It’s the Cook who forgot that Chicken….
Well they uh.., let’s just say they dry out easily.

Fear no more! I’m here to save you and your pride from embarrassment! I’m gonna show you how to make those lovely, killer, juicy chicken breast at home! It’s easy, it is so cheap, and it definitely, taste good!

PAN FRIED CHICKEN BREAST, it is.

=================================

For 2 Servings, you will need


2 Large chicken breast
Salt to taste
Pepper to taste

For the Brine

600 ml of Water
1 ¼ Tbsp of Salt
1 Tsp of Whole Peppercorns
2 Cloves of Garlic

=================================

Ready? Here We Go!

Step 1 – First things first, let’s make the Brine. Mix the Water, Salt, Peppercorns, and Garlic together. Stir until all of the salt has dissolved.

For those who don’t know, Brine is a salt-based solution that can make the driest chicken juicy. In short, it can make the muscle tissue hydrated with moisture. It’s totally customizable to your own taste bud. Like chili? Add ‘em. Cinnamon? Add ‘em. Star Anise? ADD ‘EM. There’s no limit.

Start with Water
Peppercorns
Salt and Garlic!
Stir until all salt has dissolve.

Step 2 – Put the Chicken into the brine and let sit for at least 4 hours. Preferably, overnight.


Here's some proof how brining changed the Chicken meat;


The left one is raw, the right one is brined. You can tell that the right one is hella juicy ain’t it?

Step 3 – Heat a non-stick pan on high. Pour some cooking oil, and let it smoke. Meanwhile, take your chicken out of the brine and dry it out with paper towels. As always, ensure it’s in room temperature!!


Before seasoning, give a nice bash with a meat tenderizer (or anything hard and blunt) to ensure even cooking. And season them with Salt and Pepper on both sides.

Bashing without worry; cover the chicken with plastic wrap before smashing it
Seasoning. Salt and Pepper.

Step 4 – Once the pan is hot, put the chicken in and DON’T, F*CKING, MOVE IT. Let it sear for a good 4-5 minutes. After that, give it a flip and cover. This will help cook the insides while still giving it a nice char marks. After another 5 minutes, it’s done!

Don't let this move. Seriously, don't give in to temptation!
Isn't she lovely?
Cover will help cook the insides!

Step 5 – Serve!


One can’t deny that Chicken Breast is the go-to meat for main course. With this trick I just taught you, people will be in awe. If there’s any other easy way to cook up juicy chicken breast in a relatively short time period, please let me know. Because at this moment, I don’t think there aren’t!

Please give this recipe a go. Tell your mum, your dad, your girlfriend/boyfriend, anyone you knew who might be interested in this daring recipe. Your support helps me keeping this blog up and running!

Cheers

xx