Sunday, April 6, 2014

026 - The Double Crispy Trouble!

Instant ramen is a game changer. No doubt about that. Ever since its inception, the fabulous thing had been converted into lots of creative meal. The imagination those who create a meal off of it has no limit. 

So after I made Milk Ramen few weeks back, I’m going to incorporate yet another Instant Ramen into my recipe. So for this week, brace yourself for this fucker. Lo and behold, the Double Crispy Trouble.

Why double? This dish consisted of Ramen that is pan fried till crisp PLUS a crispy chicken thigh seasoned with the seasoning pack itself!

Here’s what you need:


1 Pack of Instant Ramen of your choice. Onion chicken for me today
Enough oil for frying

For the chicken:

70 grams of Chicken Thigh, cut into bite size pieces.
1 garlic peeled and grated.
2 tbsp of Soy Sauce
2 tsp of Rice Wine Vinegar
1 tsp of Dried Chili Flakes.
1 seasoning packet from the ramen. Remember, save it, don’t waste it. (PURELY OPTIONAL! Read below!)
8 tbsp of Cornstarch (for Indonesians, we call it Maizena)
1 egg white

Ready? Here We Go!

Step 1 – Marinate your chicken. Mix the chicken thigh with the garlic, soy sauce, rice wine vinegar, chili flakes, AND if you’re feeling adventurous, the ramen seasoning. If you decided to add the ramen seasoning, it’d be best to leave the soy sauce out of the marinade! The seasoning will overwhelm everything, and it will make your chicken way too salty. Oh, and leave it to marinate for at least 10 minute.

Chicken
Soy Sauce

Rice Wine Vinegar

Chili Flakes
Garlic
WARNING: CONTAIN MUCH MSG ORGASM. SUCH INTENSE. MUCH WOW.
 This is what i feel about the seasoning packet:


OOOHHH LA LAAA
Mixy-Mixy- MIX IT UP
Step 2 – Boil your ramen as usual, strain it after it’s done to your liking, and leave it to dry for a bit. Dry ramen will yield a crispy ramen. And you know what crispy means right? YUM YUM. Oh, and no picture for this step, you know how it's done right?

Step 3 – While we wait for the ramen to dry, heat your oil in the pan with high heat, just enough to shallow fry the chicken. Shallow frying is typically used to prepare portion-sized cuts of meat and fish, and patties such as fritters (that’s what Wikipedia says, I simply call this as ‘goreng dangkal’ LOL)


Step 4 – Drain the marinade off the chicken; mix the egg whites and prepare the cornstarch. The flow goes; chicken-cornstarch-egg whites-corn starch. You will see that the chicken will be coated in a thick batter. And trust me on this one; this will become crisp once finished!

Prep line
Corn starch first
Egg whites
Back to the starch
 Step 5 – Dunk the chicken to the hot oil. Cook it for 1.5 - 2 minutes on each side, or until that golden brown crust has popped up gracefully! Be very careful not to burn the crust. Once you hit the jackpot, strain and leave the excess oil drop on top of the paper towel.

After the flip. LOOK AT THAT
Step 6 – Heat yet another batch of oil. Feel free to reuse the previous oil, but for great appearance, use fresh new batch. Don’t be a cheapo will ya? Oh, use medium heat for this. Once you see smoke, put the ramen and shape it into concentric circles. You know, for presentation ;) Cook this for about 4-5 minutes on each side, until it turns golden brown. Drain it on paper towel after it’s done. Oh, and don’t you dare to speedhack the process with higher heat, you will definitely burn the noodle! (I did this, stupid)

First side. Looking lumpy.
Press it!
Golden Brown Crunch!
Step 7 – Serve!


See how easy it is for you to elevate the level of a simple instant ramen? Heads will turn folks, heads will turn. For that extra savory, mix mayonnaise with mustard and a touch of acidity in forms of either lemon juice or white vinegar. Drizzle that all over the dish. D-E-L-I-S-H!

Give this a go and let me know how it turns out!

Peace

xx


Sunday, March 30, 2014

025 - Oreo Milk Pudding!

Ahoy!

Are you ready for dessert? This week recipe is very, very straight forward; even the laziest of person can whip this dessert just fine. I present to you, OREO MILK PUDDING!

You will need:

Wait, where's the sugar?
2 cups of whole milk. Substitute with Almond/Soy milk to make it vegan friendly. Be aware, taste might differ
75 grams of granulated sugar. Feel free to adjust the sweetness to your liking. Word of advice, the Oreo also add sweetness to the dessert
1 pack of Oreo.
2 large vanilla beans
1 pack of plain agar-agar powder.

Ready? Here We Go!

Step 0 -  Why step zero? Because prepping goes without saying you jackass! Measure your milk, making sure it's room temperature (like always, d'oh), measure the sugar while you're at it too! Vanilla beans? later on

2 Cups, no more, no less

Precise measurement is vital to prevent overly sweet pudding!

Step 1 – Get a saucepan, pour your milk, and sugar, and start the stove on a medium high heat. Let the milk heats up, stirring often to ensure all the sugar dissolves.

Milk

Sugar

Stir!
Step 2 – Halfway through the boiling process, scrape the beans off the vanilla, and mix it with the milk. You will notice this thing is starting to smell a little bit like heaven.

First, split the beans in half
Tore open to reveal the black goodness inside
Scrape from one end..
..To another.
Now this is the SHIT!
Bye bye Vay vay!

Step 3 – After the milk boils, turn the heat down to low, and mix in your agar-agar powder. Stir well, boil for a bit more, and then turn the heat off. Transfer the pudding mix to a large bowl to cool


Hot liquid x Wide surface = Faster cooling time

Whisking = Faster cooling process, too!

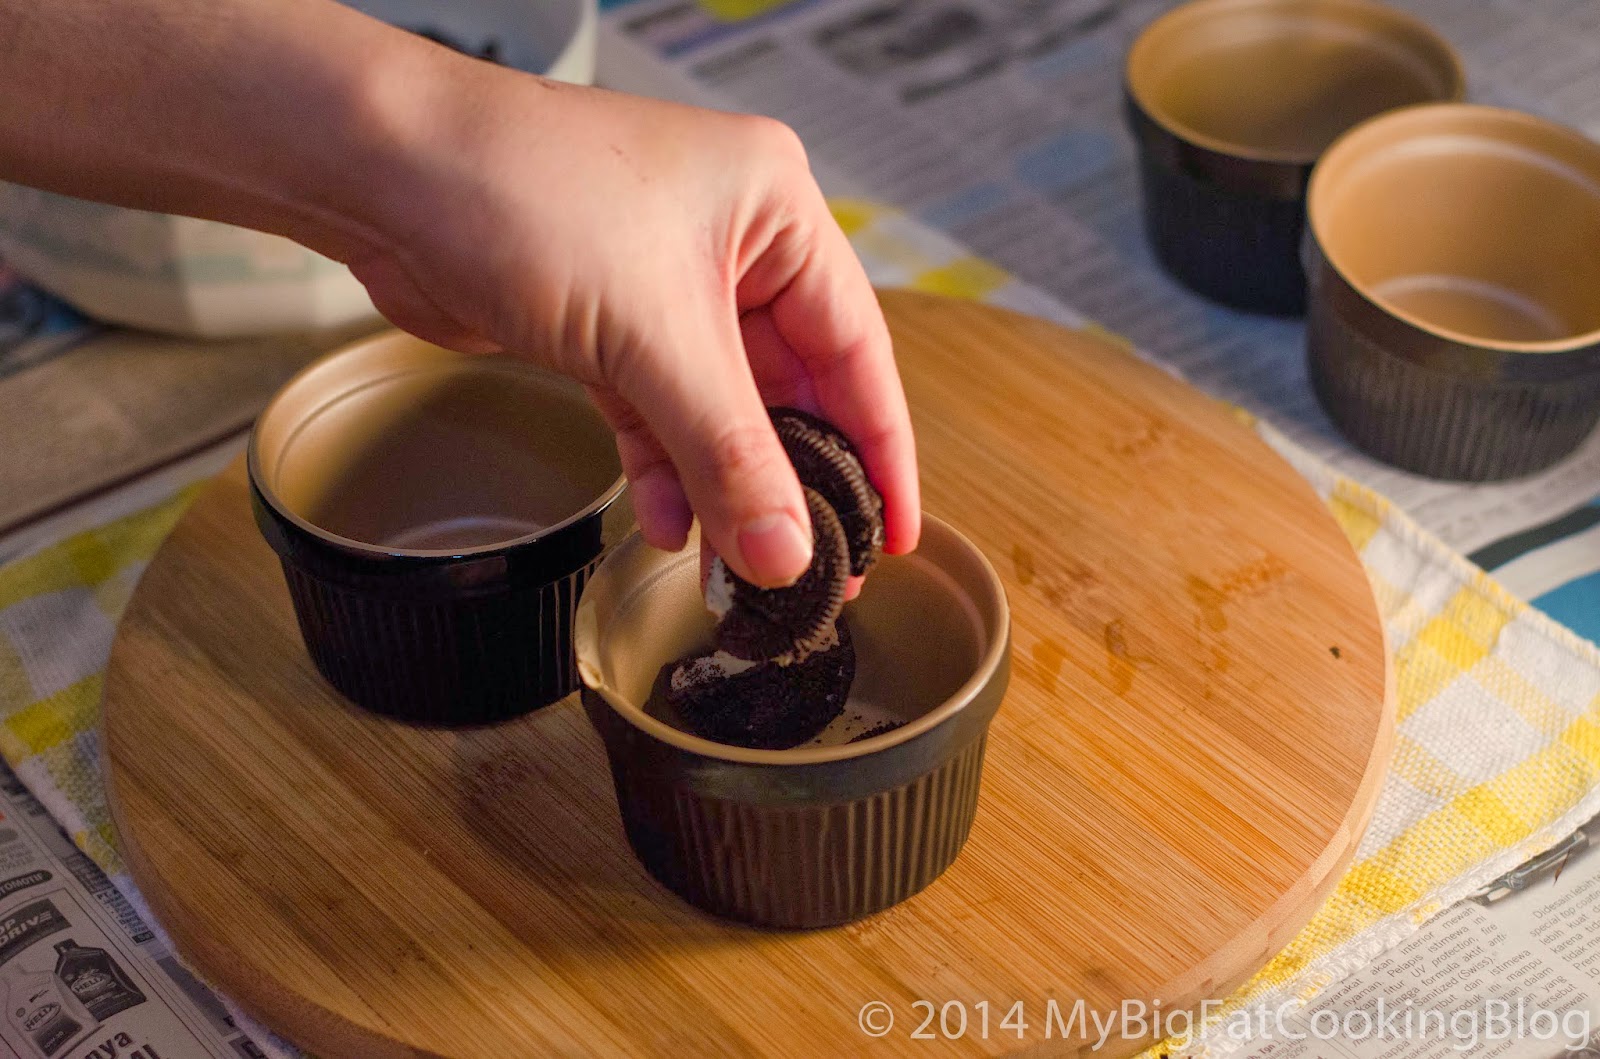
Step 4 – The way you incorporate the Oreos to this dish totally depends to your liking. If you want the Oreos whole, don’t crush ‘em. For me? Lightly crush. I put sizable portions to ramekin (feel free to use mold of your choice!), and fill 'er up!


Step 5 – Pour the mix to a mold of your choice, and once the mix is cooled, refrigerate the pudding for at least 2 hours to set up.


Step 6 – SERVE!!


Oooh la la ~~~, gotta love this sweet babies! Please give this recipe a go, and tell me know how it goes!

Peace


xx

Saturday, March 22, 2014

024 - Tuna Toast (A Dimsum Tryout)

Yo yo, I’m back people. As you might notice, I missed my regular update (AGAIN). This time was due to the fact that I’m lost inside the madness us Jakartans knew as Jakarta Toys Fair. This annual event is the biggest toy/comic/everything-else-in-between gathering thus far. I’m pretty excited. Hell no, I’m WAY BEYOND EXCITED for this year event since my favorite cosplayer, Enji Night, is in town for the event!


Long story short, I got to meet Enji and her friend, Kana, I also bagged myself a Ted PLUSH!! And the greatest thing is, IT TALKS. Move over everyone, I got my thunder buddy. FUCK YOU THUNDER!

Someone is overly excited

For this week recipe, I conceived it while I was out of the office one day and got this terrible munchies for a Chinese Dim Sum I know as Shrimp Toast. I thought it was very good, and it is very easy to make too! But, shit out of luck, I don’t have any shrimp lying around at home at the time. So, I went with canned tuna. And by God, did it worked! Without further ado, I present to you: The TUNA TOAST

You will need:


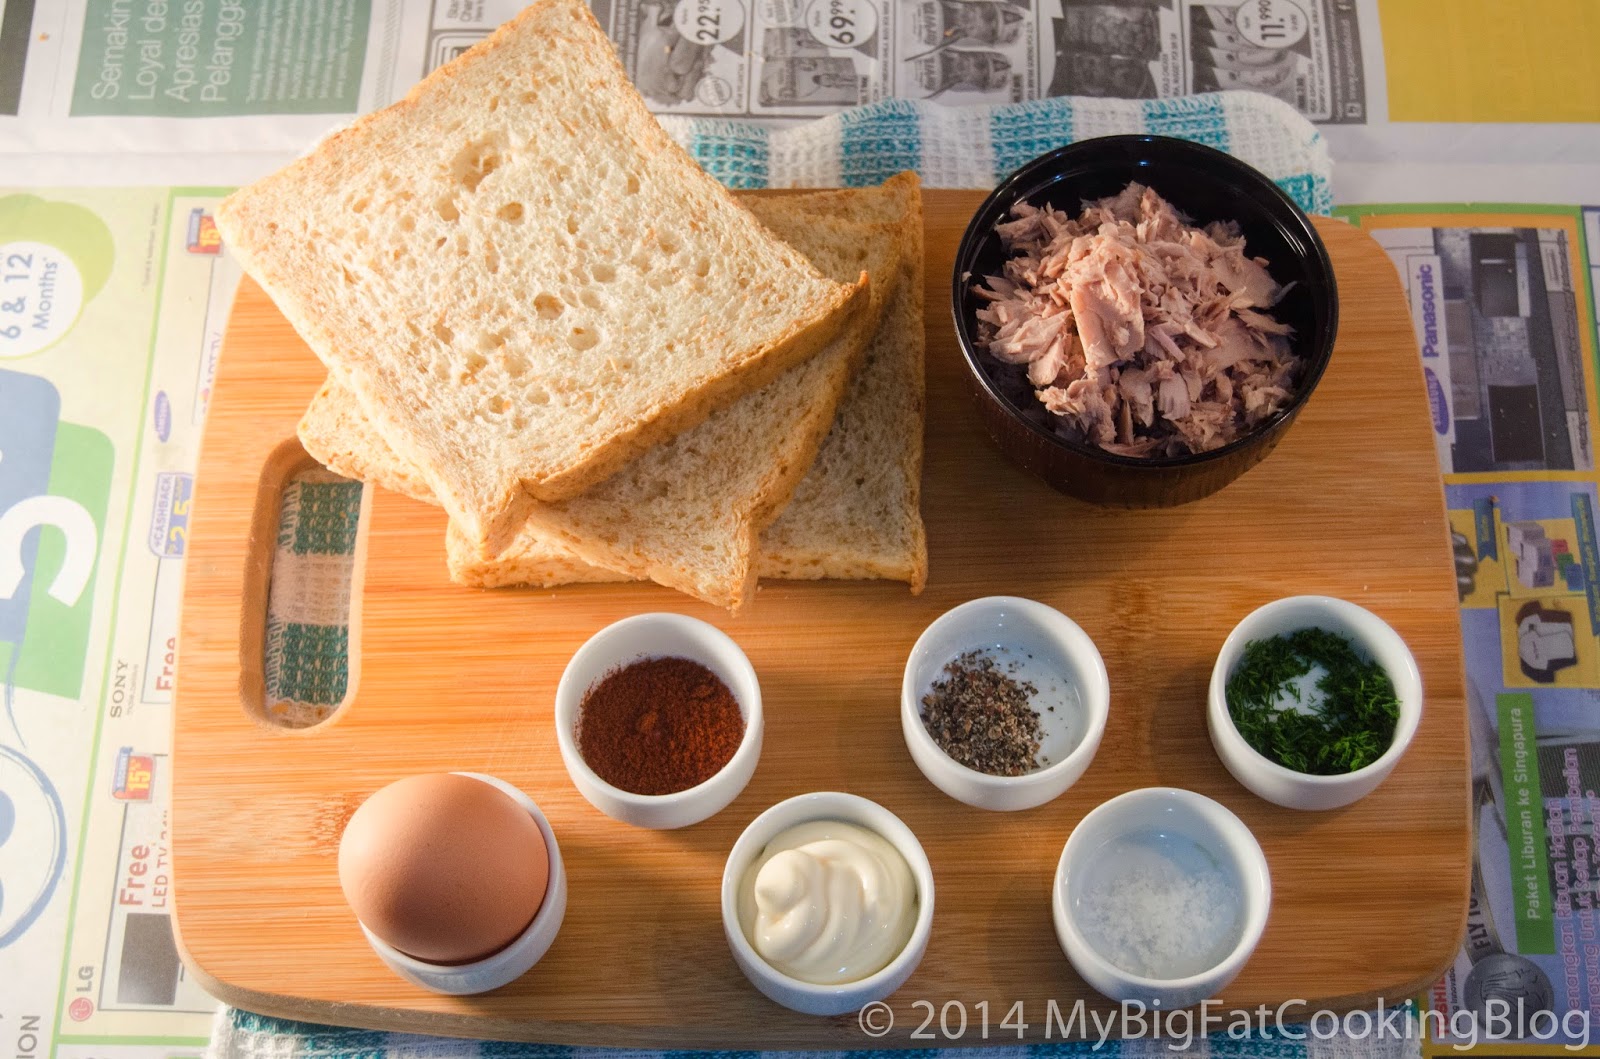
1 can of Tuna, approximately 175 grams (preferably the ones soaked in brine, not oil), dried, and flaked finely
1 egg, beaten
1 tbsp of herbs of your choice. This time I’m using Dill
3 tbsp of Mayonnaise
Pinch of Salt
Pinch of Black Pepper
Pinch of Dried Paprika Powder
3 Slices of Bread
Oil to cook

Ready? Here We Go!

Step 1 – Mix together your pre-flaked Tuna with eggs, herbs, mayonnaise, salt, pepper, and paprika. Stir to combine until it becomes a very thick paste.

The Tuna was still flaky, i'm about to unleash hell

All forked up

Mayo

Egg

Paprika

Pepper

Salt

Dill

All stirred up


Step 2 – Spread the mixture on the bread evenly. Don’t put too much, or the mixture won’t cook up nicely. Nobody wants a raw insides right?


Step 3 – Heat a small amount of cooking oil with medium heat on a nonstick pan. I'm using my cooking spray this time, but cooking oil, or even butter will work fine. Once the pan is hot, we will cook the spread-side down first for 3-4 minutes.


Step 4 – Once browned, flip the bread and toast the other side for about 1 minutes or until desired doneness.


Step 5 – Serve!


That’s it people. Very straight forward, and a rather healthier version of a Chinese restaurant favorite. Serve this with a sweet and spicy chili sauce with a slice of lime.

Hope you’ll give this a try! If you don’t, tell your friends about this!

Peace


xx